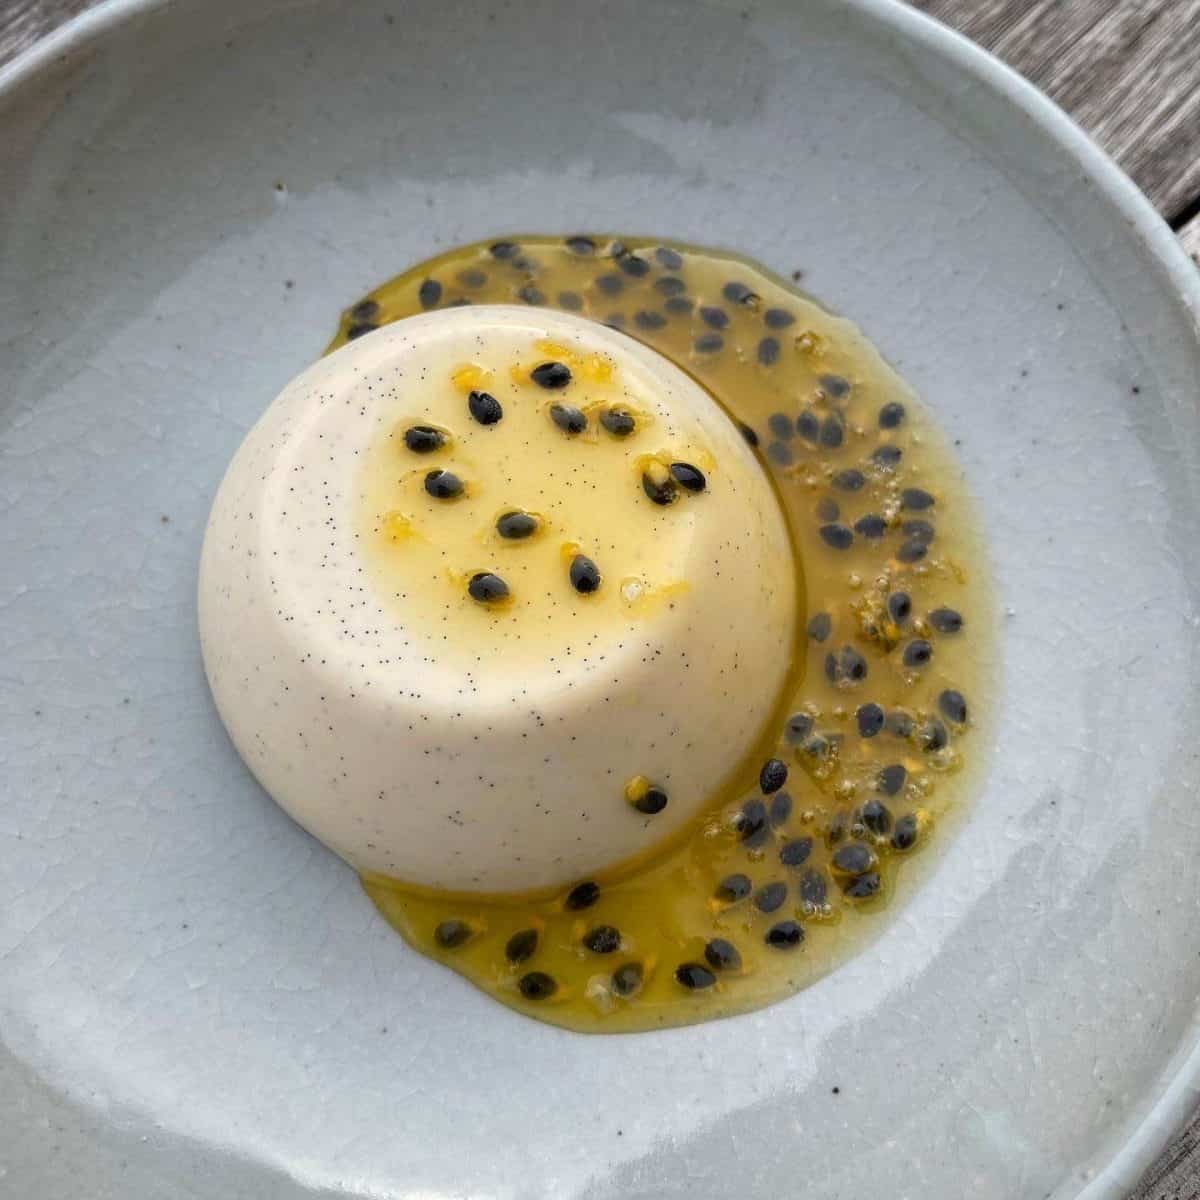
Milkybar Stracciatella Ice Cream
This Milkybar stracciatella ice cream is the ultimate homemade ice cream for white chocolate lovers! There’s Milkybar in the ice cream itself and frozen shards too.
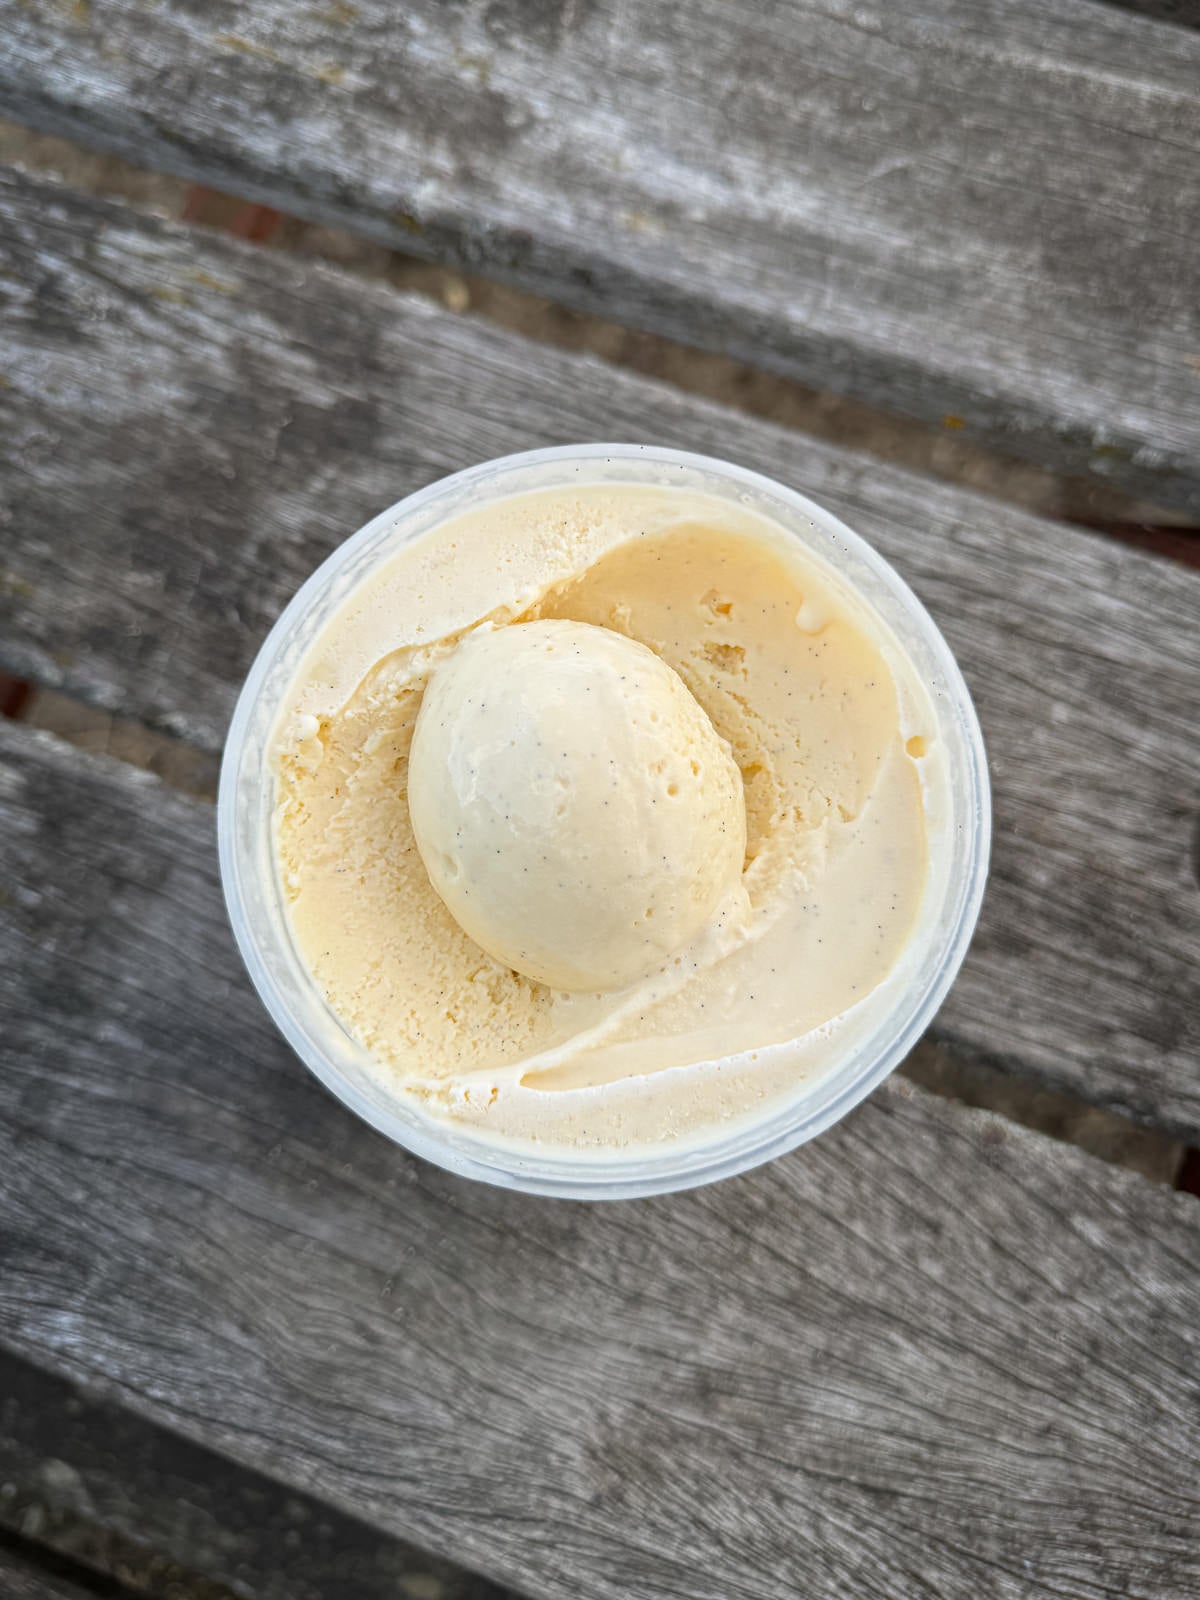
If you’re a fan of Milkybar white chocolate, you’re going to love this batch of homemade ice cream! Not only is it flavoured with Milkybar but there’s also melted chocolate piped into the ice cream as it churns to make frozen shards of Milkybar that run through every scoop.
This an Italian ice cream style called stracciatella and it’s a great way to incorporate even more Milkybar into this batch of white chocolate ice cream! Traditionally you’d use dark chocolate for this but I wanted as much Milkybar flavour as possible in this batch so I went with white chocolate here as well. Although you could use dark (or milk) chocolate for the stracciatella, which would work incredibly well too.
I’ve been eating this white chocolate ice cream on its own but it would go great with loads of different desserts, like cheesecake, pavlova, fruit tarts and crumbles.
If you’re looking for more homemade ice creams to try then check out our ever growing collection of ice cream recipes! Or if there’s a flavour that you’d like to see on the blog, drop us a comment at the bottom of this post…
Ingredients For Milkybar Stracciatella
- Milkybar White Chocolate – The star of the show! We’re using Milkybar chocolate to flavour the ice cream and to pipe into the ice cream as it churns, to make stracciatella. Make sure to use branded Milkybar white chocolate, just because it’s what this recipe was developed to use. Both Milkybar buttons and chocolate bars will work.
- Milk & Cream – For the creamiest flavour, we’re using whole milk and double cream. Heavy cream will work too, if you can’t get double cream.
- Sugar – You’ll need caster sugar for this ice cream, for sweetness and glucose syrup, to make the ice cream smoother and easier to scoop.
- Milk Powder – As white chocolate already contains milk powder, we only need to add a small amount of extra into the custard base, to give it a smoother texture and to prevent it from melting too quickly.
- Egg Yolks – This ice cream is made with a custard base, which you’ll need egg yolks for.
- Sea Salt – Added to enhance the flavour from the chocolate.
How To Make Milkybar Stracciatella Ice Cream
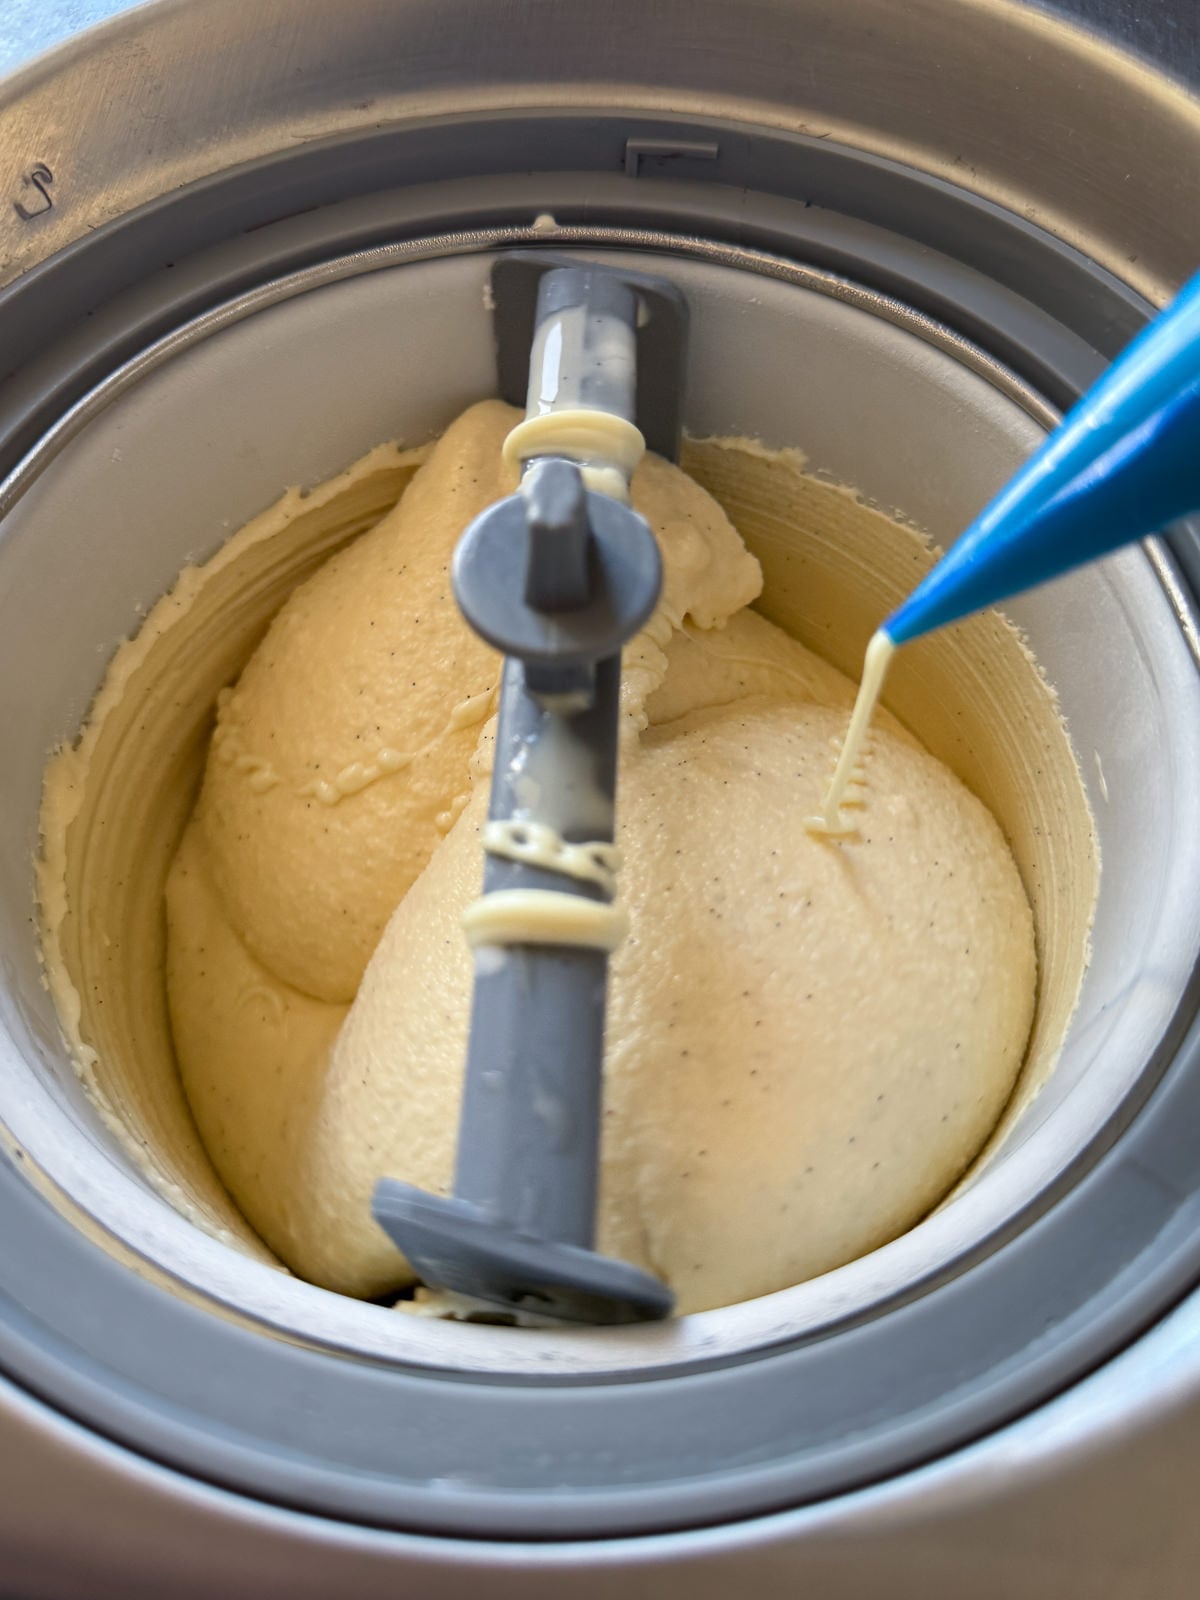
This ice cream is based on my classic vanilla flavour but adjusted to incorporate the ideal amount of Milkybar white chocolate, for maximum flavour. This ice cream uses an egg custard base then once it’s almost churned, you pipe melted white chocolate into the mix to create frozen chocolate shards!
1. White Chocolate Custard Base
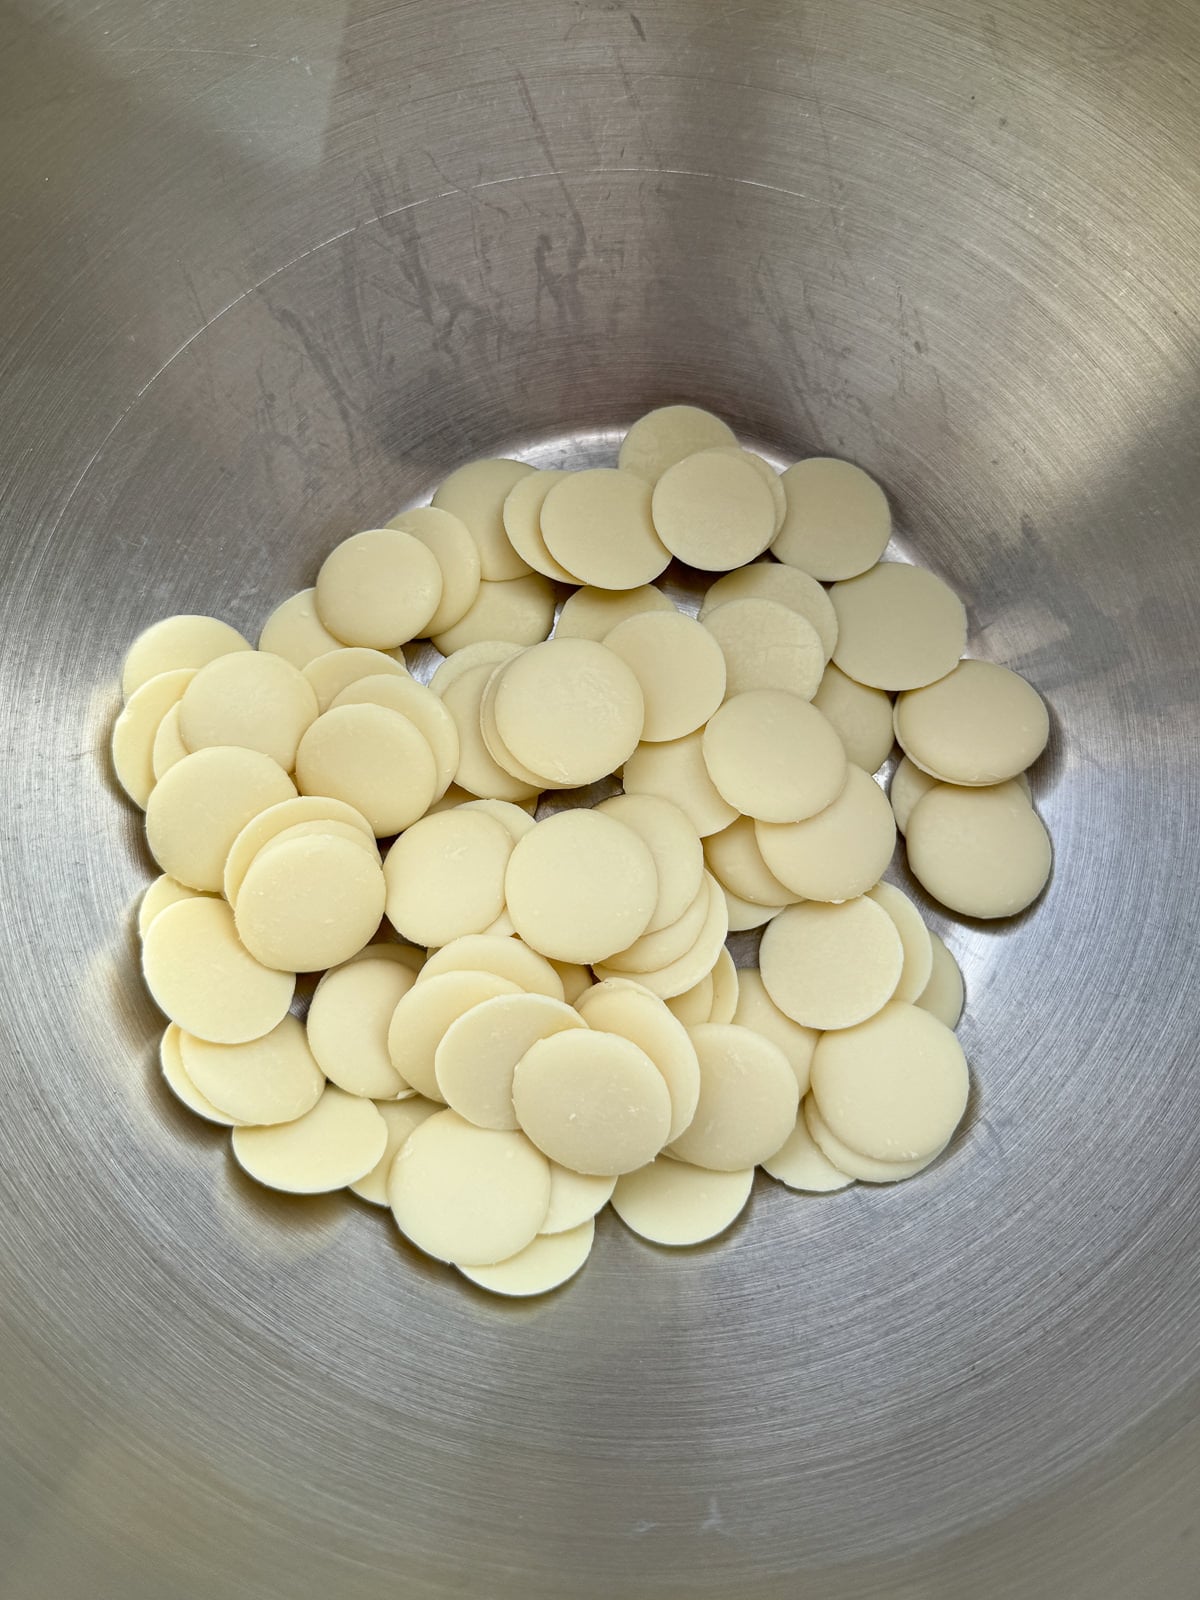
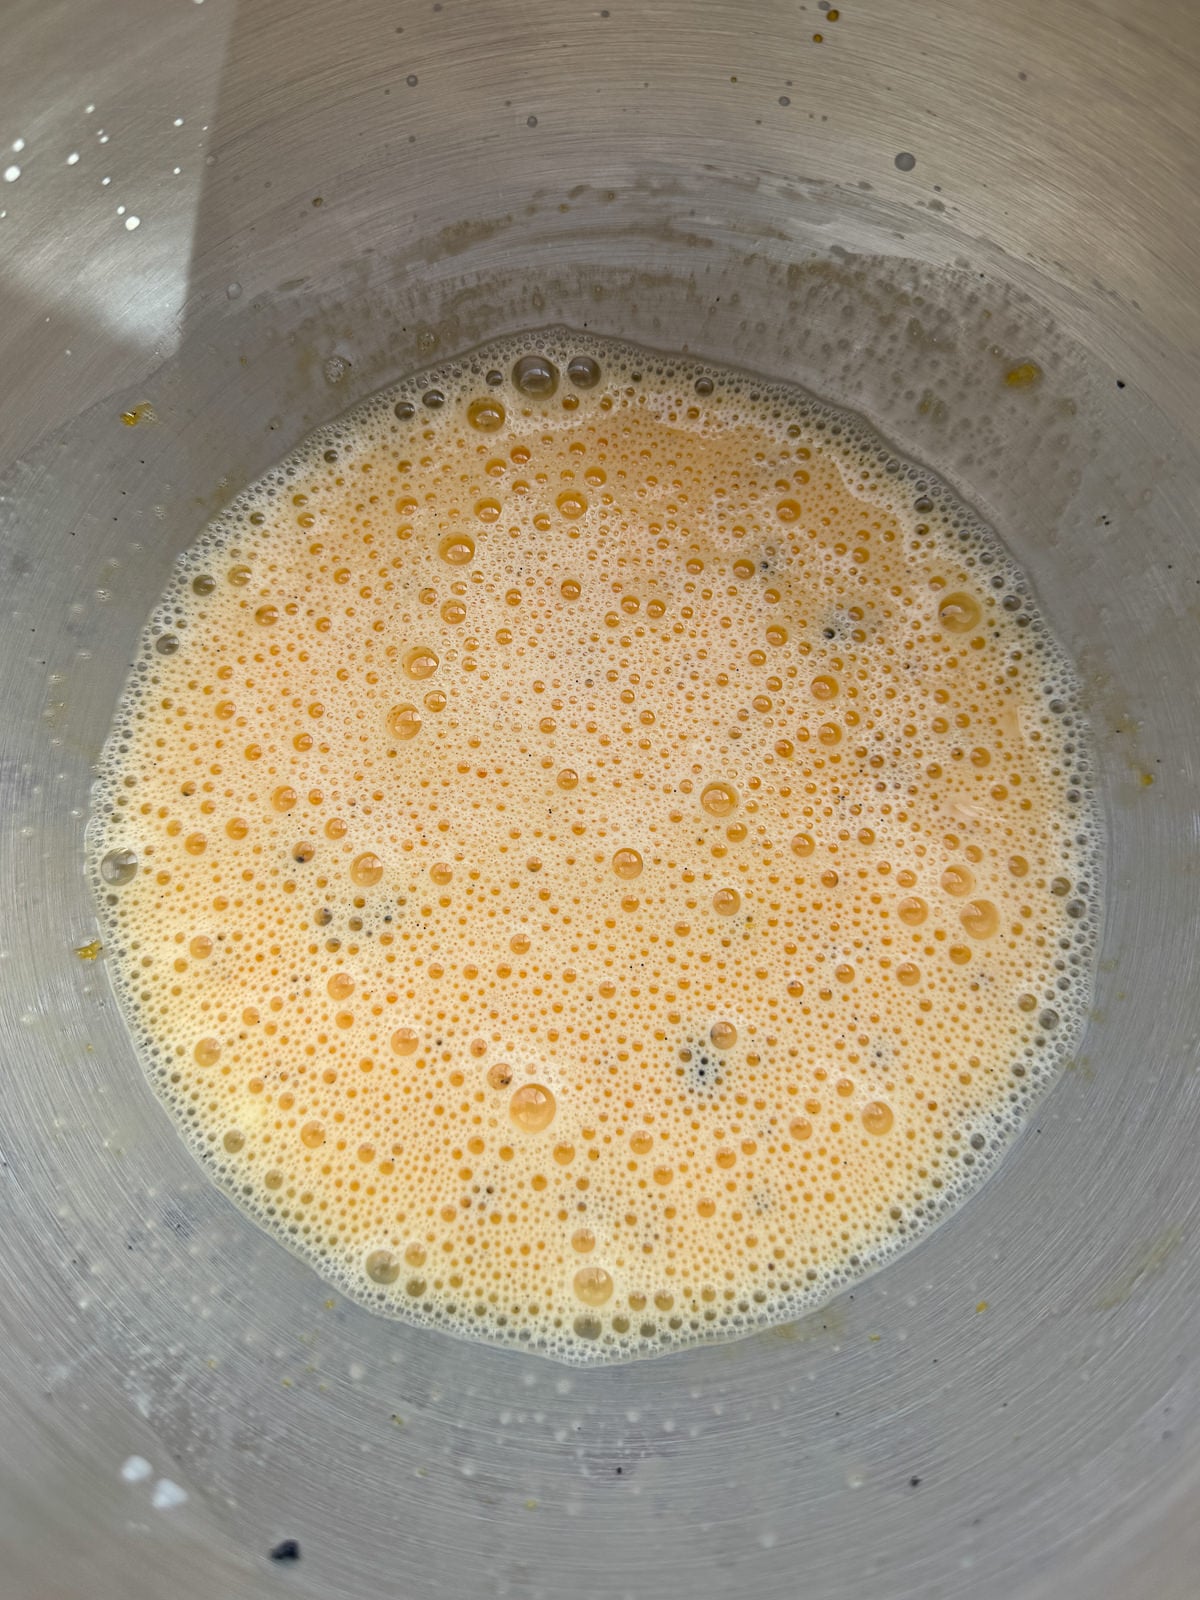
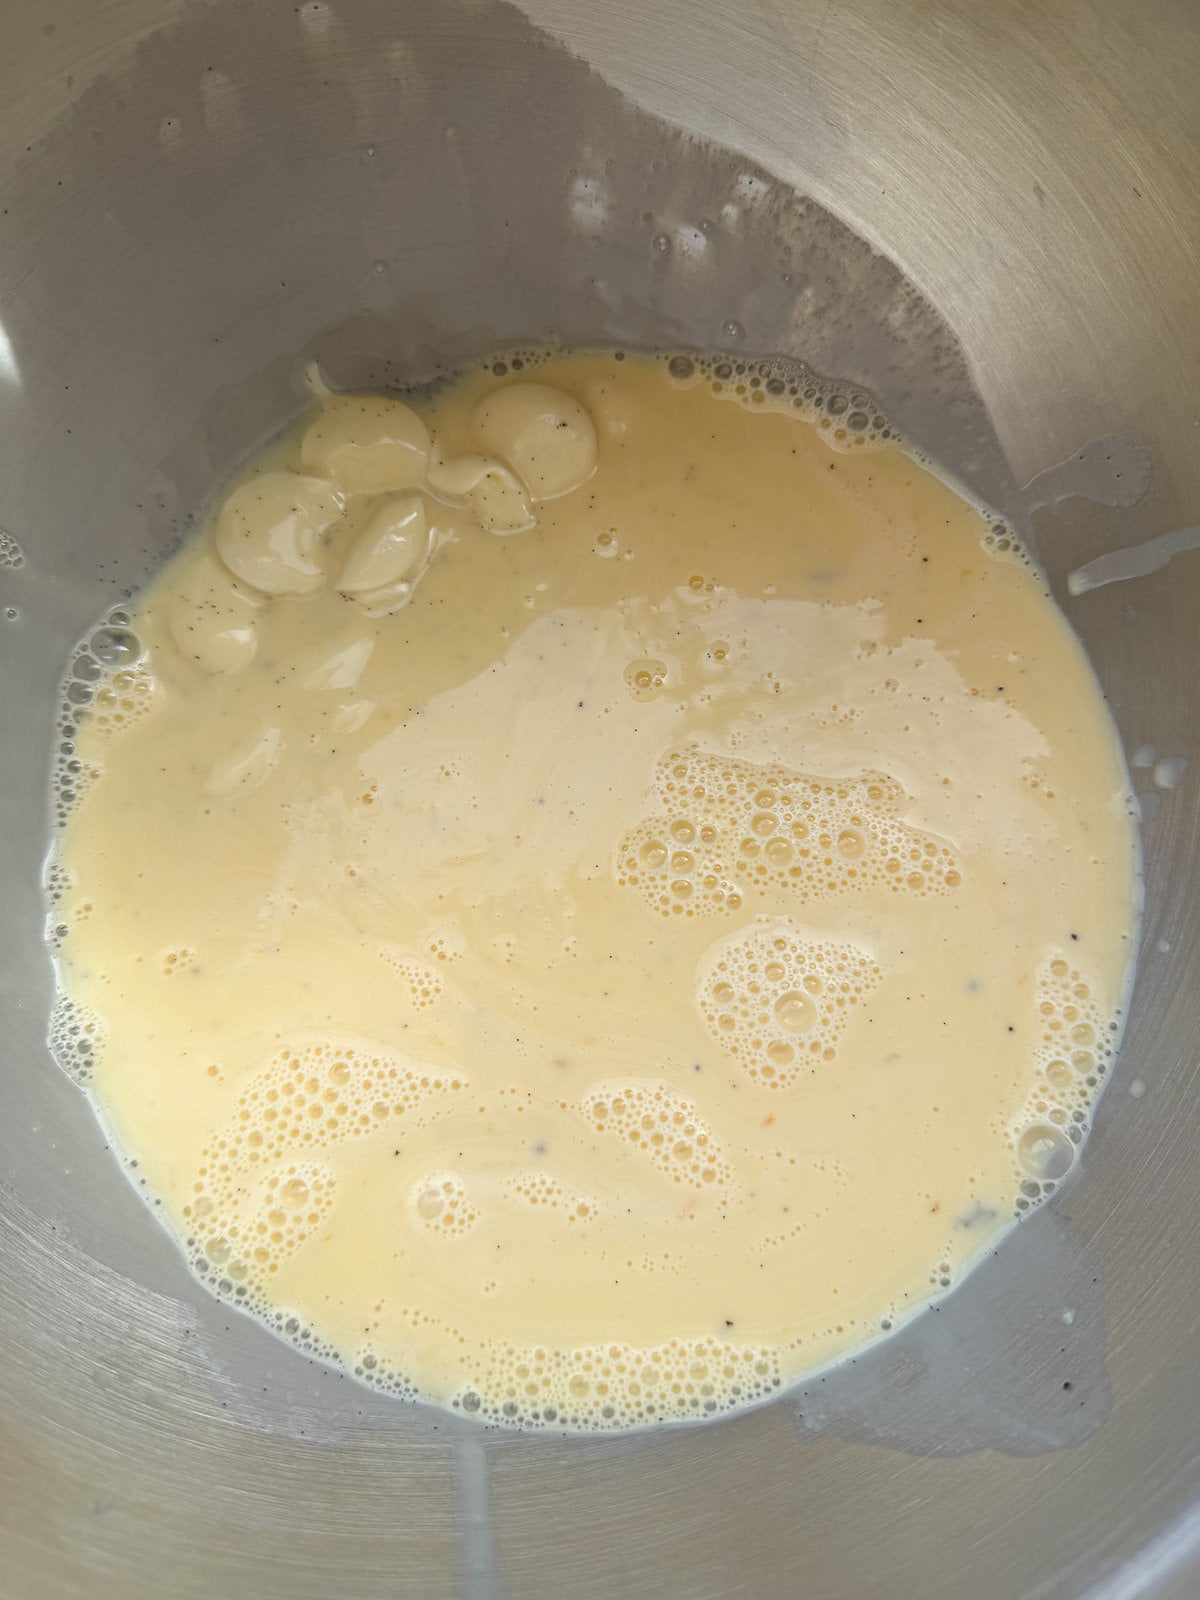
This ice cream starts with an egg custard base that’s flavoured with a generous amount of Milkybar white chocolate. You make this like a regular egg custard then whilst it’s still hot, you pour it over chopped up Milkybar then whisk to melt. I like to pour the cream in after the custard’s made, to give the ice cream a richer dairy flavour.
Once you’ve made the custard, I’d recommend giving it a quick blitz with a stick blender then pass it through a sieve, to make it as smooth as possible.
- Add milk, half the sugar, glucose syrup, milk powder and sea salt into a pan then warm over a low heat, until steaming hot.
- In the meantime, add egg yolks and the remaining sugar into a mixing bowl then whisk to combine.
- Roughly chop the Milkybar up, add into a separate large mixing bowl then set to one side.
- Once the milk is hot, pour half of it into the egg yolks, whilst whisking.
- Pour the tempered yolks into the pan of milk then cook over a low heat, stirring constantly until the custard has reached a temperature of 82°c/180°f.
- Pour the hot custard over the white chocolate, leave to stand for 1 minute then whisk to melt.
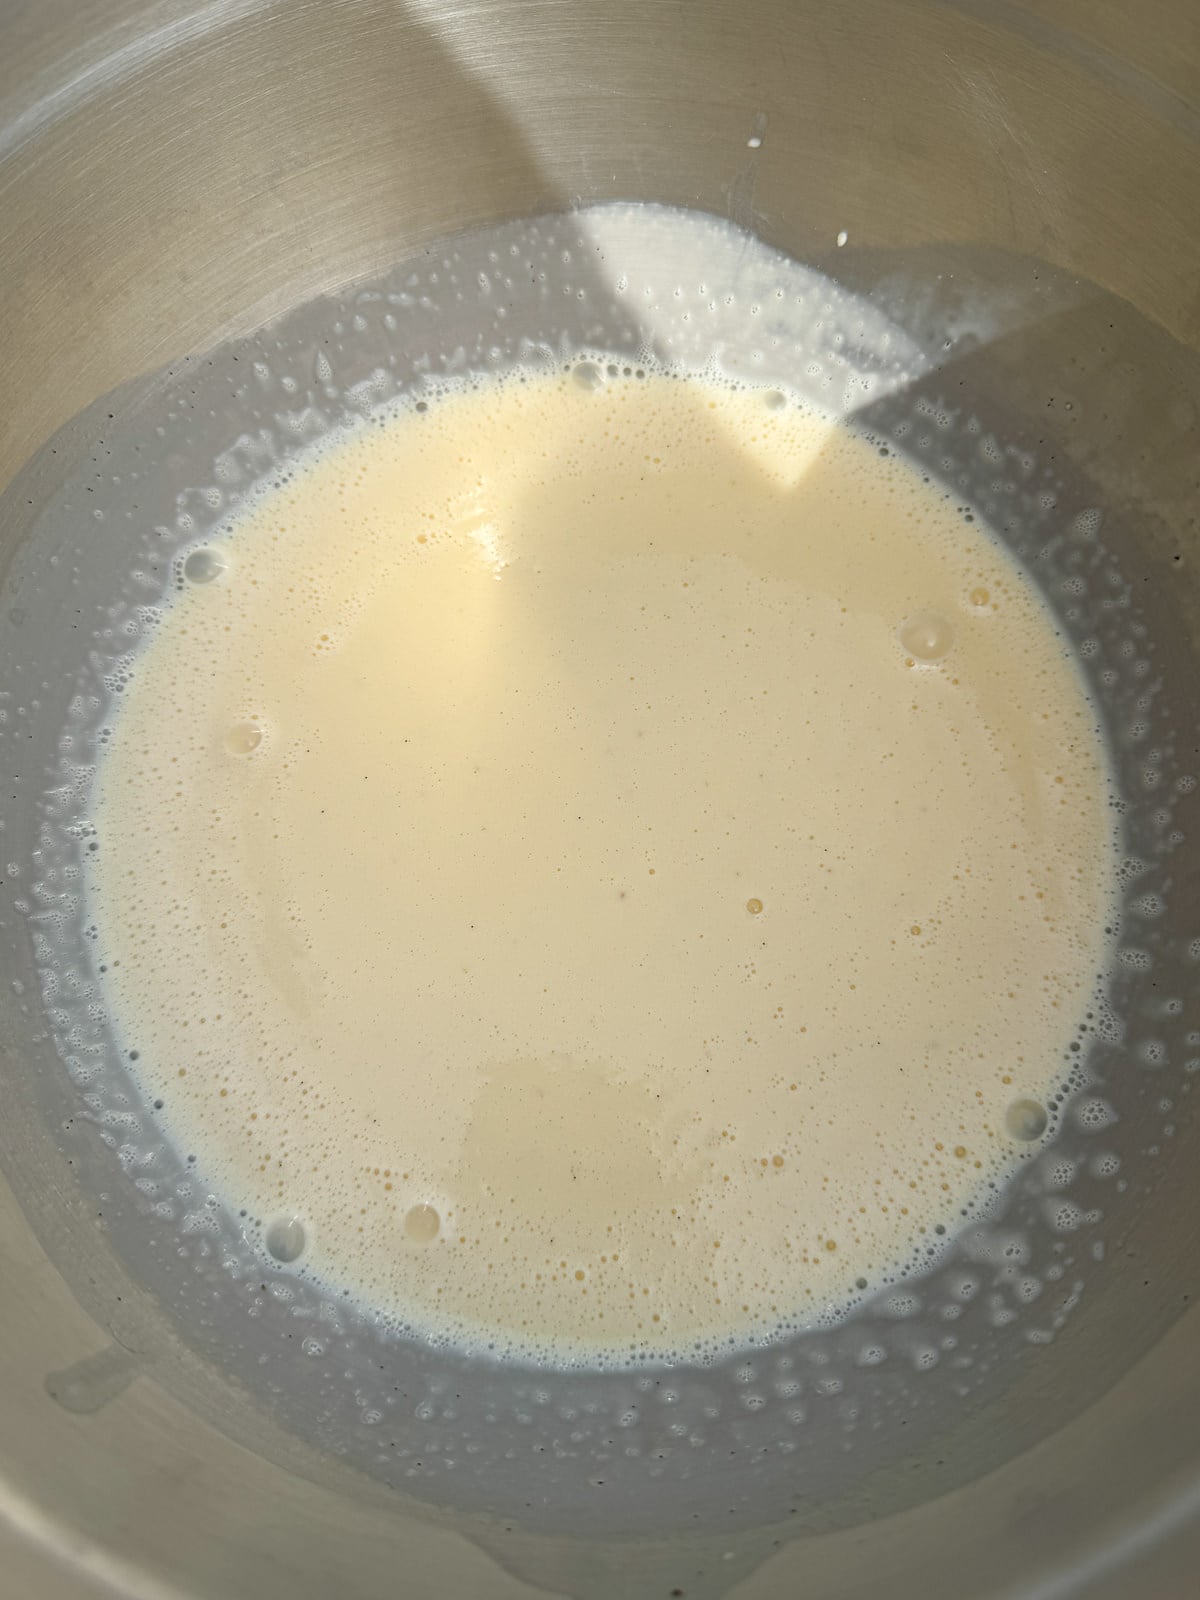
- Stir cold double cream into the custard then give it a quick blend with a stick blender.
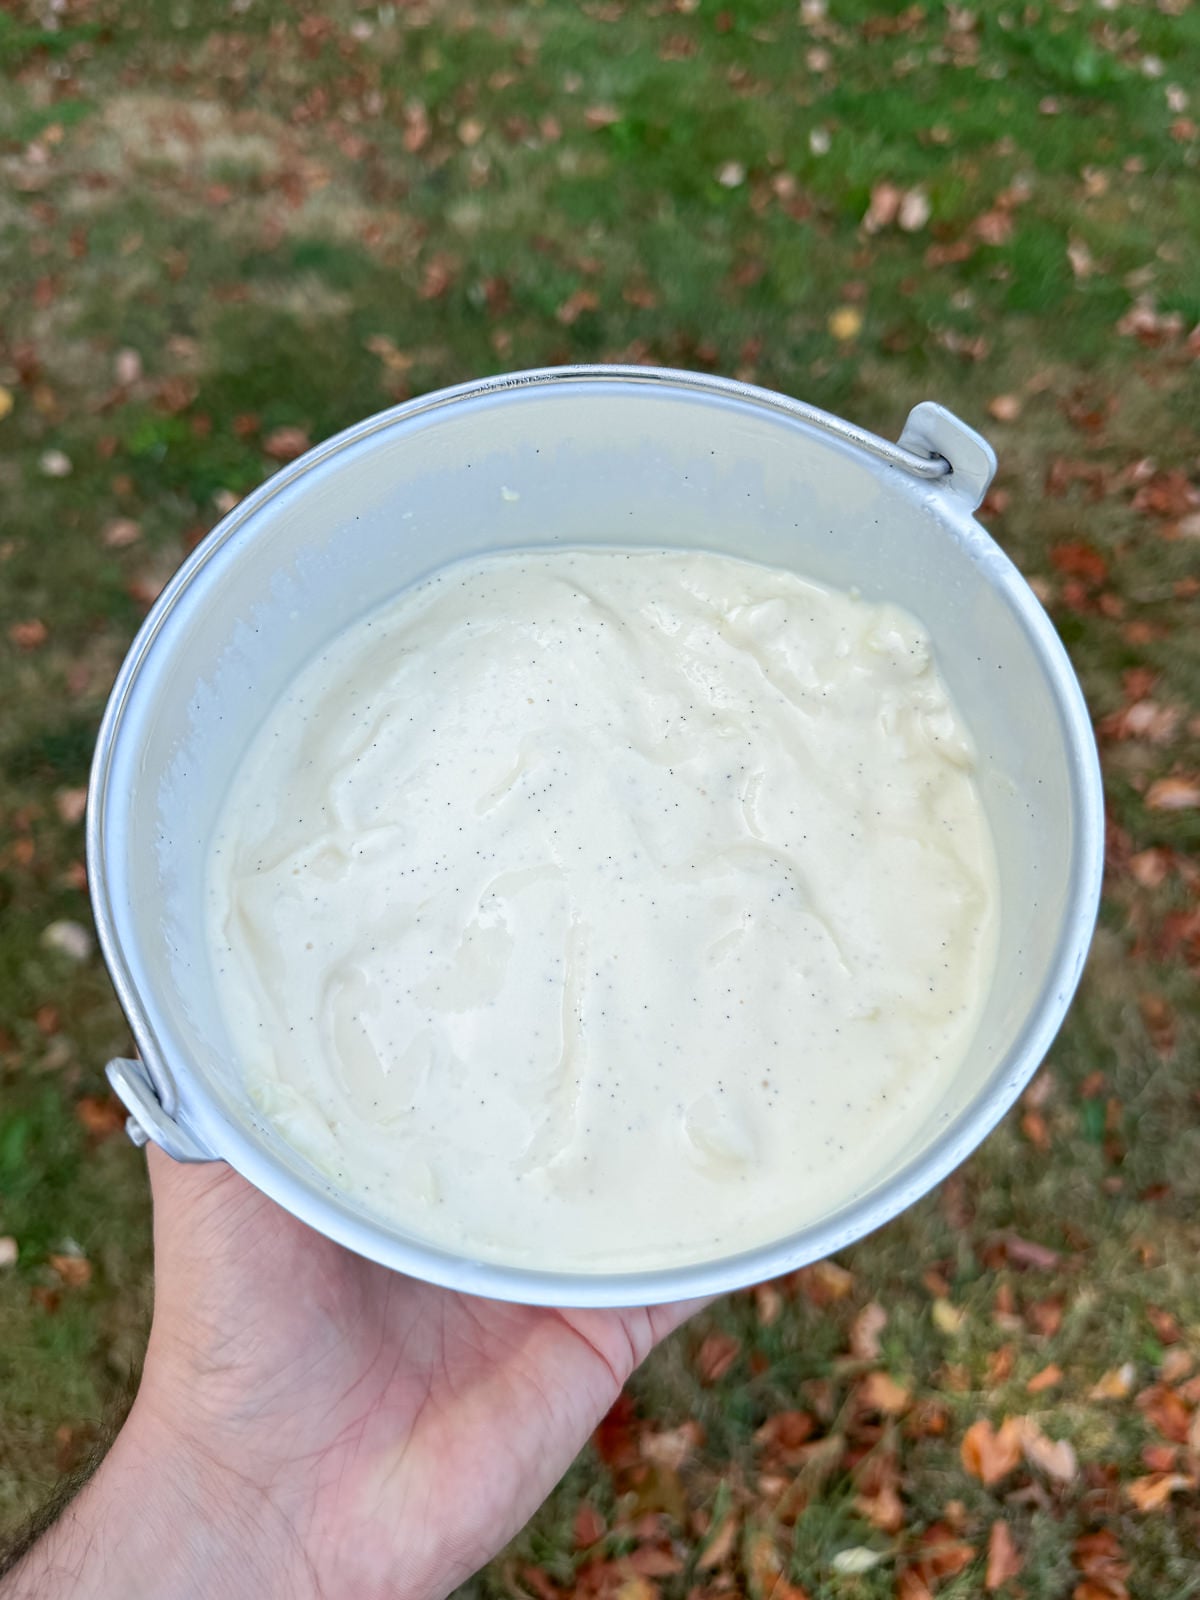
- Pass the custard through a sieve, into a container then cover the surface with a piece of baking parchment or clingfilm (to stop a skin forming).
2. Overnight Chill
One of the most key steps when making homemade ice cream, is to chill the custard in the fridge overnight before you churn it. This gives the flavours plenty of time to develop and also means that the custard will be as cold as possible when you churn it, which reduces the churning time and therefore gives the ice cream a smoother texture.
3. Churning
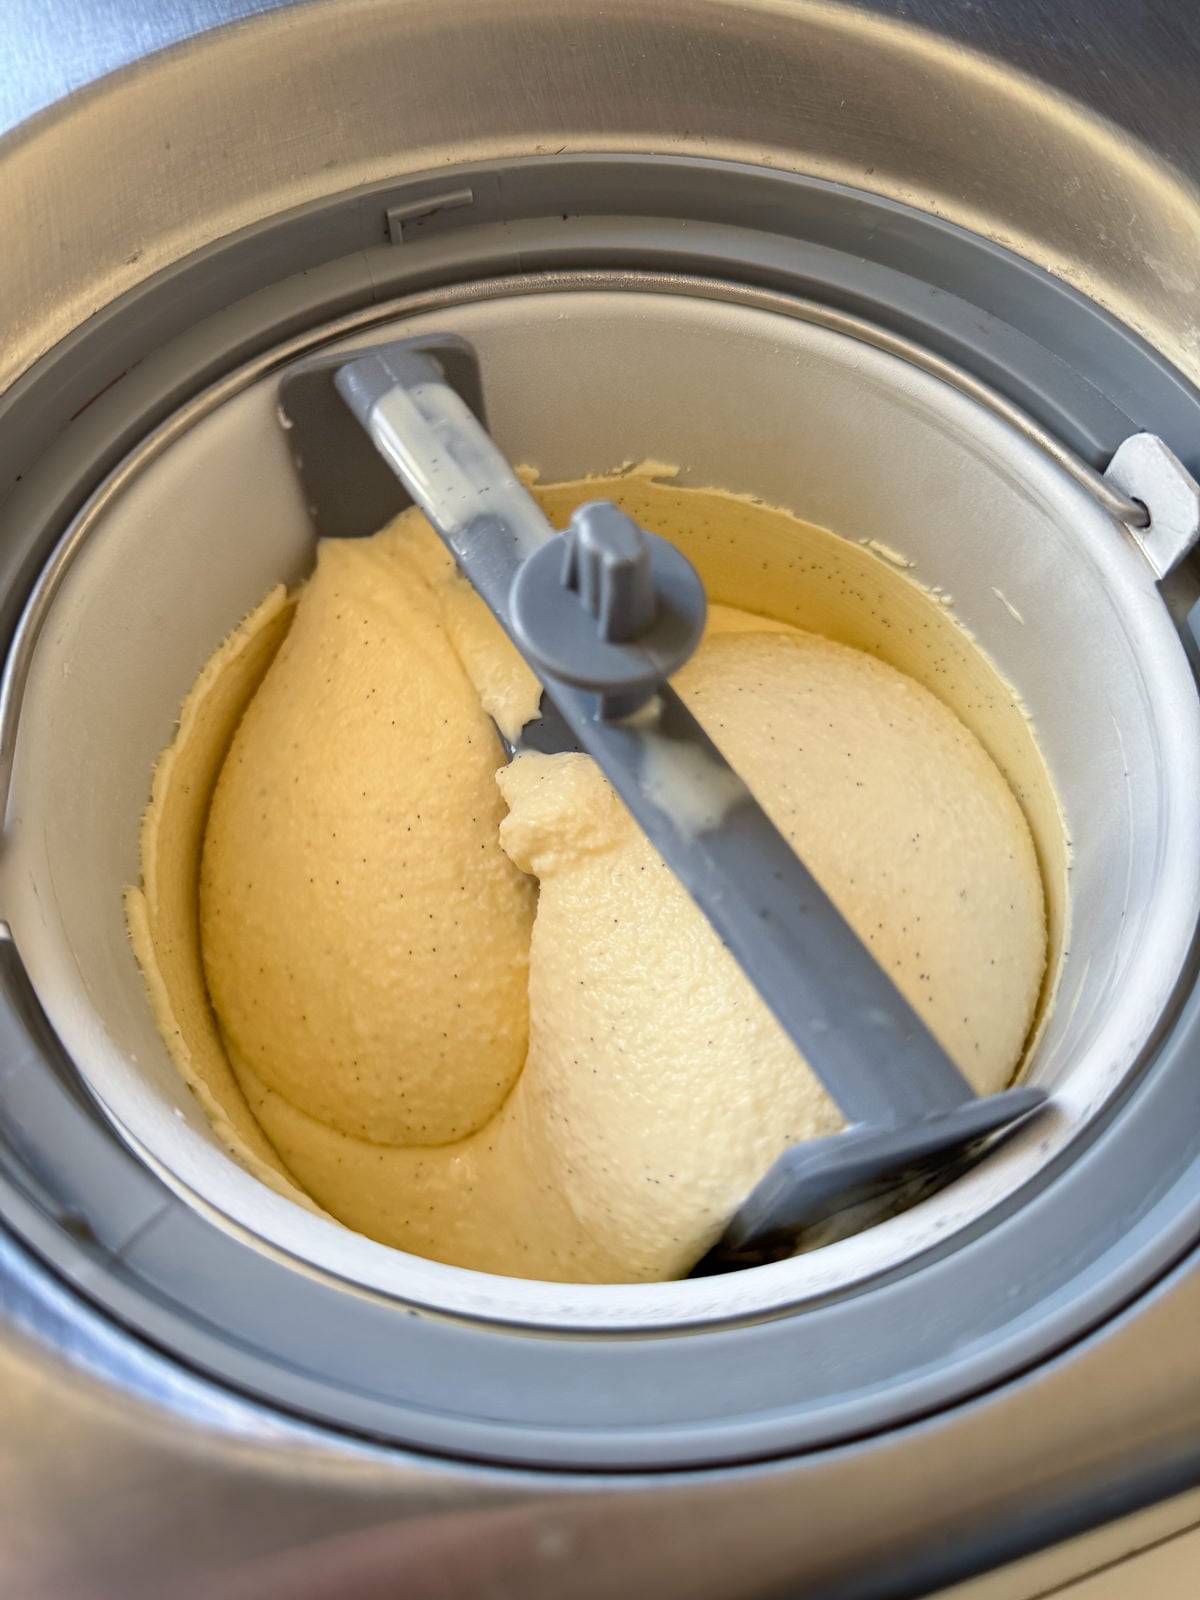
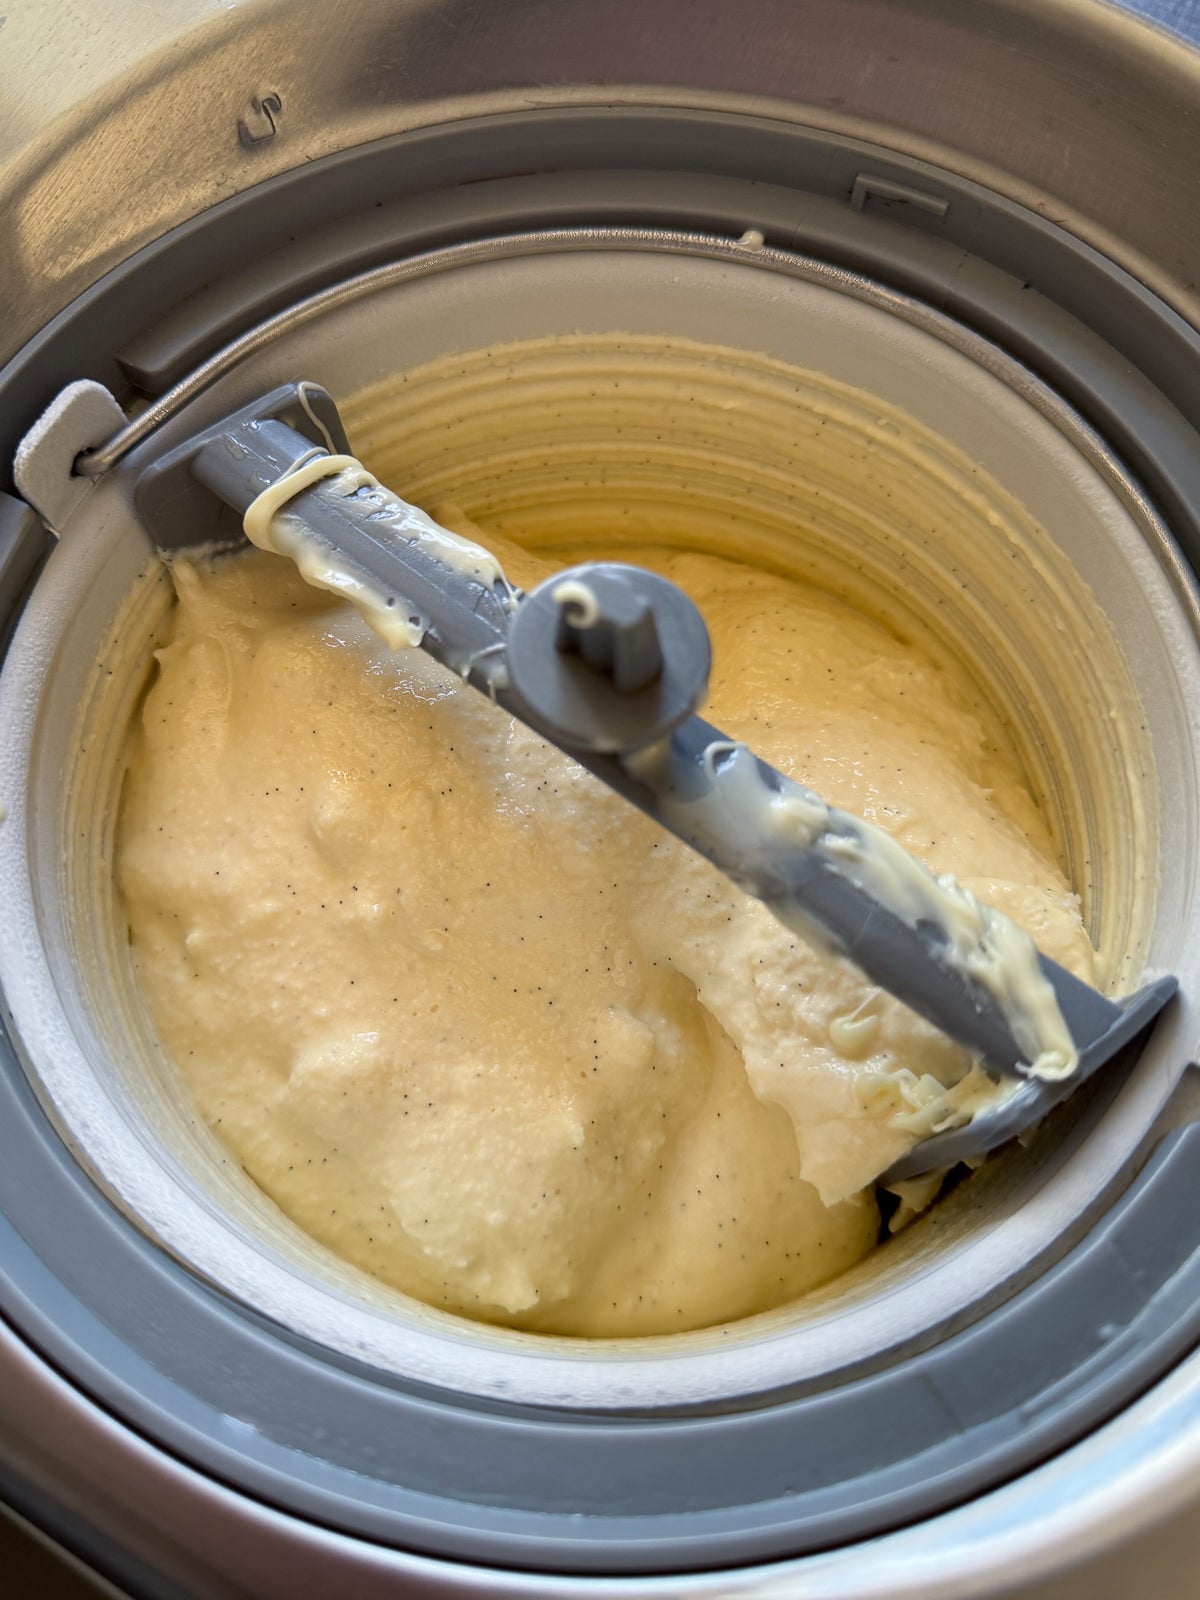
The next day, start churning the white chocolate custard in your ice cream machine. You’ll need to churn the ice cream until it’s the consistency of soft serve. This will take anywhere from 15-30 minutes, depending on what machine you’re using. If you take the temperature of the ice cream with a food probe, it should be around -5°c/23°f once churned.
4. Stracciatella
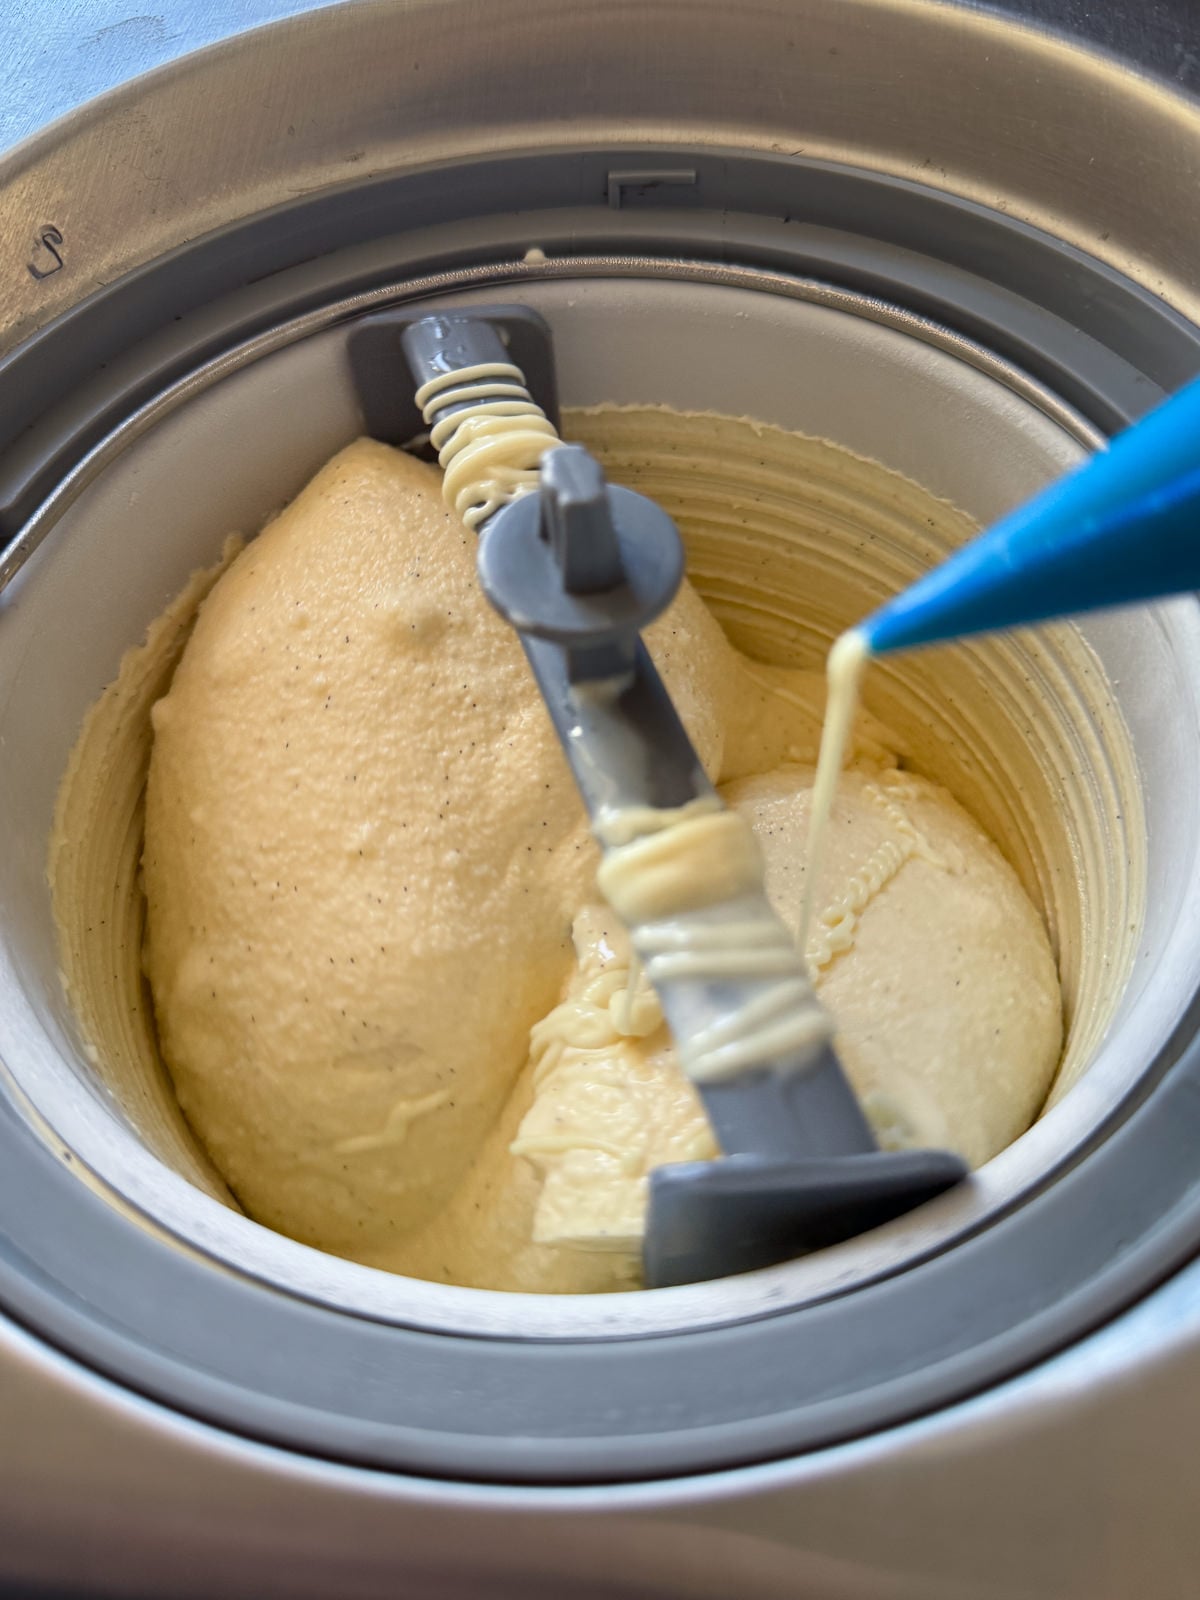
To turn ice cream into stracciatella, you pipe melted chocolate into the ice cream as it finishes churning. The melted chocolate needs to be cool when you use it, so it’s best to melt it as soon as you start churning the ice cream, either in a microwave or in a bowl set over a pan of barely simmering water.
As this is Milkybar ice cream, I used it for the stracciatella as well. Though if you wanted, you could use dark or milk chocolate instead. Once your ice cream has just finished churning, you simply pipe the chocolate into the ice cream in a thin stream. The chocolate will freeze as it mixes in, creating thin shards!
5. Set In Freezer
Once your ice cream has finished churning and you’ve piped in the chocolate, transfer it to a 1 litre container then leave to set in the fridge for at least 4 hours before serving. I tend to leave my ice creams in the freezer overnight though, just to be sure that they’re fully set.
Serving Suggestions
Homemade Milkybar ice cream is great eaten on its own but also works fantastically with pretty much anything you’d serve white chocolate with. Think fruit flavoured desserts like cheesecake, pavlovas, tarts and crumbles. Or just fruit on its own! White chocolate goes especially well with raspberries, blueberries, lime and lemon.
Homemade Ice Cream Tips And Tricks
- Chill the custard base overnight, to let the flavours develop. This improves the flavour & texture of the final ice cream. It also means that the custard will be completely cold when you churn it, which speeds the churning process up.
- Use a good quality vanilla to flavour the custard base. A vanilla pod or a really good vanilla paste is best.
- Make sure to use actual Milkybar for this ice cream as the recipe has been developed based on the levels of fat and sugar in this particular chocolate. I used Milkybar buttons but the bar version will work as well.
- Set your freezer to 18°c/-1°f for the best set. This makes the ice cream easier to scoop.
- Dip your scoop in warm water for easier scooping!
Frequently Asked Questions
Homemade ice cream is best eaten within 2 weeks of being made. After this time, the texture can start to turn icy.
For the best results, you will need to use an ice cream machine to make homemade ice cream. These can be picked up online for various price points but the investment is worth it! If you’re looking for an ice cream machine, check out my Cuisinart ice cream maker review. This the machine that I use!
This ice cream recipe has been developed using Milkybar white chocolate, so I wouldn’t recommend using another brand as it could have different levels of fat and sugar.
White chocolate is made with cocoa butter, milk powder and sugar, so you’ll need to take this into account as it will increase the levels of fat, sugar and milk powder in your ice cream.
More Homemade Ice Creams To Try
- Turkish Delight Stracciatella Ice Cream
- Roasted Strawberry Ripple Ice Cream
- Amaretto Tiramisu Ice Cream
- Treacle Tart Ice Cream
- Toffee Apple Crumble Ice Cream
- Coffee Stracciatella Ice Cream
If you have enjoyed this milkybar ice cream recipe, it would mean a lot if you could leave a review & rating. And if you’d like to stay up to date with future recipes, follow us on Instagram & TikTok or subscribe to our newsletter!
Milkybar Stracciatella Ice Cream
Equipment
- Ice Cream Machine
- Stick Blender
- Large Saucepan
- Mixing Bowl
- Sieve
- 1 Litre Container
Ingredients
Milky Bar Ice Cream
- 350 g Whole Milk
- 40 g Caster Sugar
- 20 g Glucose Syrup
- 15 g Skimmed Milk Powder
- Half A Vanilla Pod (Or 1 tsp Vanilla Paste)
- ¼ tsp Fine Sea Salt
- 60 g Egg Yolks
- 180 g Milkybar White Chocolate (See Notes)
- 250 g Double Cream
For The Stracciatella
- 90 g Milkybar White Chocolate
Instructions
White Chocolate Ice Cream
- Add the milk, 20 grams of the caster sugar, glucose, milk powder, vanilla and salt into a large saucepan then set over a low heat. Heat the milk until it's steaming hot but not boiling, whisking to dissolve the milk powder.If you're using a vanilla pod, scrape the seeds out & add both the pod and seeds to the pan.
- Whilst the milk is heating up, add the egg yolks and remaining 20 grams of sugar into a mixing bowl then whisk to combine.
- Next, chop the chocolate into small pieces then add into a large mixing bowl (separate to the yolks) and set to one side.
- Once the milk is steaming hot, pour half of it into the yolks, whisking as you do so. Pour the now tempered yolks into the pan of milk.
- Cook the custard over a low heat, stirring constantly with a rubber spatula until it is thick enough to coat the back of a spoon & has reached a temperature of 82°c/180°f.You'll need a digital food probe for this!
- Once the custard is cooked, pour it into the bowl of chocolate then leave to stand for 1 minute. If you've used a vanilla pod, remove this before pouring the custard into the chocolate.
- Gently whisk by hand, to melt the chocolate then whisk in the double cream.
- Give the custard a quick blend with a stick blender then pass through a sieve, into a container. Place a piece of baking paper (or clingfilm) onto the custard's surface then chill in the fridge overnight.
Churning
- The next day, pour the chilled custard into an ice cream machine & start churning.
- In the meantime, roughly chop the chocolate & place into a heatproof bowl. Set the bowl over a pan of barely simmering water then heat until just melted. Transfer the melted chocolate into a piping bag (cut a small hole in the end just before piping).You could also melt the chocolate in a microwave. The chocolate needs to be cool when you use it, so it's best to melt it as soon as you start churning.
- When the ice cream has reached soft serve consistency (the temperature of the ice cream will be around -5°c/23°f), slowly pipe the chocolate directly into the ice cream, whilst it is still churning. The chocolate will freeze into shards as it mixes through the ice cream.
- Once all of the chocolate has been piped in, continue churning for another 30 seconds then transfer the ice cream into a 1 litre tub.
- Leave to set in the freezer for a minimum of 4 hours then serve.
Salt Butter Smoke Magazine
Food that’s made for sharing.
The Christmas 2026 issue features 30 festive recipes, Christmas cooking guides, beautiful food photography and features on everything from the perfect cheeseboard to the art of trifle.
Discover the Christmas Issue →Notes
Enjoying This Recipe?
The Prep List is my free weekly newsletter with seasonal recipes, kitchen notes and behind-the-scenes from my kitchen. Add Salt Butter Smoke as a Google Preferred Source to see more of my recipes in Search.
The form you have selected does not exist.