Individual Pavlovas (Mini Pavlovas)
An easy to follow, step by step guide to making mini pavlovas with crisp outsides and perfectly fluffy, marshmallow middles. They’re the perfect base for so many toppings!
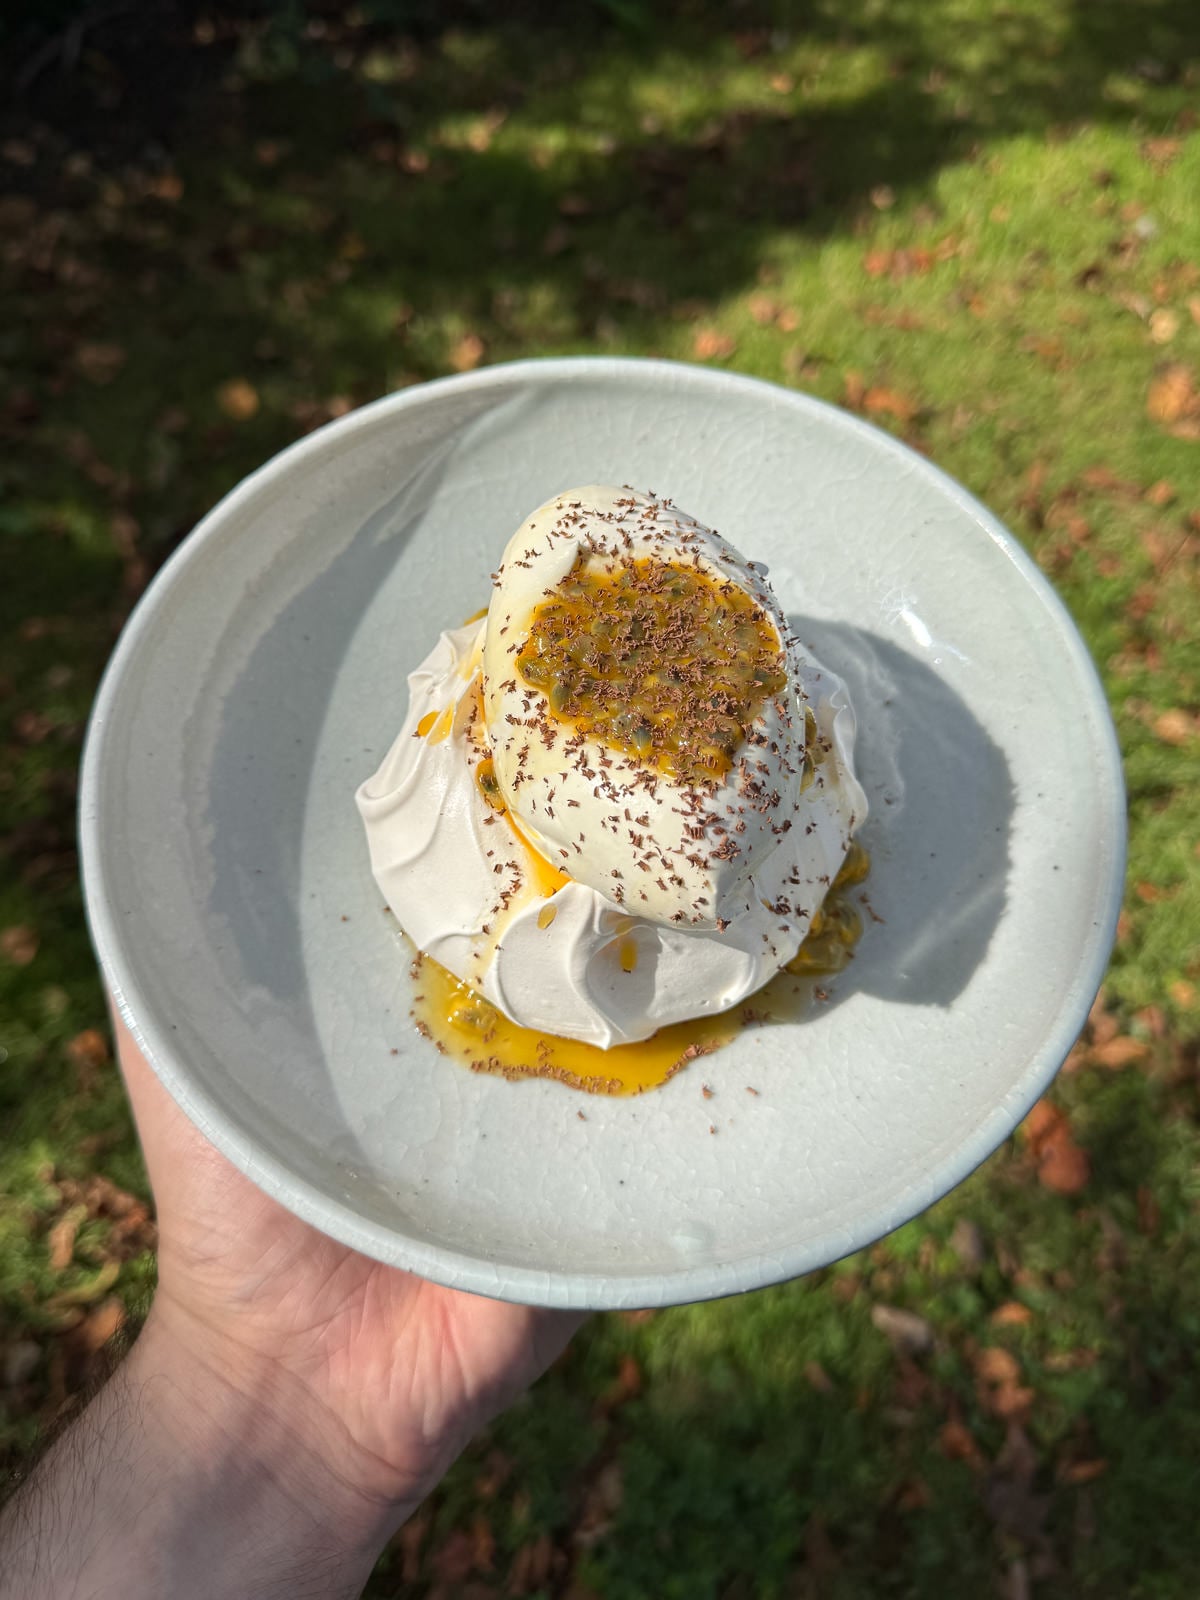
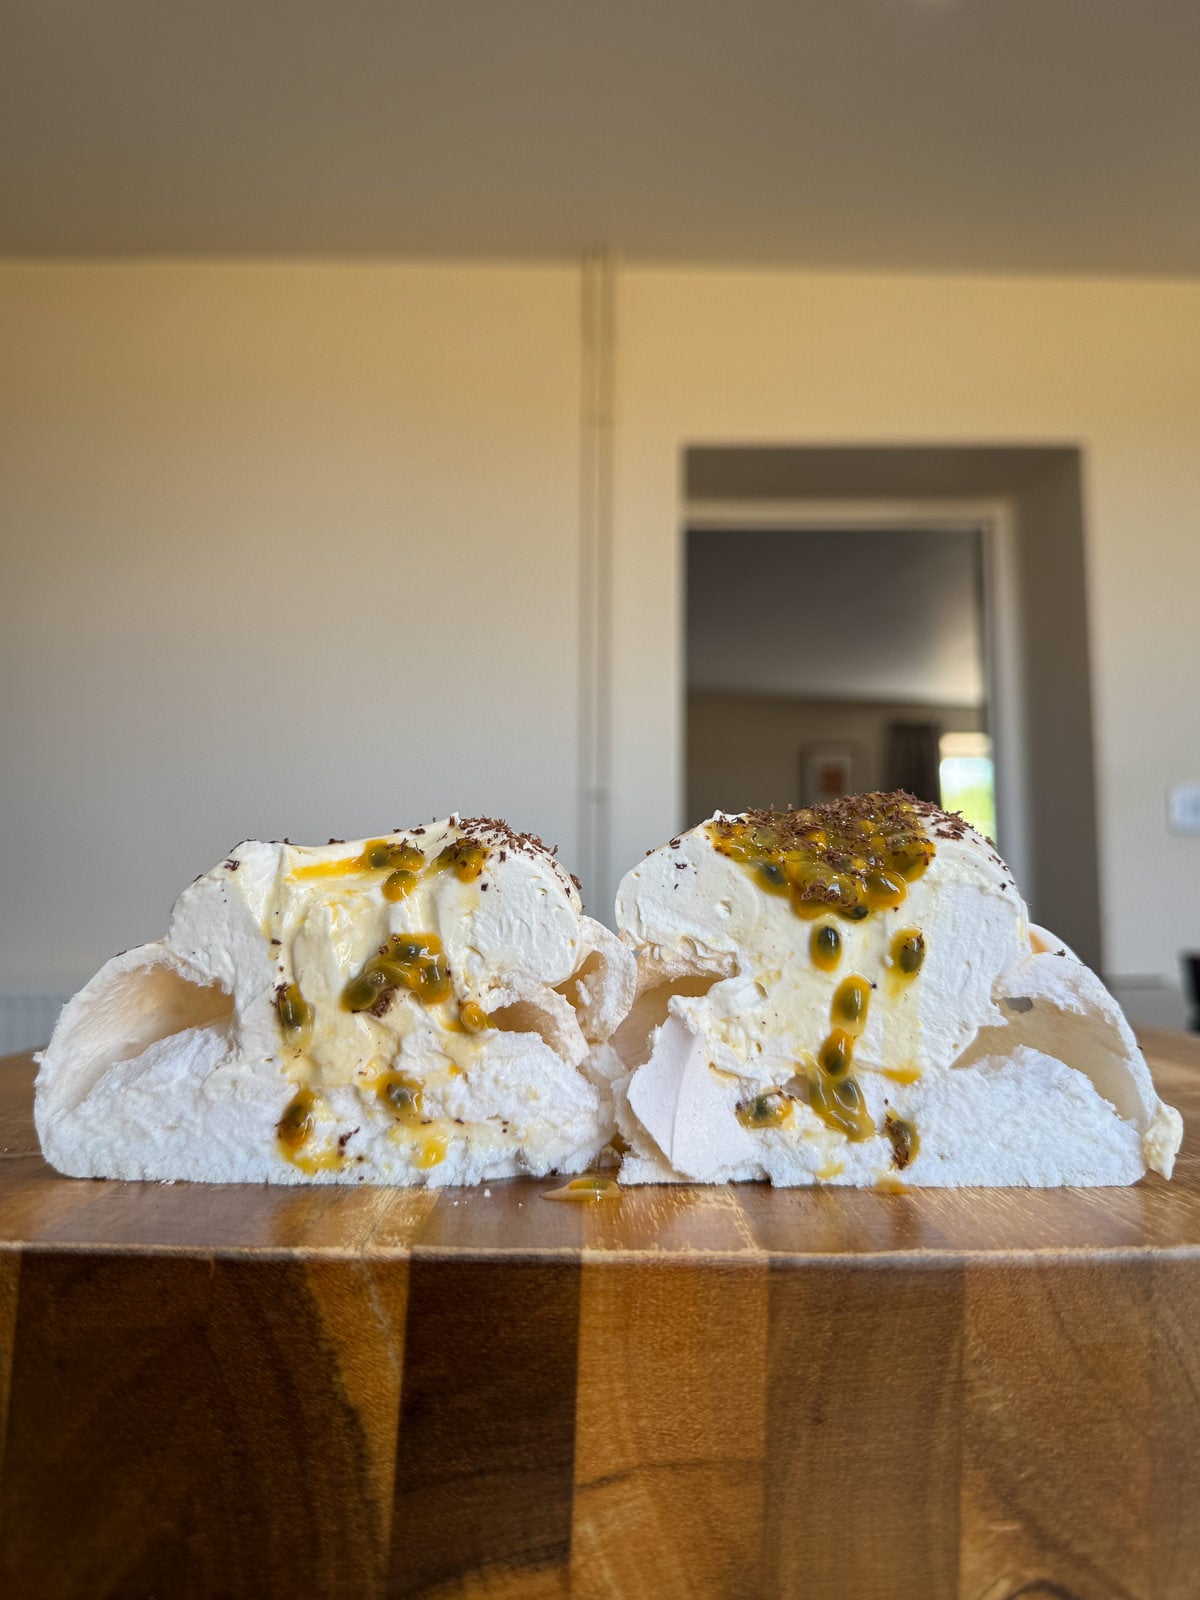
I LOVE a pavlova and this batch has all the qualities that make them great. These meringues are crisp on the outside and are perfectly fluffy & marshmallowy on the inside. They’re the ideal base for a wide range of toppings and I’ll show you the best way to shape them, so you can pile on as much whipped cream and fruit as you like!
In my opinion, mini pavlovas are so much better than a classic large one. Mainly because they’re loads easier to make, take less time to bake and just look more refined. Plus you get a better ratio of meringue to toppings! If you’ve ever had trouble making meringue, like cracking or weeping this recipe shows you how to avoid them too.
For more homemade puddings, take a look at our ever growing collection of dessert recipes! There’s lots to choose from here, including sticky toffee pudding, panna cottas, tiramisu, homemade ice creams & loads more…
Ingredients For Mini Pavlovas
- Egg Whites – I’d highly recommend separating eggs yourself when making meringue, instead of using egg whites out of a carton. It’s key to make meringue with room temperature egg whites, so make sure to let them sit out for 30 minutes or so, if your eggs have been in the fridge.
- Caster Sugar – Caster is the absolute best sugar to use for meringue as its finer granules dissolve quicker.
- Cream Of Tartar – I like to add a tiny amount of cream of tartar to the egg whites when making pavlovas, as it makes the meringue more stable. You’ll still get a really good batch of pavlovas without cream of tartar, so don’t worry too much if you don’t have any!
- Cornflour – Adding cornflour to pavlova meringue, ensures you get that signature marshmallowy texture on the inside and helps prevent any weeping.
- Vinegar – Adding a small amount of vinegar also helps get a fluffy marshmallowy inside. Either white wine vinegar or apple cider vinegar will work. Don’t worry, your meringue won’t taste vinegary!
- Vanilla – I like to flavour my meringue with a splash of good quality vanilla extract but feel free to leave this out if you’d prefer.
- Salt – A pinch of salt is used to add flavour and to cut through the sweetness.
How To Make Individual Pavlovas
The actual meringue for mini pavlovas is the same as the one you’d use for a classic larger one. The difference is how you shape them and how long they need in the oven.
KitchenAid Speeds
Before we get started, I thought I’d mention the mixer speeds that I use for each stage of making the meringue. If you’ve got a different brand of mixer, this will give you a rough idea.
- Mixing The Whites – KitchenAid speed 4-5 (medium)
- Adding In Sugar – KitchenAid speed 2-3 (medium-low)
- Whisking To Stiff Peaks – KitchenAid speed 4-5 (medium)
- Mixing In Cornflour – KitchenAid speed 4-5 (medium)
1. Prep Your Baking Tray
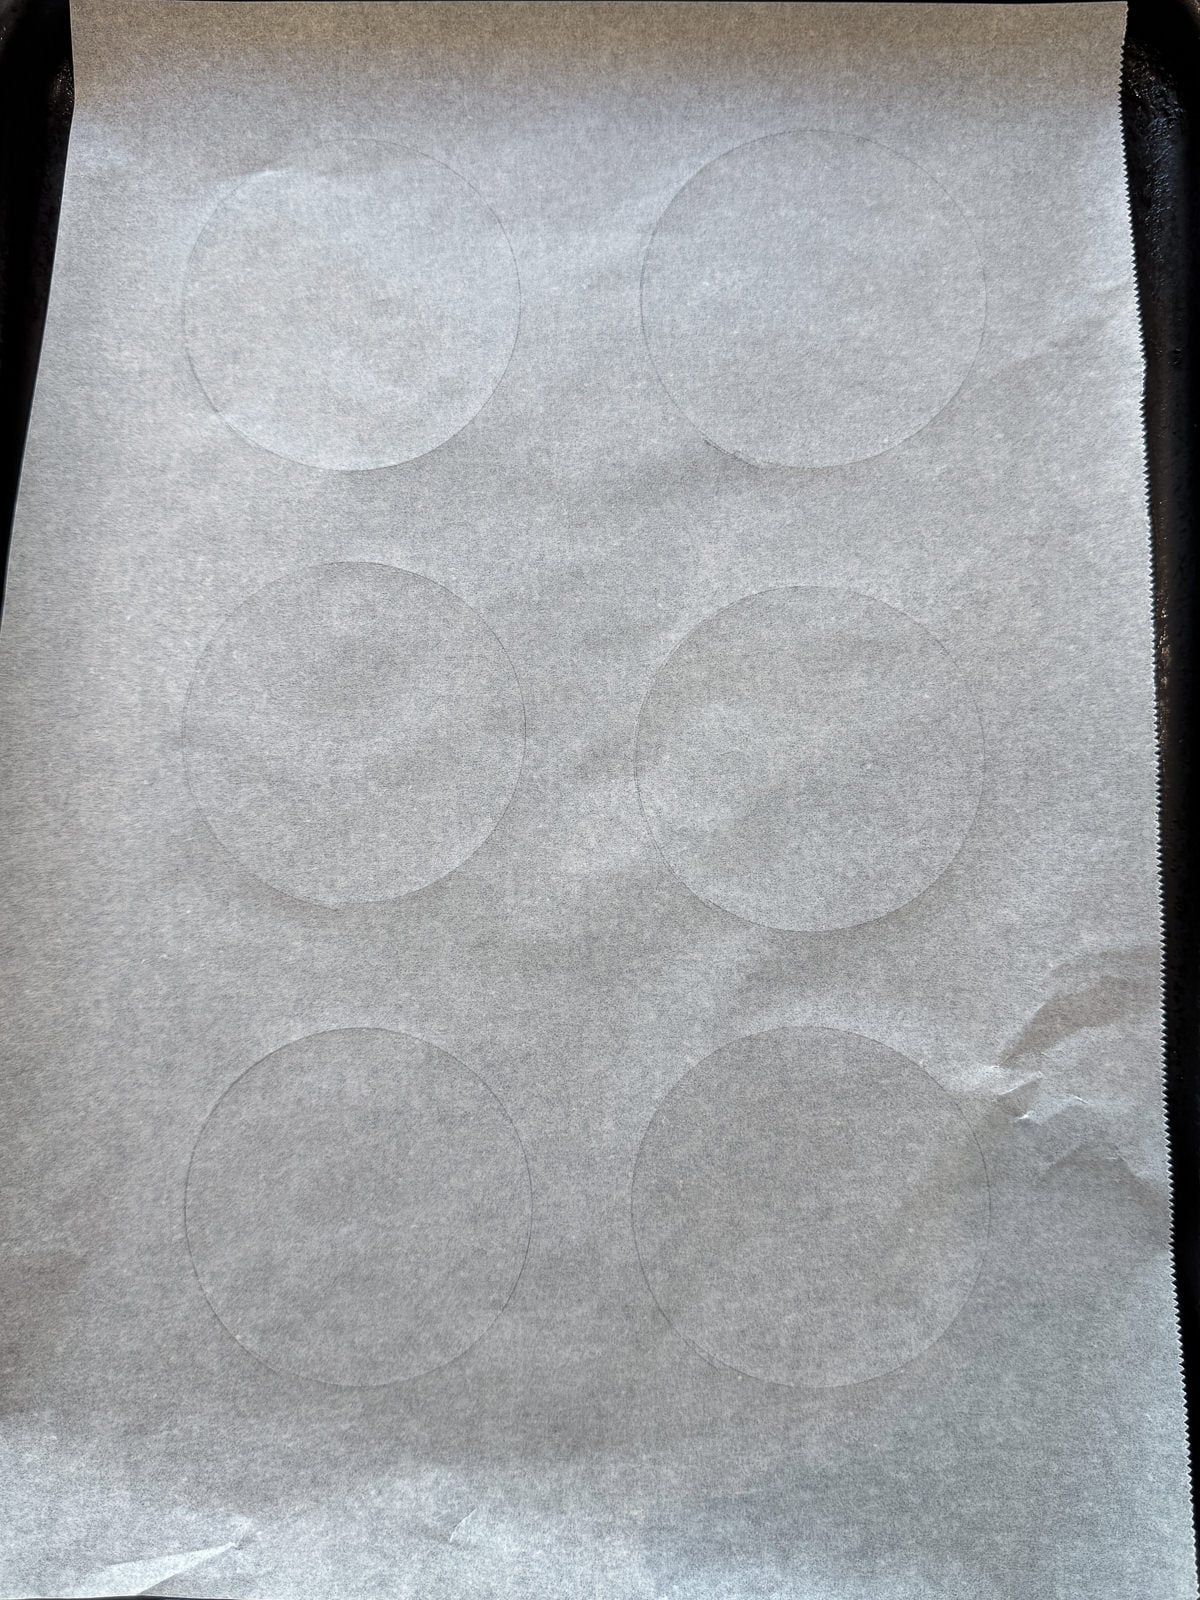
First, you’ll need to line a large baking tray with baking parchment. Then to make shaping the mini pavlovas easier, I like to draw six 9 cm circles on the parchment, flipping it over so the pen is underneath.
2. Whisk Whites To Soft Peaks
To start the meringue, add room temperature egg whites into the bowl of a stand mixer along with a tiny amount of cream of tartar. Then whisk on a medium speed until the whites reach soft peaks. This will only take 2-3 minutes.
3. Gradually Add In Sugar
Next, turn the mixer speed down slightly then add in caster sugar, a tablespoon at a time, making sure that each addition is mixed in fully before adding in more. I find that adding a spoonful of sugar every 20 seconds or so is best.
4. Whisk To Stiff Peaks
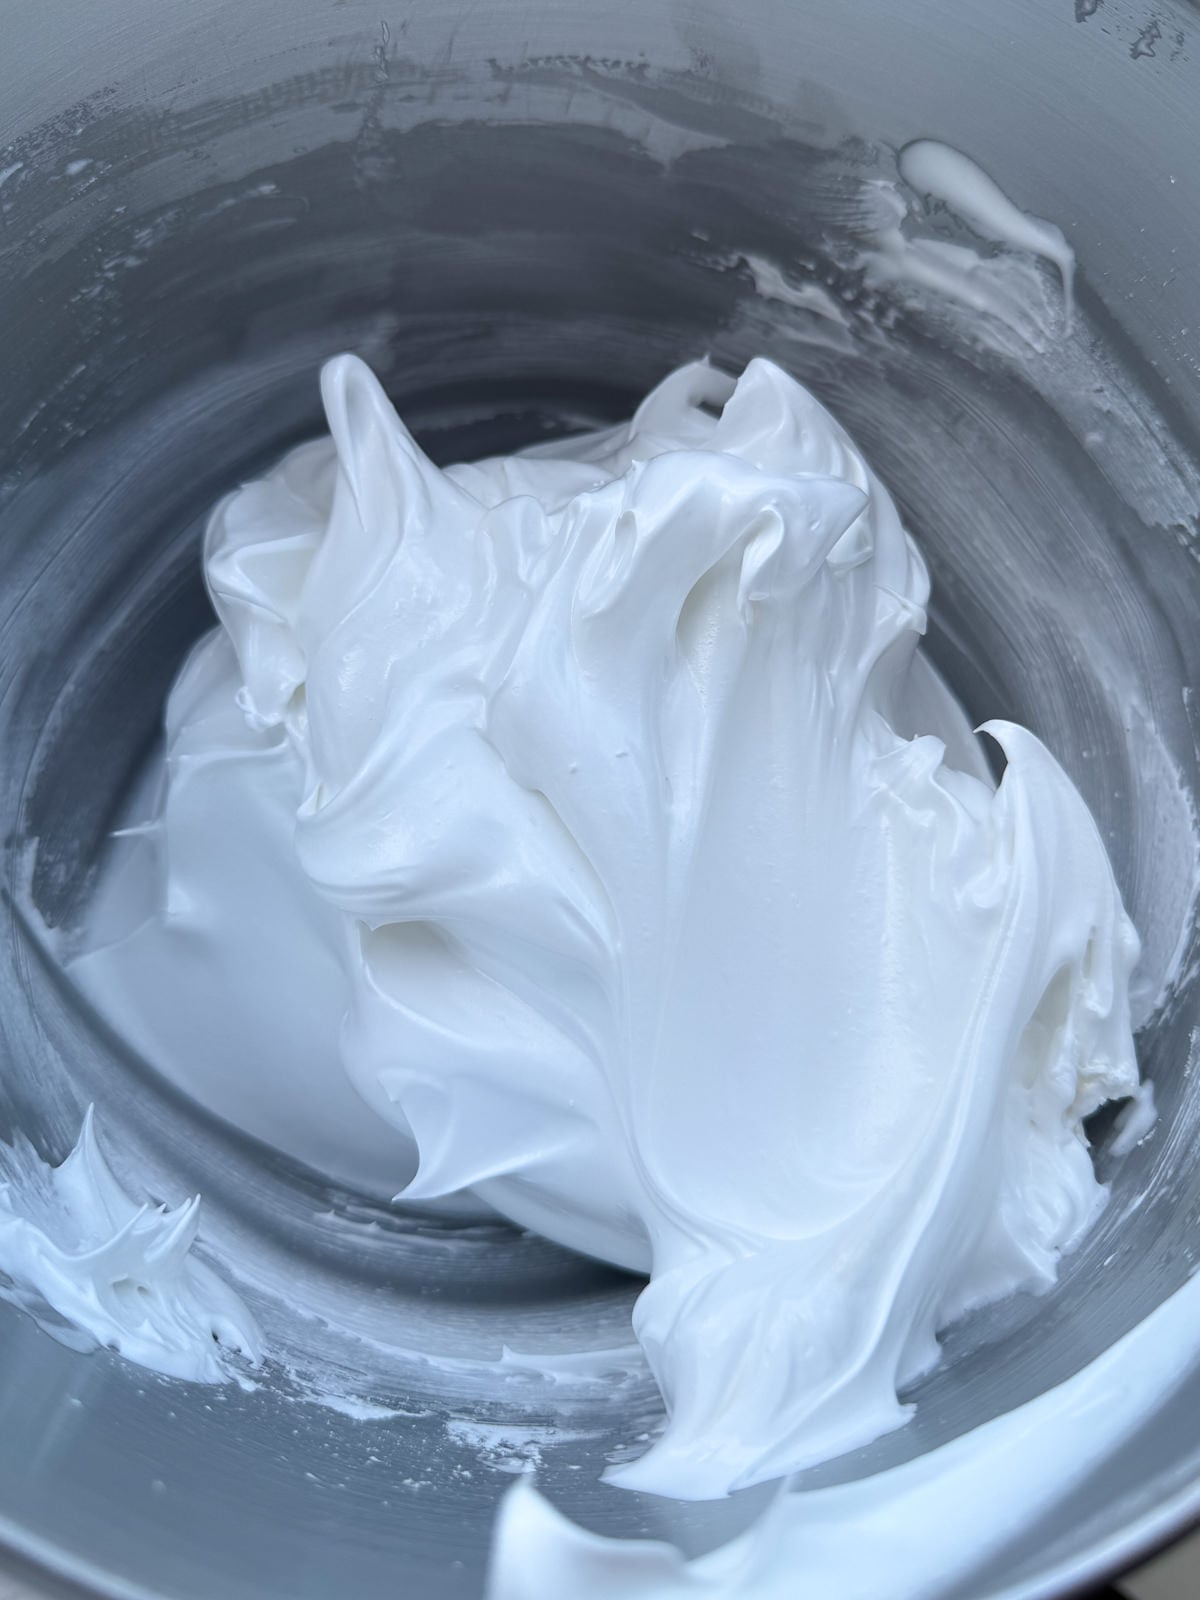
Once all of the sugar has been added in, turn the mixer back up to medium then whisk until the meringue reaches stiff peaks and all of the sugar has dissolved. This will take around 15-20 minutes. The best way to check if the sugar has dissolved is to rub a small amount of meringue between your fingers. If it feels smooth, the sugar has dissolved but if it feels grainy, you’ll need to continue whisking.
5. Add In Cornflour, Vinegar And Vanilla
To finish the meringue, add in cornflour, a small amount of white wine vinegar (or apple cider vinegar), a splash of good quality vanilla extract and a pinch of table salt then mix on a medium speed for another minute or so, until it has been incorporated. Transfer the meringue into a piping bag then cut the end off, 2 inches from the tip.
6. Shape Meringue Into Mini Pavlovas
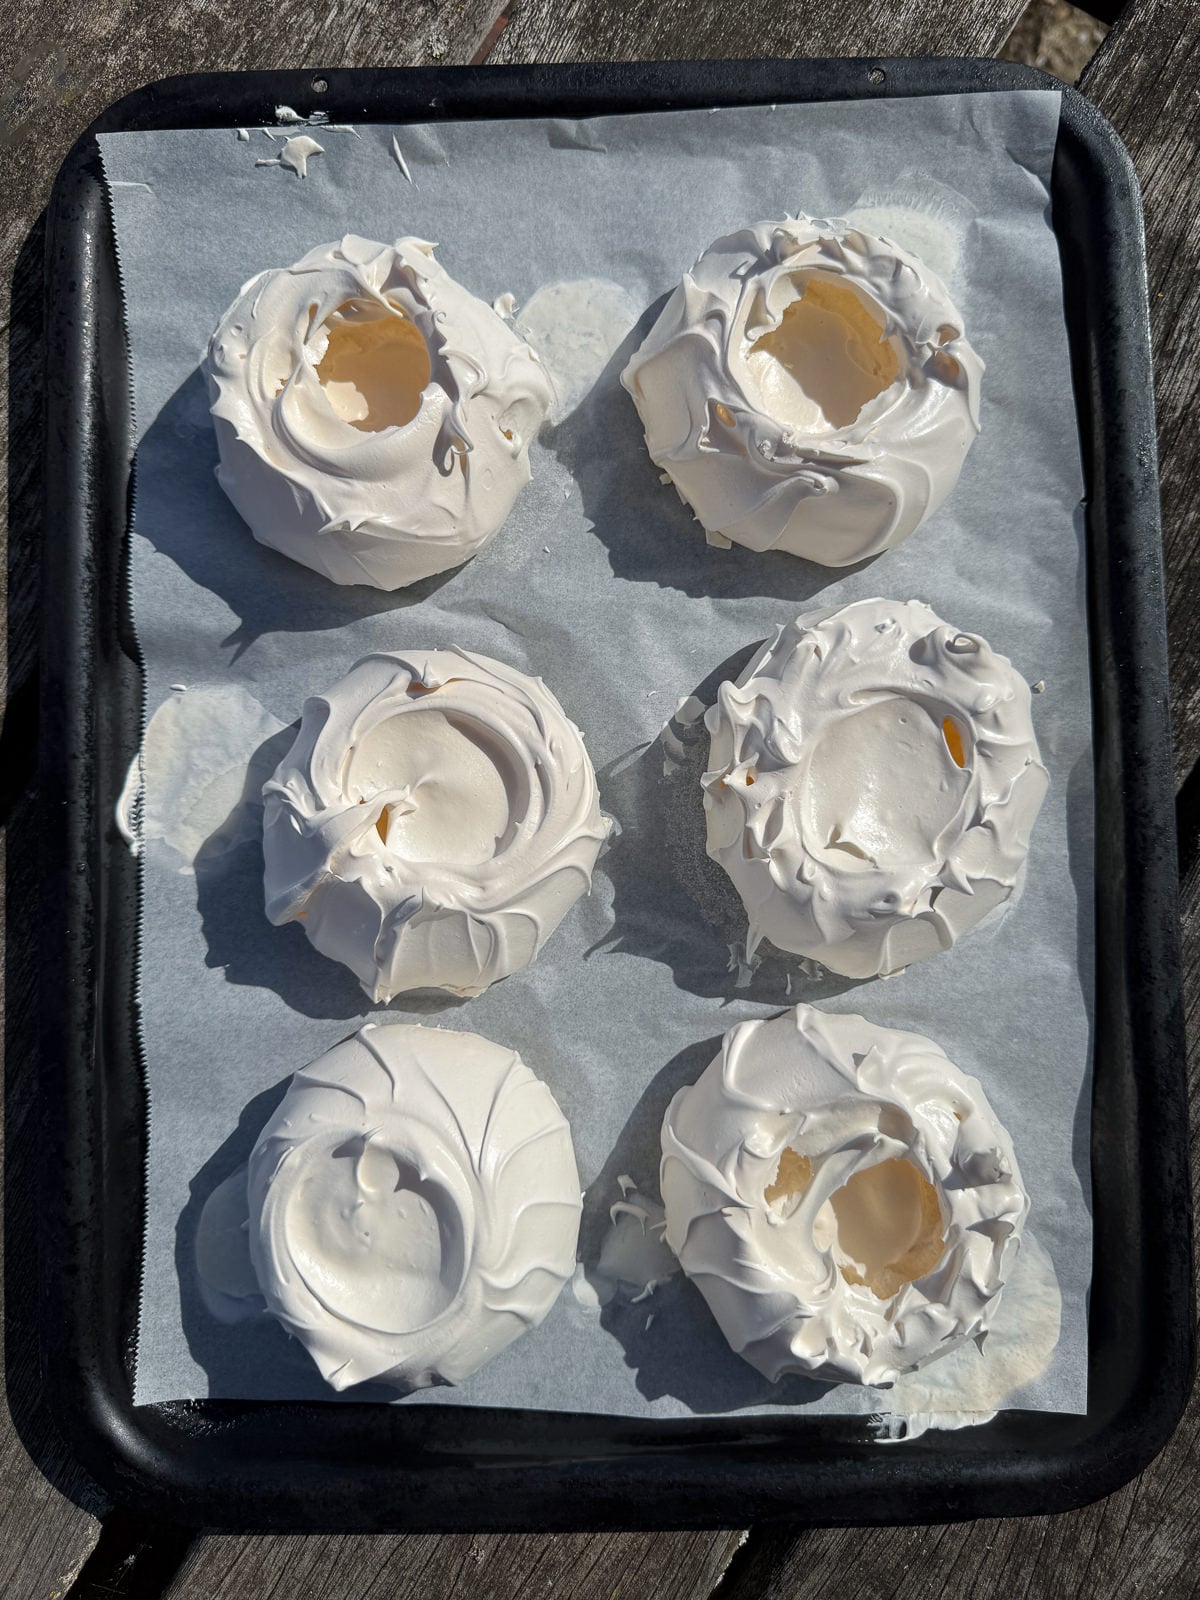
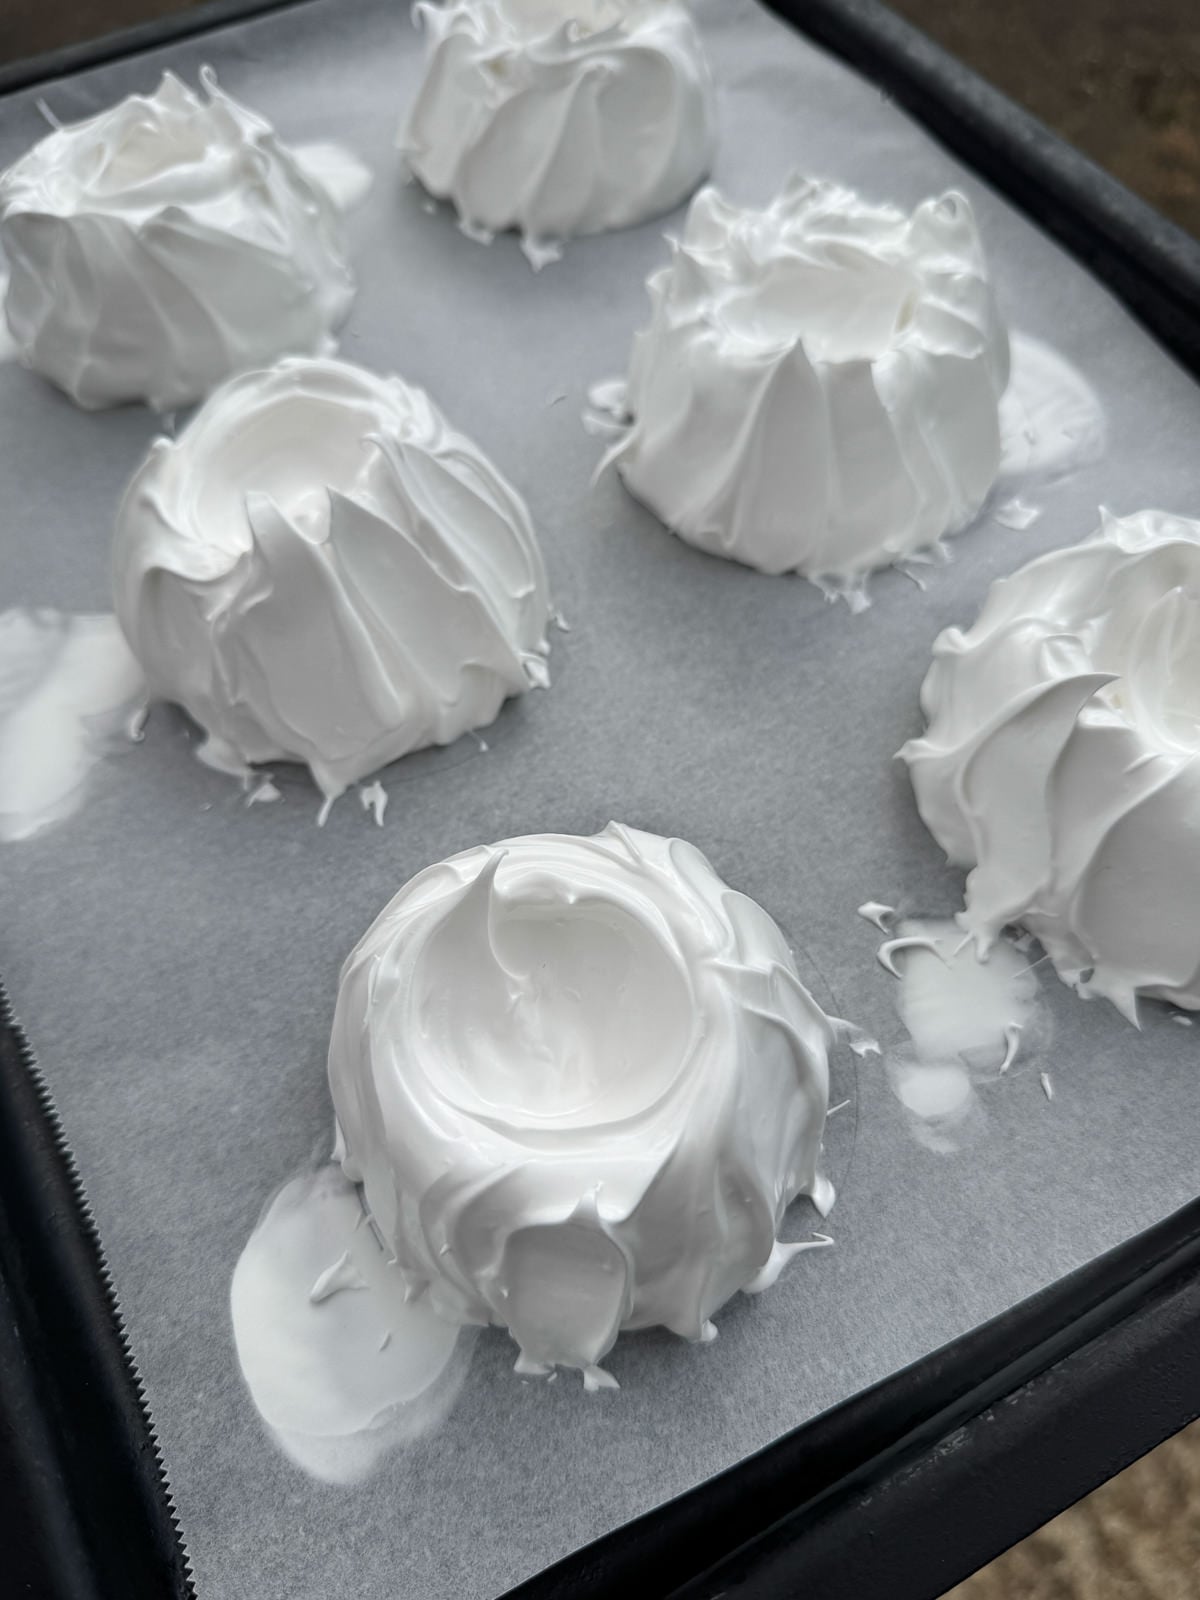
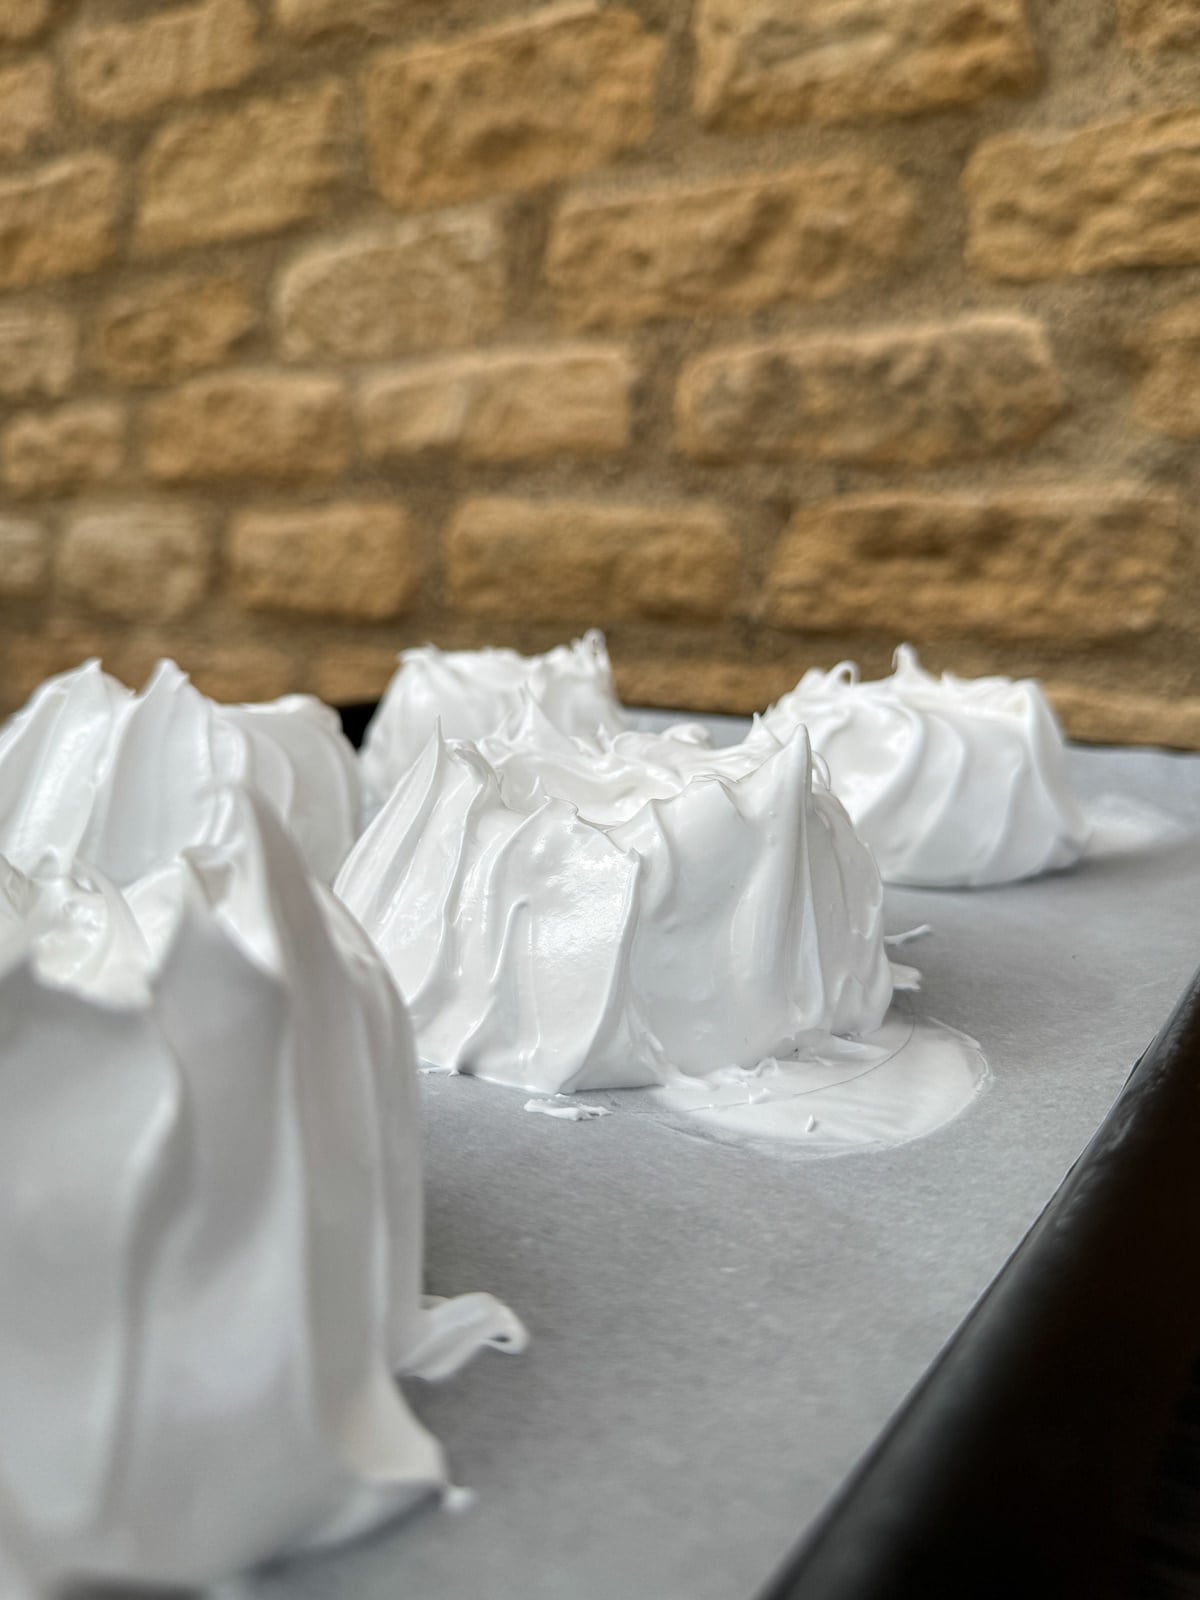
To shape the meringue, pipe 6 domes onto the lined baking tray, using the circles you drew onto the baking paper earlier as a guide. If you blob a small amount of meringue underneath each corner, the baking paper won’t move!
Next, use a palette knife or a spoon to shape the meringue so that each pavlova is around 5 cm tall, with a small crater on the top, to hold the cream and fruit. I also like to make some decorative swoops on the sides, for some extra texture.
7. Bake To Dry Out
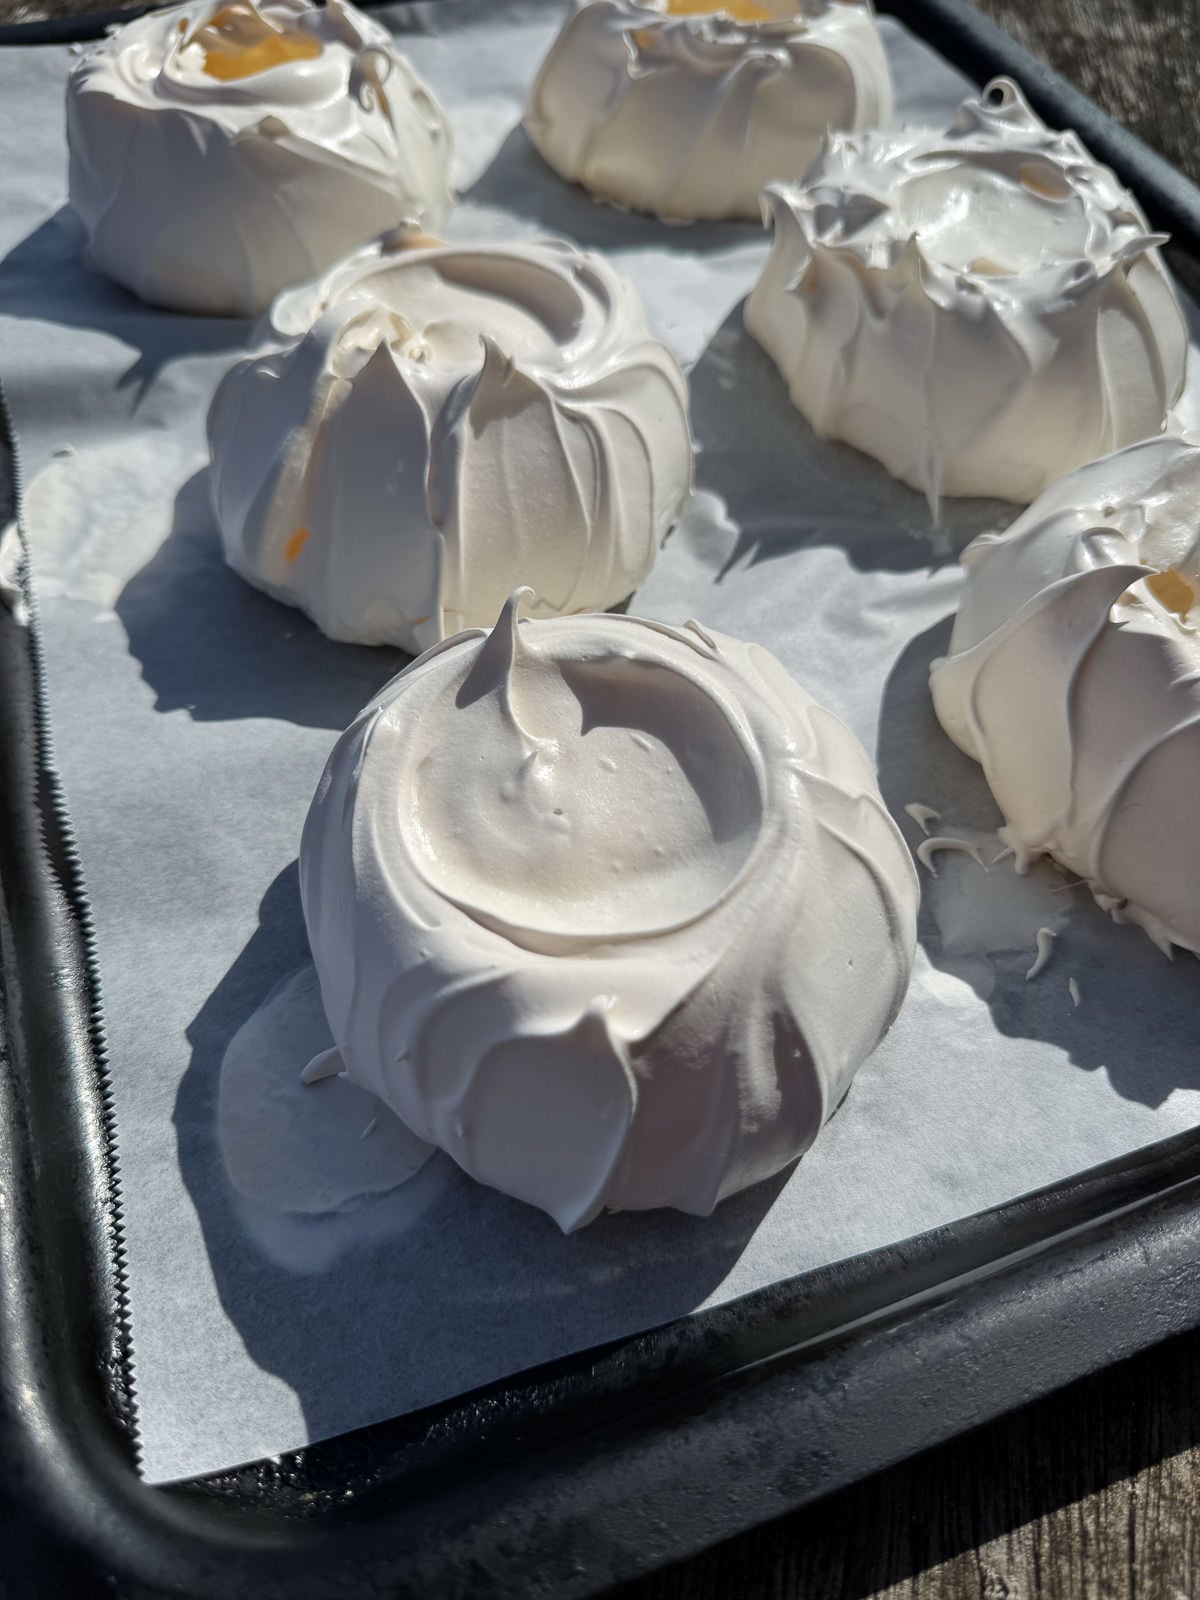
The best way that I’ve found to bake mini pavlovas, is to preheat an oven to 160°c/320°f whilst you make the meringue. Then as soon as they go into the oven, immediately reduce the temperature to 110°c/230°f then bake for 1 hour and 15 minutes, or until the meringue is dry to the touch and releases from the baking paper when gently lifted up.
Once your pavlovas are baked, turn your oven off but keep them inside, with the door closed. Then let the meringue cool gently in the oven for at least 4 hours but preferably, overnight. This stops them cracking! Then once they’re cool, serve with your choice of toppings…
Troubleshooting
Here are some common mistakes that can occur when making pavlovas and some tips & tricks on how to avoid them. I’ve made all of these mistakes over my cooking career but that means that I now know how to avoid them!
Why Did My Pavlova Crack?
Pavlova will crack if it cools too quickly after being baked or if the sugar was not incorporated & dissolved properly. To avoid a cracked pavlova (of any size), make sure to gradually add the sugar into the meringue then whisk until it no longer feels grainy. After baking, turn your oven off then let your pavlova cool slowly, with the oven door closed.
Why Have My Mini Pavlovas Weeped?
Pavlovas will weep sugar syrup if the sugar didn’t fully dissolve in the meringue or if the meringue was over beaten. To prevent weeping, add the sugar into the meringue a spoonful at a time then whisk until it reaches stiff peaks. Adding a small amount of cornflour and cream of tartar or vinegar to the meringue, helps prevent weeping too.
My Mini Pavlovas Have Gone Soft
Pavlovas will naturally soften over a few days after being baked but if they’re soft straight after baking, it’s probably because they were underbaked. To avoid this, make sure to bake the pavlovas at a low temperature until the outside feels dry & crisp. If you gently lift the meringue up, it should release from the baking paper.
Why Are My Pavlovas Light Brown Instead Of White?
If your pavlovas are light brown, it’s because the sugar in the meringue has caramelised. This will happen if your oven temperature is too high. To avoid this, bake the pavlovas at a low oven temperature.
Serving Suggestions
The great thing about mini pavlovas is that you top each one with different toppings, to suit everyone’s taste! With a classic large pavlova, you have to go with toppings that all your guests like, so points to individual meringues here!
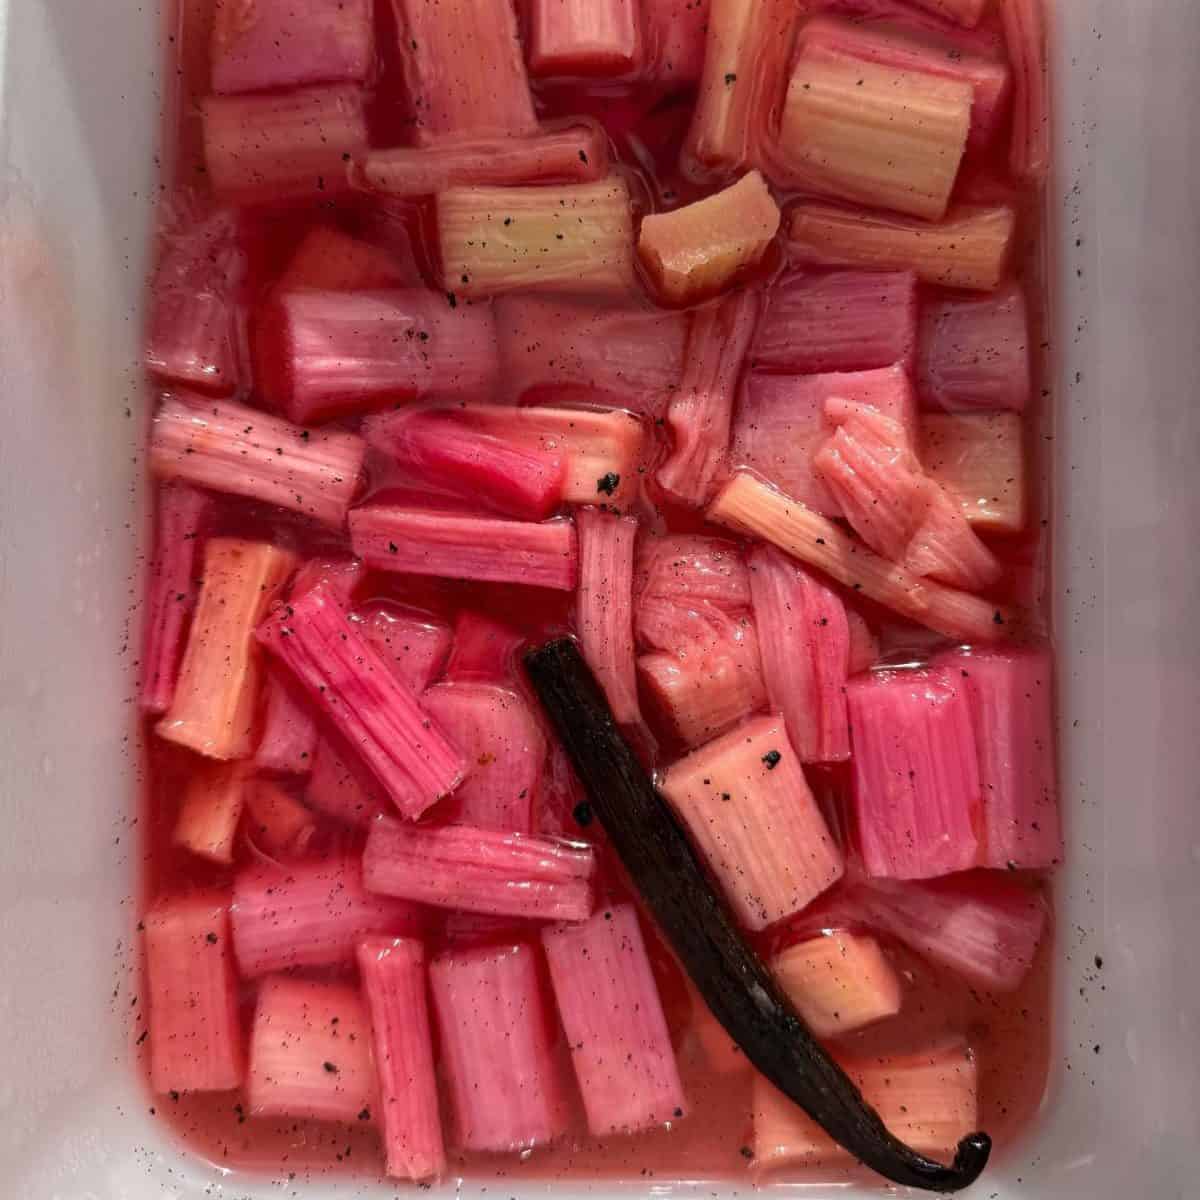
When I made my pavlovas, I topped them with some very softly whipped cream that was flavoured vanilla, plus some fresh passionfruit and a light sprinkle of grated dark chocolate. If using, I’d highly recommend whipping your cream by hand then you can top it with pretty much whatever you like! Fresh seasonal fruit is a classic choice, or a homemade fruit compote/coulis. And instead of cream, you could use ice cream or a vanilla pastry cream or cold custard.
Frequently Asked Questions
Mini pavlovas will start to soften over time, so they’re best eaten within 2 days of being made. If you’re not serving your pavlovas straight away, it’s best to store them in an airtight container.
You can use either fresh egg whites or slightly older ones for meringue but it’s best to use eggs that are between 2-5 days old. Older egg whites will whip faster and hold more volume whereas fresher whites will make a more stable meringue. Using 2-5 day old eggs gets the best of both!
Although it is possible to use a different type of sugar, caster sugar is the best choice for meringue as it has finer granules that dissolve into the egg whites quicker.
More Dessert Recipes To Try
- Malted White Chocolate Mousse
- Apple Cornflake Crunch
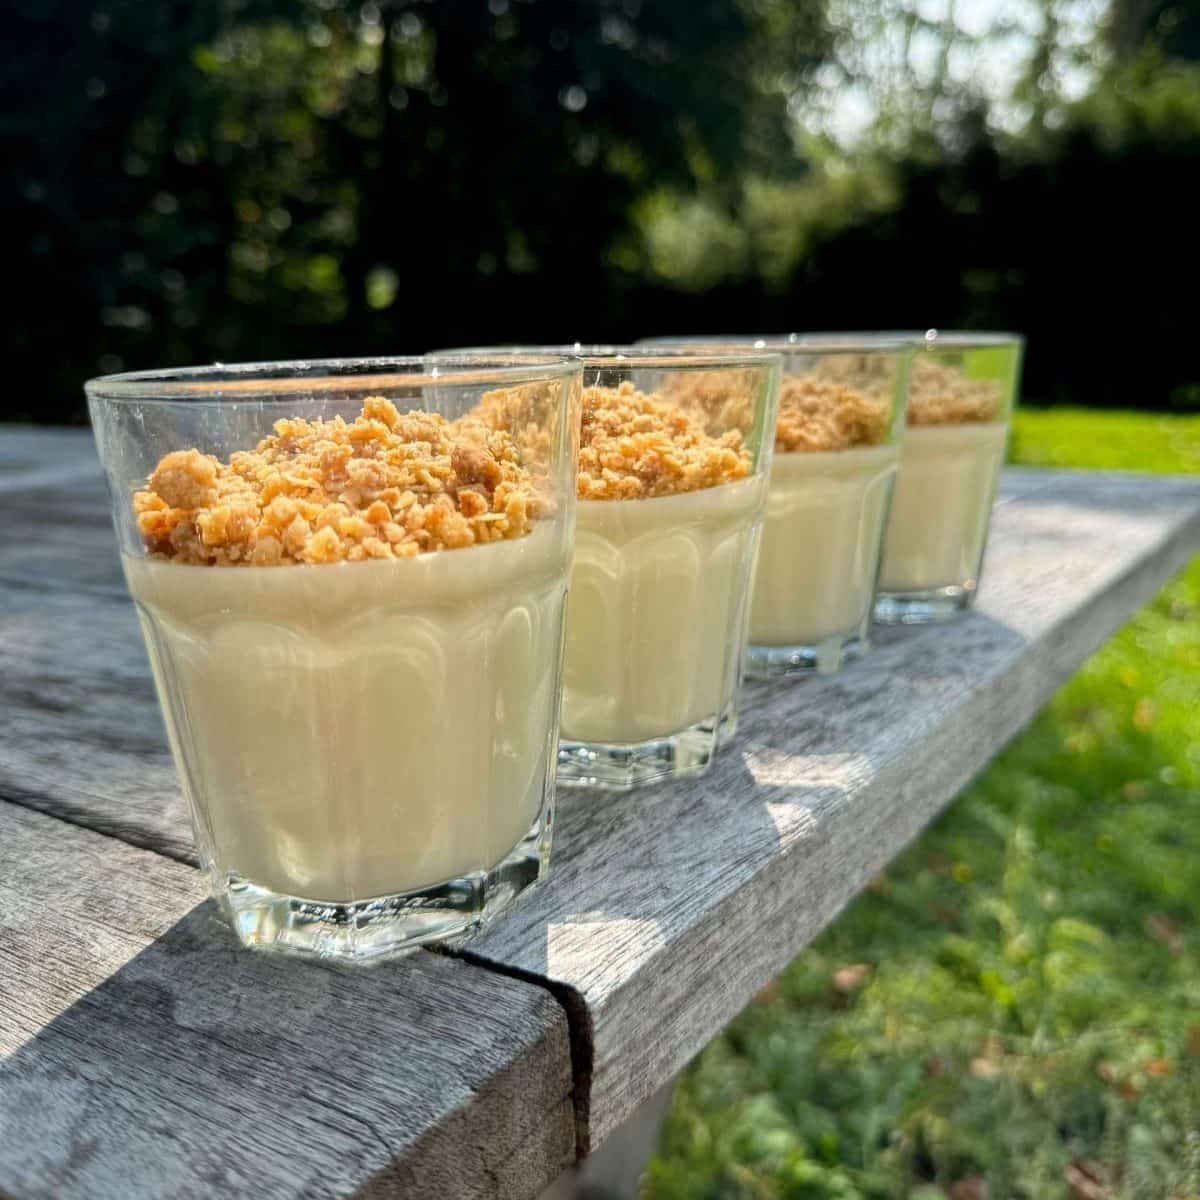
- Scoopable Vanilla Panna Cotta
- Profiteroles With Chocolate Sauce
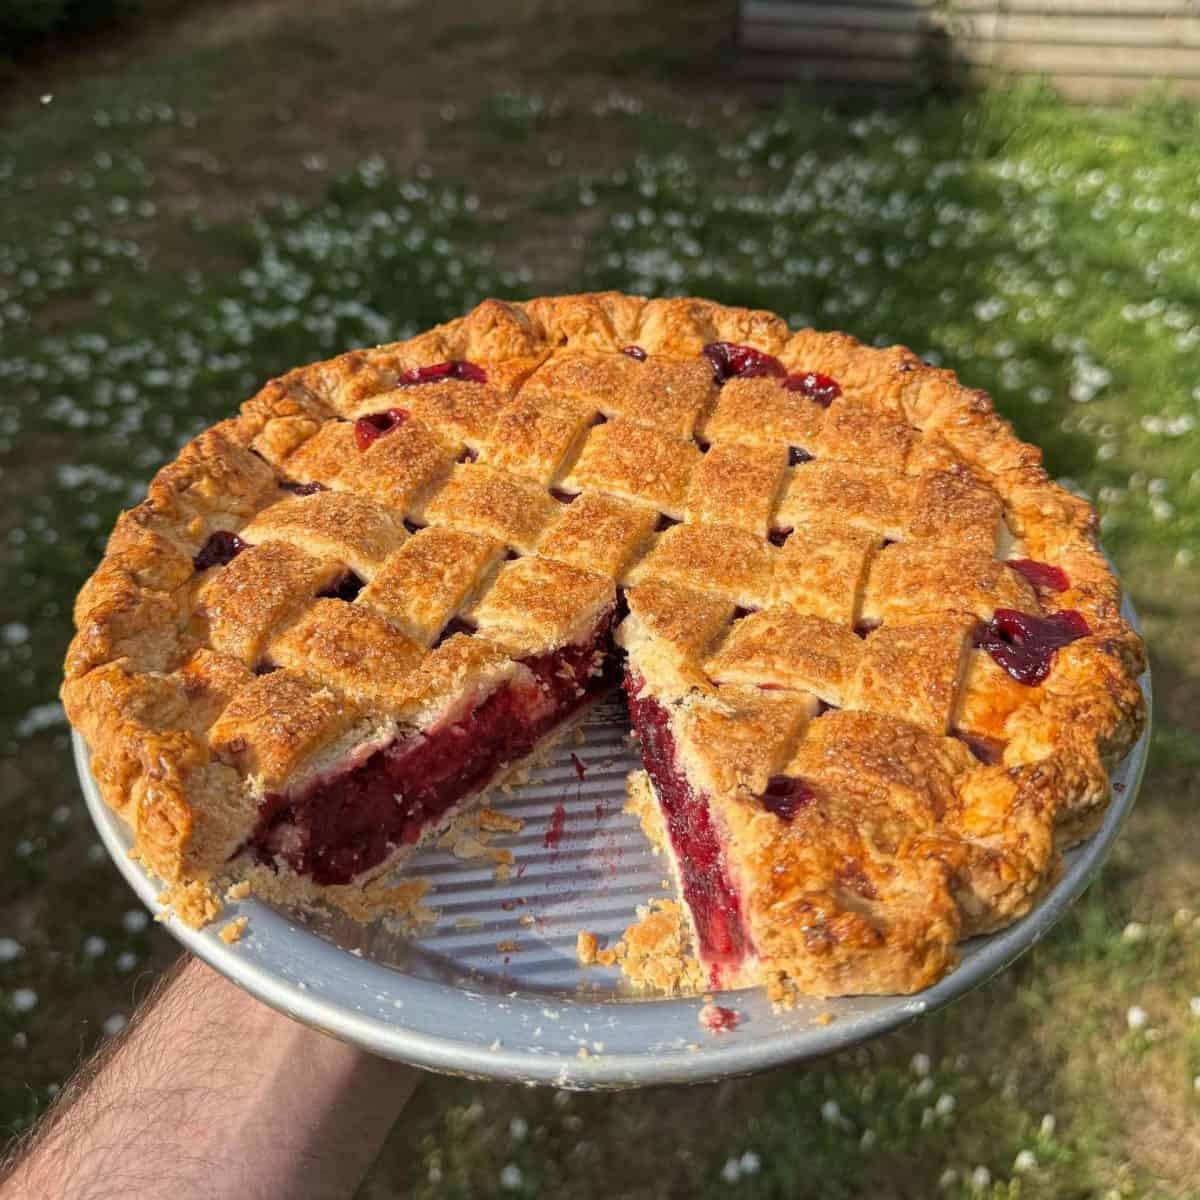
- Brown Butter & Bourbon Pecan Pie
- Lemon & Lime Possets With Ginger Crumble
If you have enjoyed this recipe for mini pavlovas, it would mean a lot if you could leave a review & rating. And if you’d like to stay up to date with future recipes, follow us on Instagram & TikTok or subscribe to our newsletter!
Individual Pavlovas
Equipment
- Stand Mixer
- Large Baking Tray
- Piping Bag
Ingredients
- 160 g Egg Whites (Room Temperature- See Notes)
- ¼ tsp Cream Of Tartar
- 270 g Caster Sugar
- 2 tsp Cornflour
- 1 tsp White Wine Vinegar
- 1 tsp Vanilla Extract
- A Pinch Of Table Salt
Instructions
- Line a large baking tray with baking parchment then draw six 9cm circles onto the parchment with a pen. Flip the parchment over so that the circles are underneath.Use a circular cutter or plate as a guide!
- Add the egg whites and cream of tartar into the bowl of a stand mixer then whisk on a medium speed to soft peaks. This will take 2-3 minutes.It's important to make sure that your bowl is clean and dry.
- Next, turn the mixer speed down slightly then add in the caster sugar a tablespoon at a time, making sure to let the sugar mix in fully before adding in more. I find that adding a spoonful of sugar in every 20 seconds or so is best.
- Once all the sugar has been added, turn the mixer back up to medium then continue whisking for 15-20 minutes, until the meringue has reached stiff peaks and is thick & glossy.
- Whilst your meringue is whisking to stiff peaks, preheat an oven to 160°c/140°c fan (320°f/284°f).If you're using a KitchenAid, speed 4-5 is best when whisking the meringue to stiff peaks. To check if the meringue is ready, rub it between your thumb & index finger. If it feels smooth, it's ready but if it feels grainy, more whisking is needed.
- Add the cornflour, vinegar, vanilla and salt to the meringue then whisk for another minute or so (on medium), until combined.
- Transfer the meringue into a piping bag, then pipe 6 domes of meringue onto the tray, using the circles that you drew earlier as guides.I find that cutting the end of the piping bag off 2 inches from the tip is best as this allows us to pipe a large dome of meringue in one go. If you dab a small amount of meringue on each corner of the tray, underneath the parchment then it won't move!
- Next, use a palette knife or spoon to shape each meringue so that they're roughly 5 cm tall, with a shallow crater on top (to hold the custard, fruit & cream!).I like to use a palette knife to make some decorative swoops on the sides of the meringues.
- Once shaped, place the tray into the preheated oven then immediately turn the temperature down to 110°c/90°c fan (230°f/194°f). Bake for 1 hour, 15 minutes until the pavlovas are dry to the touch and release from the baking parchment when gently lifted up. If they're not ready, bake for another 10-15 minutes then check again.Don't open your oven during cooling, to prevent the pavlovas from cracking! If you check the pavlovas after baking, do this quickly to avoid a sudden temperature change.
- Once baked, turn the oven off & let the pavlovas cool for at least 4 hours or preferably overnight.
Salt Butter Smoke Magazine
Food that’s made for sharing.
The Christmas 2026 issue features 30 festive recipes, Christmas cooking guides, beautiful food photography and features on everything from the perfect cheeseboard to the art of trifle.
Discover the Christmas Issue →Notes
Enjoying This Recipe?
The Prep List is my free weekly newsletter with seasonal recipes, kitchen notes and behind-the-scenes from my kitchen. Add Salt Butter Smoke as a Google Preferred Source to see more of my recipes in Search.