
Homemade Peppermint Bark
The easiest homemade peppermint bark to make at Christmas! This festive chocolate makes a perfect edible gift and you can even use it to make cookies.
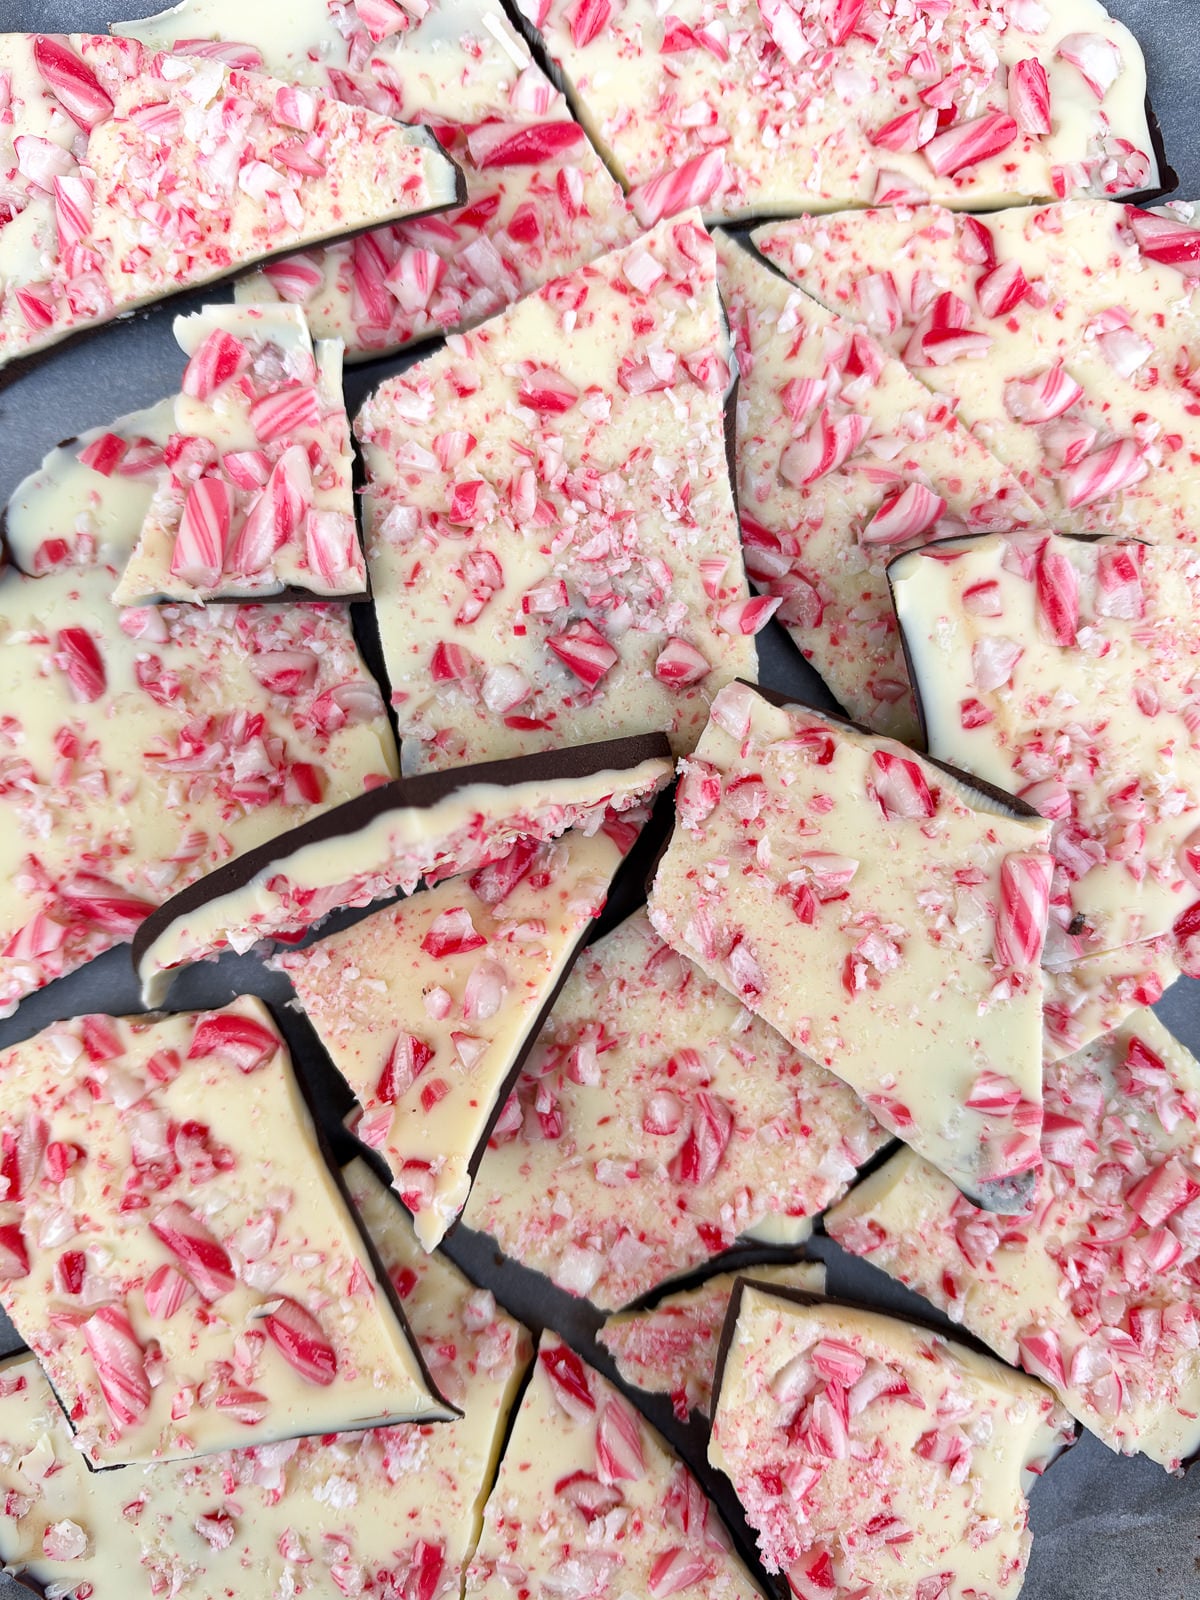
Homemade peppermint bark is one of the easiest Christmas treats to make during the holidays! This minty chocolate bark is incredibly easy to make, only uses 5 ingredients and keeps for up to 3 weeks in the fridge, so is perfect for gifting.
My peppermint bark is made with 2 layers of good quality chocolate, a pinch of sea salt, a splash of peppermint extract and a generous sprinkle of crushed candy canes. One of the best things about this bark is that it only takes around 20 minutes to prepare and an hour to set. Then you break it into pieces and it’ll keep for several weeks. You really can’t go wrong!
I made this peppermint bark to use for a batch of festive chocolate cookies but it’s equally as good served on its own. I’ve also included the best way to smash the bark up if you want irregular pieces or how to cut it into neat, evenly sized chunks.
For more festive bakes, take a look at our collection of Christmas baking recipes! There’s classic mince pies, rocky road, gingerbread and lots more. These recipes make perfect Christmas gifts…
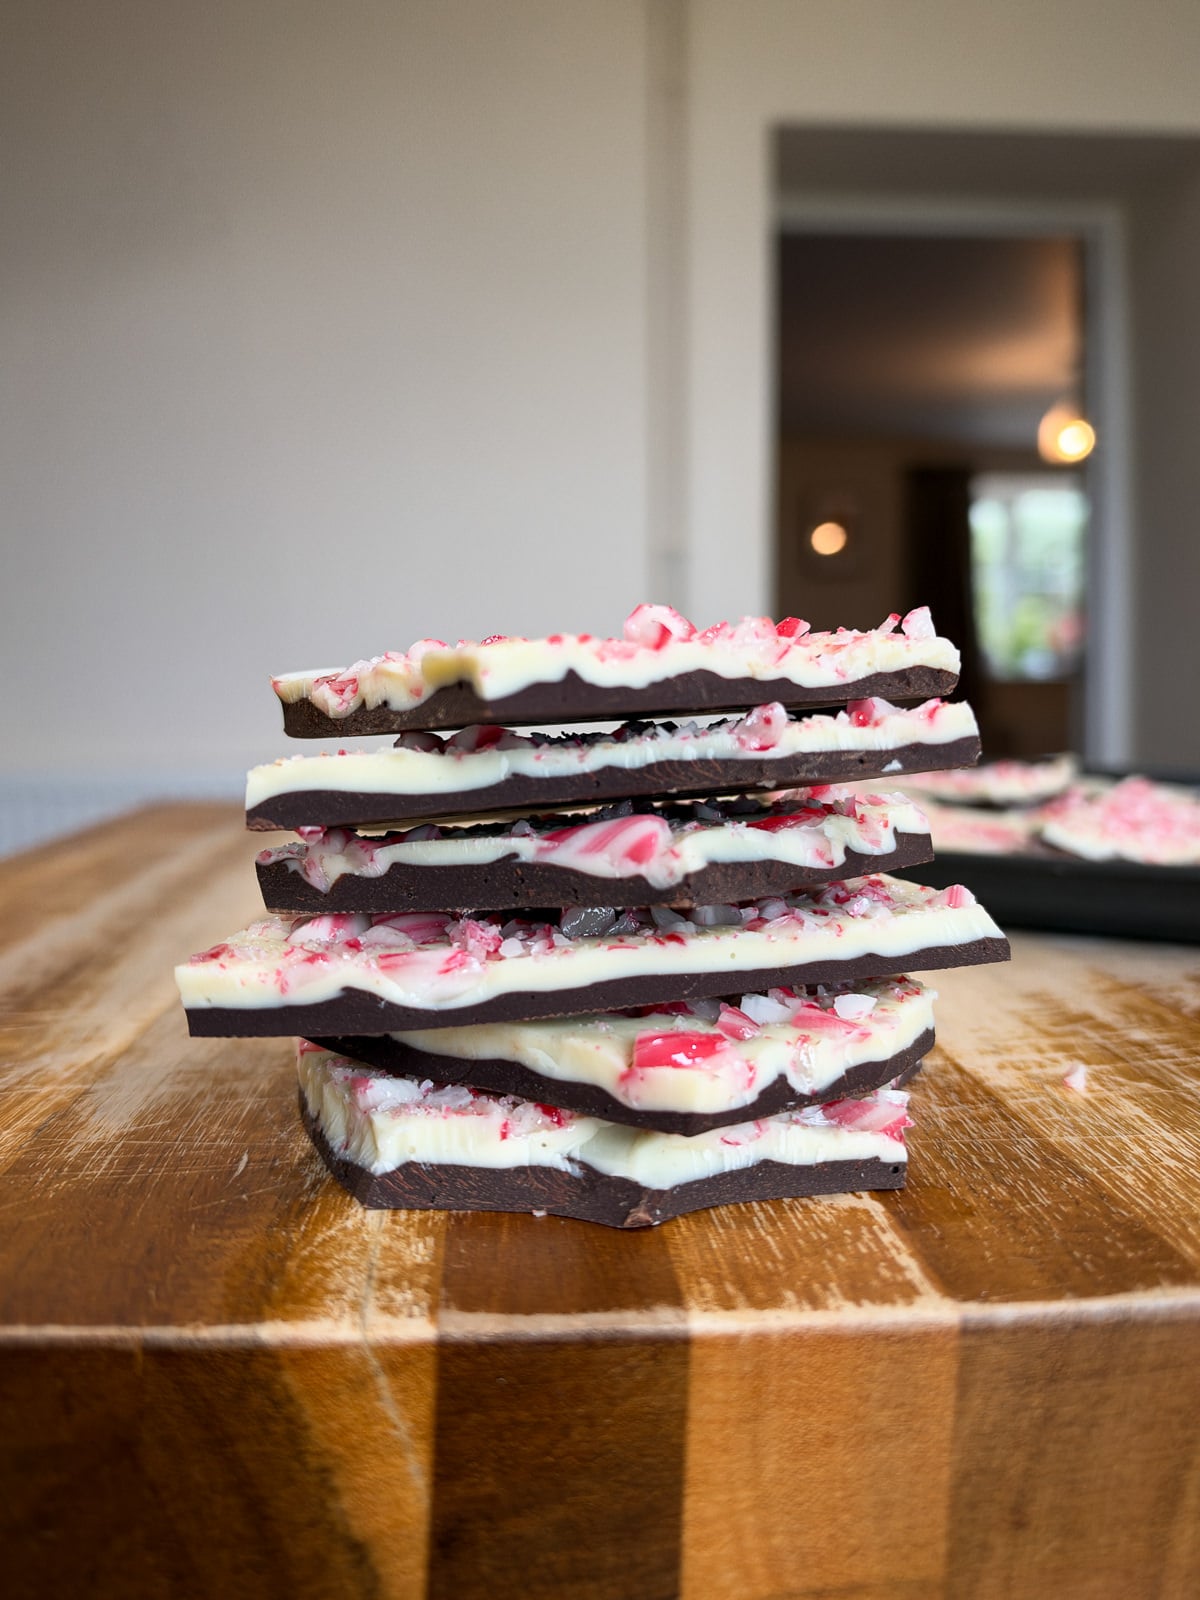
Peppermint Bark Layers
Here’s how I layer my peppermint bark, working from top to bottom. If you wanted to change the order of the chocolate layers, that’s absolutely fine though!
- Crushed Candy Canes – On top of the bark is a generous sprinkle of crushed peppermint candy canes.
- White Chocolate – I like the top layer of chocolate to be white, so the candy canes stand out more.
- Peppermint Dark Chocolate – The bottom layer is dark chocolate flavoured with peppermint. Using 2 types of chocolate gives the bark a really nice contrast.
Ingredients For Peppermint Bark
- Dark Chocolate – I used a 72% dark chocolate for my peppermint bark, as I like the contrast between the slightly bitter dark chocolate and sweet white chocolate! If you’d prefer, you can use a slightly lighter chocolate like a 54% dark chocolate or even milk chocolate instead. Make sure to use good quality bars of chocolate, instead of chips as they will melt better.
- White Chocolate – It’s key to use a good quality white chocolate for barks, ideally one that you’d happily eat on its own!
- Candy Canes – Make sure to use peppermint candy canes! You can get these in most supermarkets during the festive period.
- Peppermint Extract – It’s best to use an oil based peppermint extract as water based extracts can make chocolate split.
- Sea Salt – I like to add a pinch of sea salt just to the melted dark chocolate, to enhance the flavours.
How To Make Homemade Peppermint Bark
Homemade peppermint bark is incredibly easy to make and only takes a few minutes to prepare. It’s key to let the chocolate set for at least an hour before serving, so it’s ideal for making ahead of time. I use a microwave to melt my chocolate but you can set the bowl of chocolate over a pan of barely simmering water to melt instead.
- Line A Baking Tray
If you’d like your peppermint bark to be the exact same thickness as mine, you’ll need to set it in an 8″ x 12″ baking tray. You can use a larger tray for thinner bark or a smaller one for thicker. Either way, you’ll need to line the tray with baking paper, otherwise the bark will stick! - Peppermint Dark Chocolate
The first step of making the bark is to melt dark chocolate with peppermint extract. To do this, add roughly chopped dark chocolate into a heatproof bowl along with a pinch of salt. Heat the chocolate in the microwave in 20 second bursts, until just melted then stir in peppermint extract. Make sure to stir the chocolate after each heat. - Chill Until Just Set
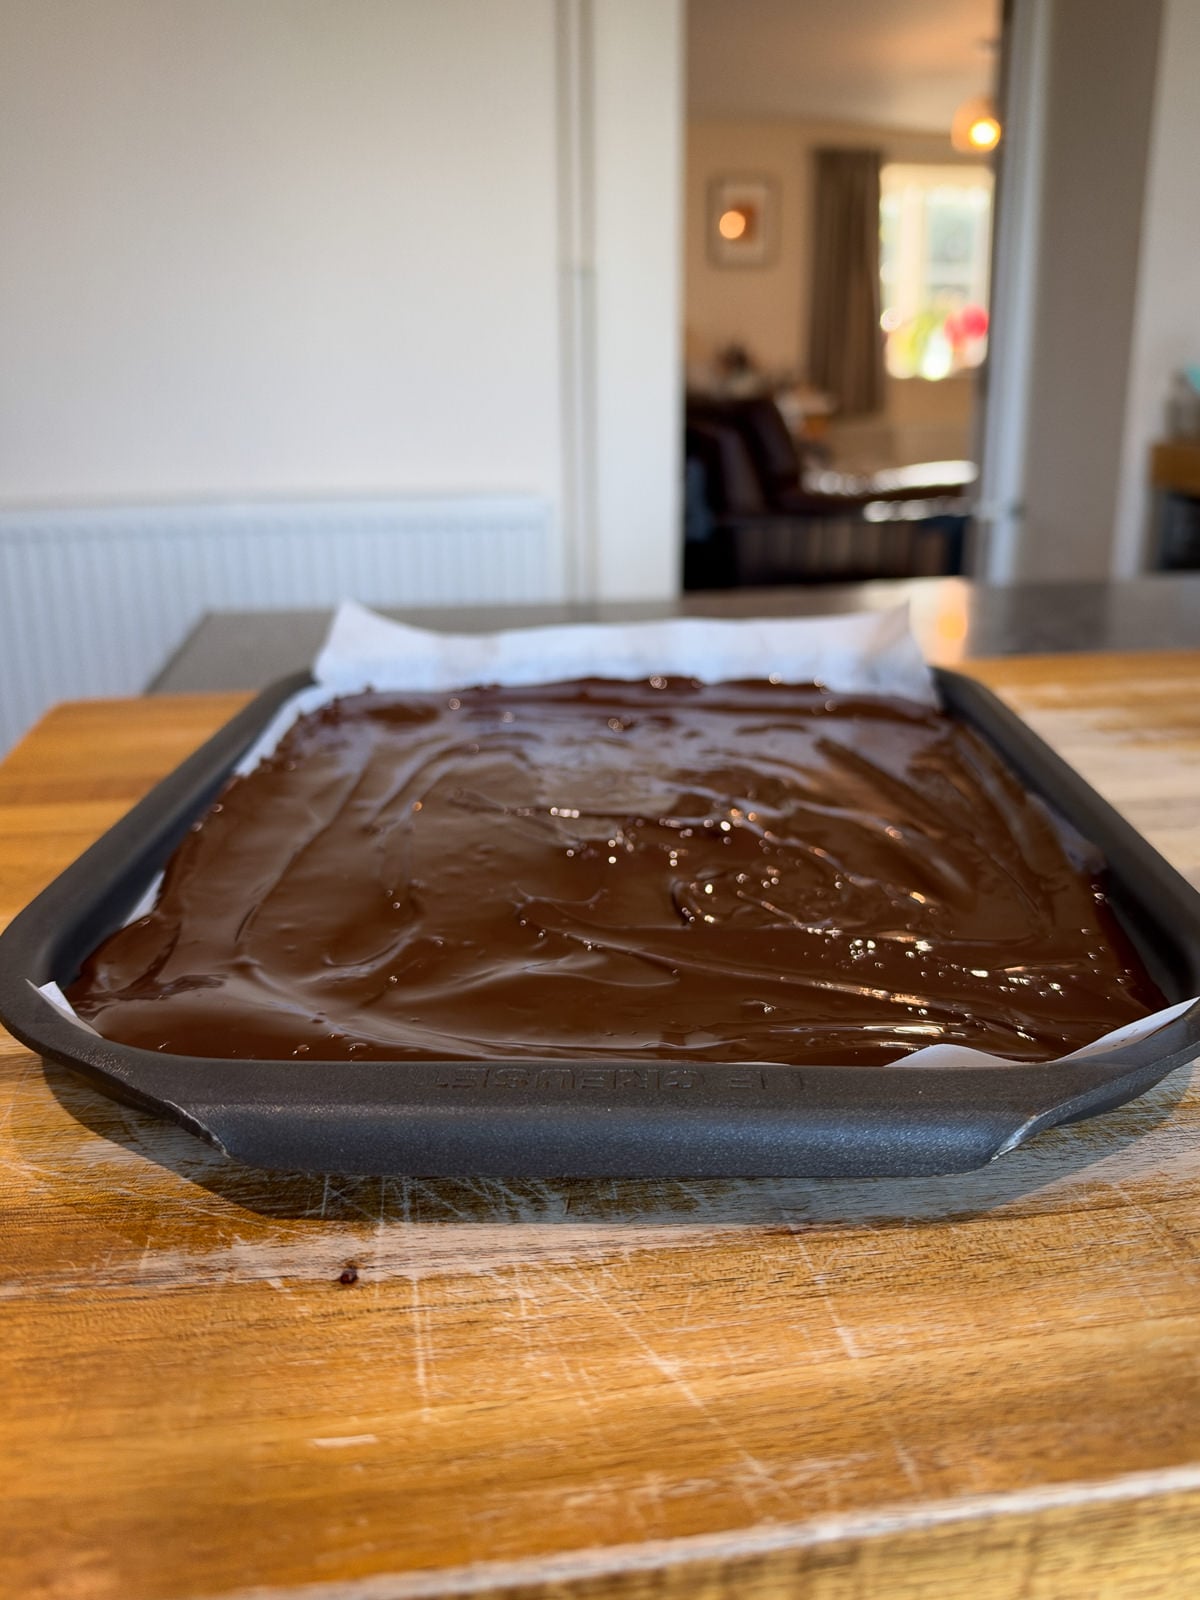
Once melted, pour the minty dark chocolate onto your lined baking tray then use a palette knife to spread it out, into a thin, even layer. Chill the chocolate in the fridge for 10-15 minutes, whilst you prepare the second layer. The dark chocolate needs to be just set and still a bit soft when you pour the white chocolate over. - Melt White Chocolate And Crush Candy Canes
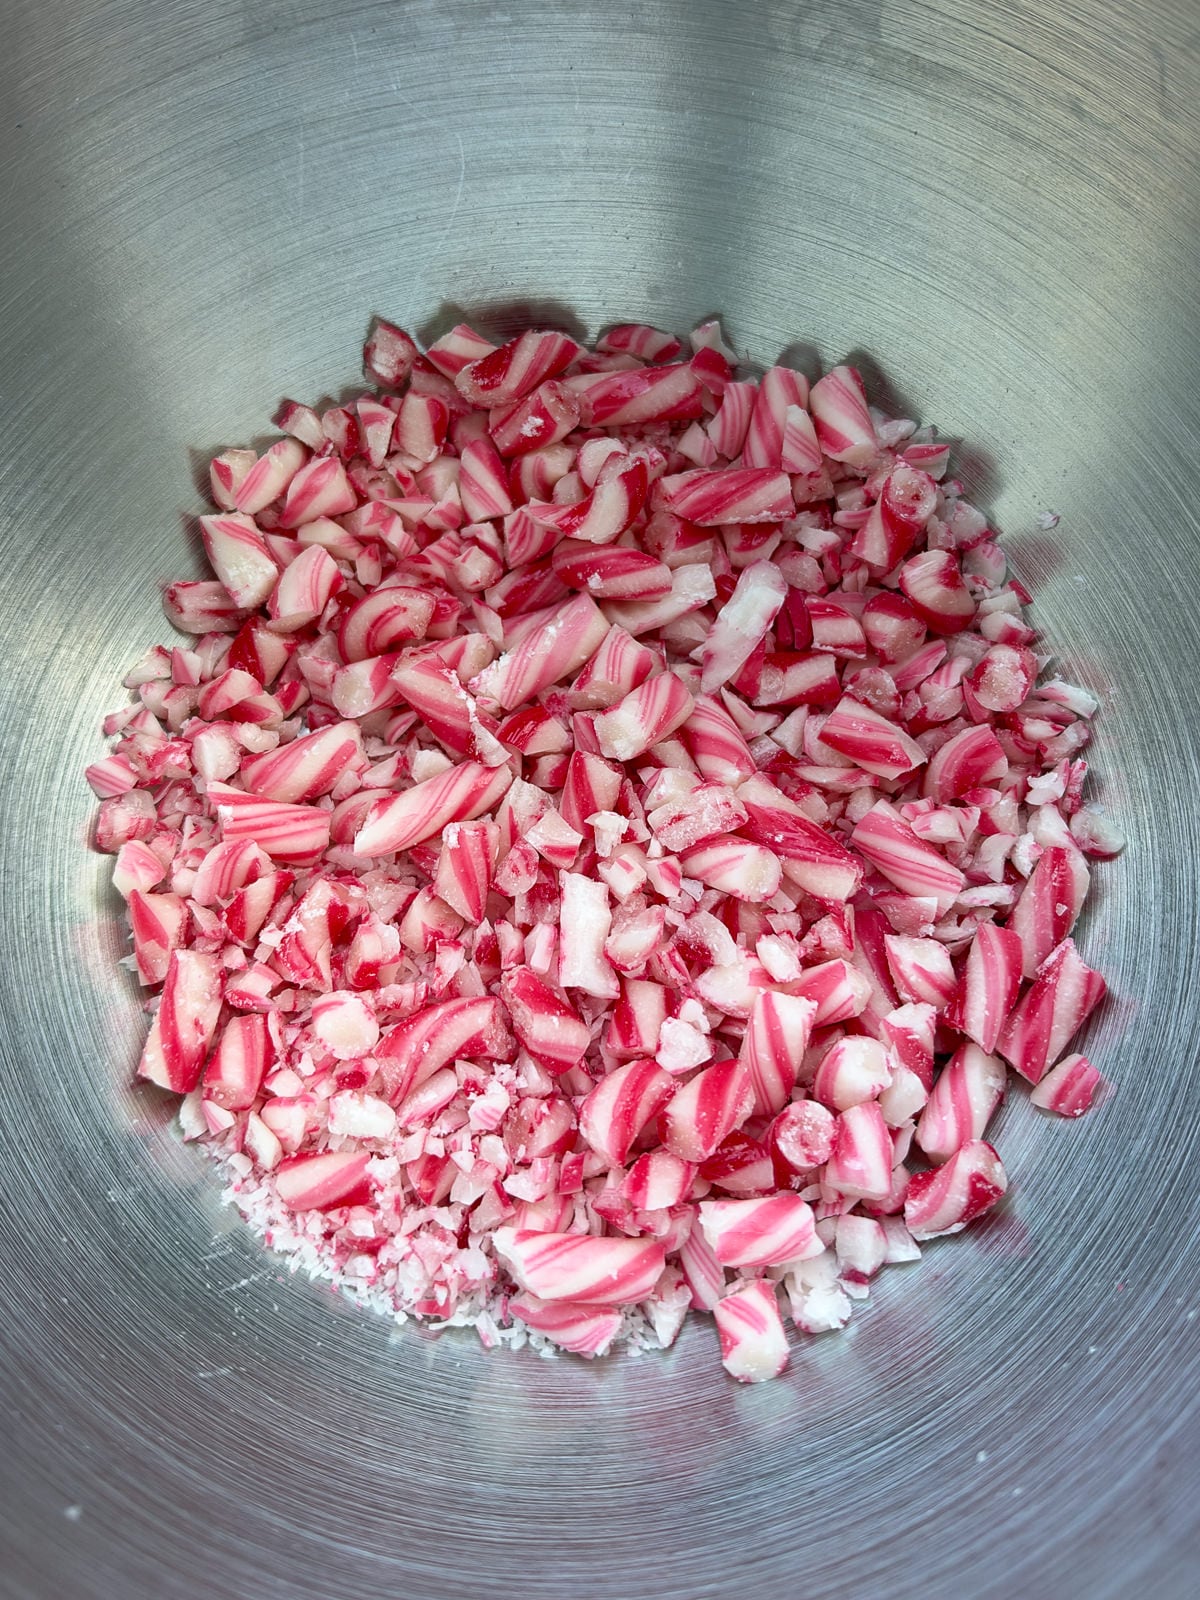
Next, roughly chop your white chocolate, melt in the microwave then leave to cool slightly. Whilst your chocolate cools, add peppermint candy canes into a sealed food bag then use a rolling pin to coarsely crush. I like a mix of small and slightly larger pieces! - White Chocolate Candy Cane Layer
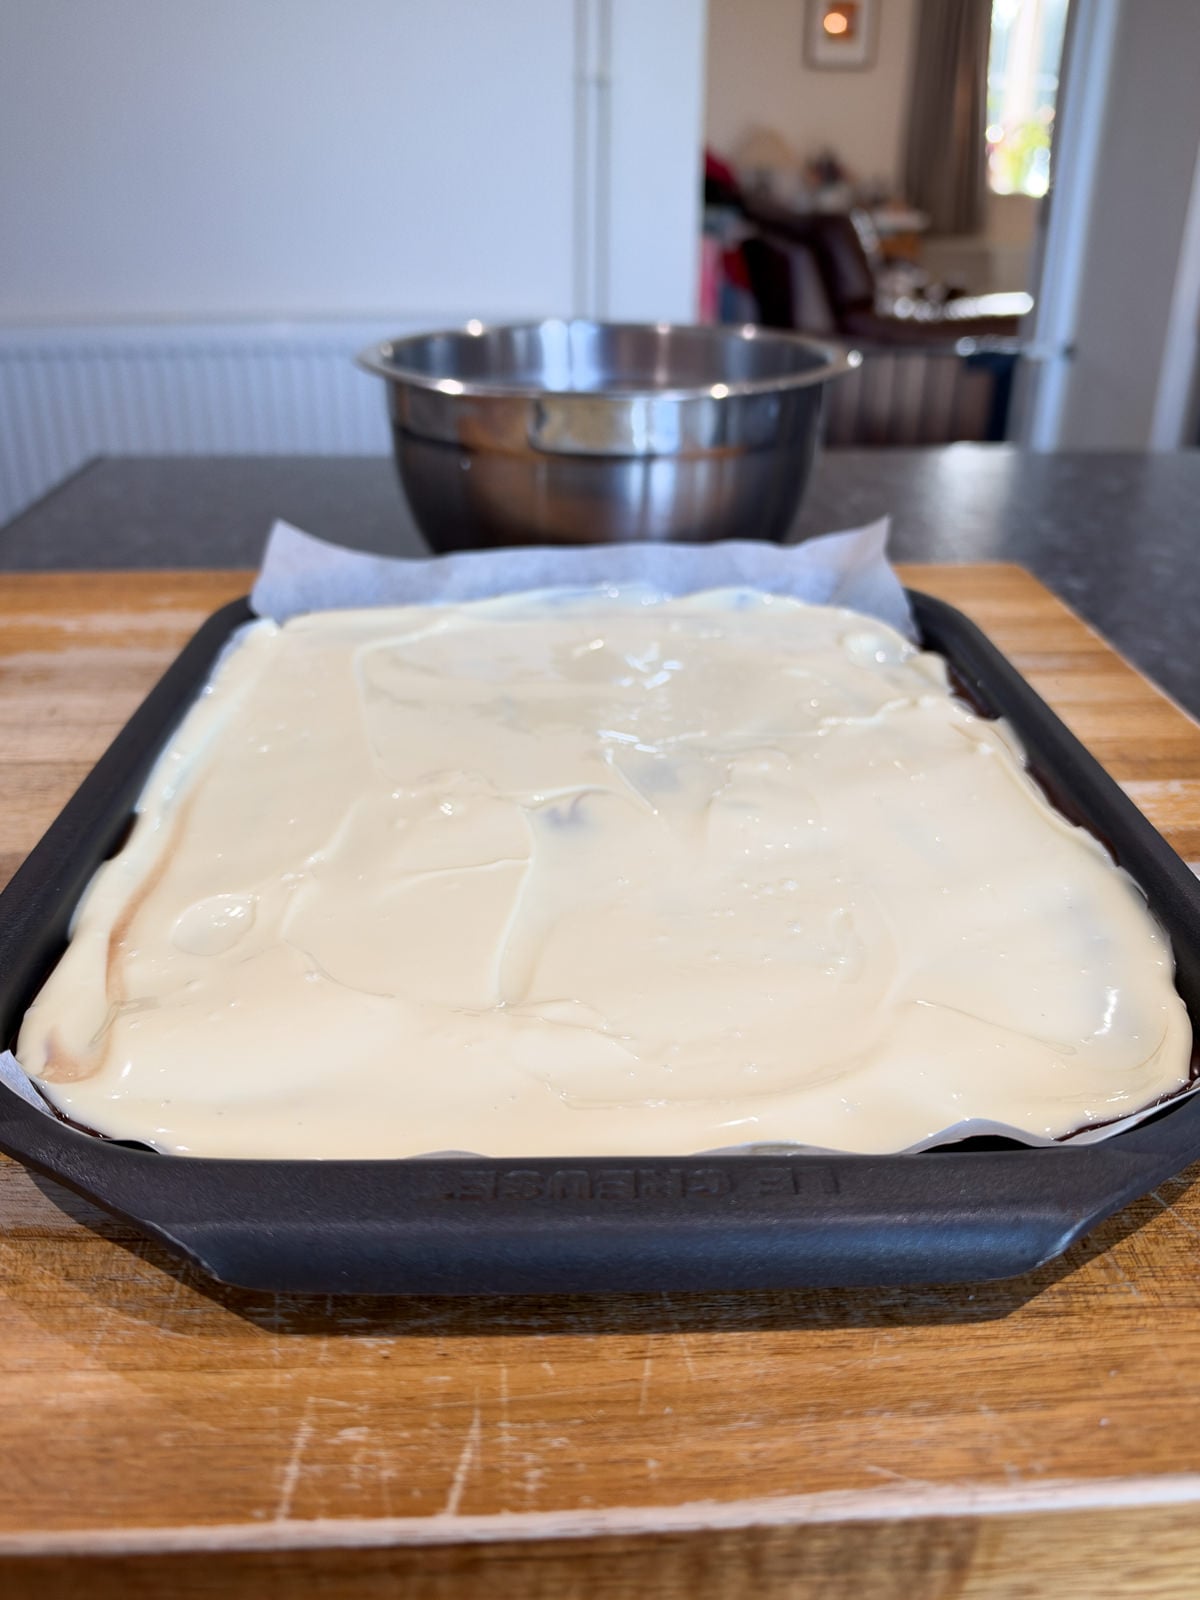
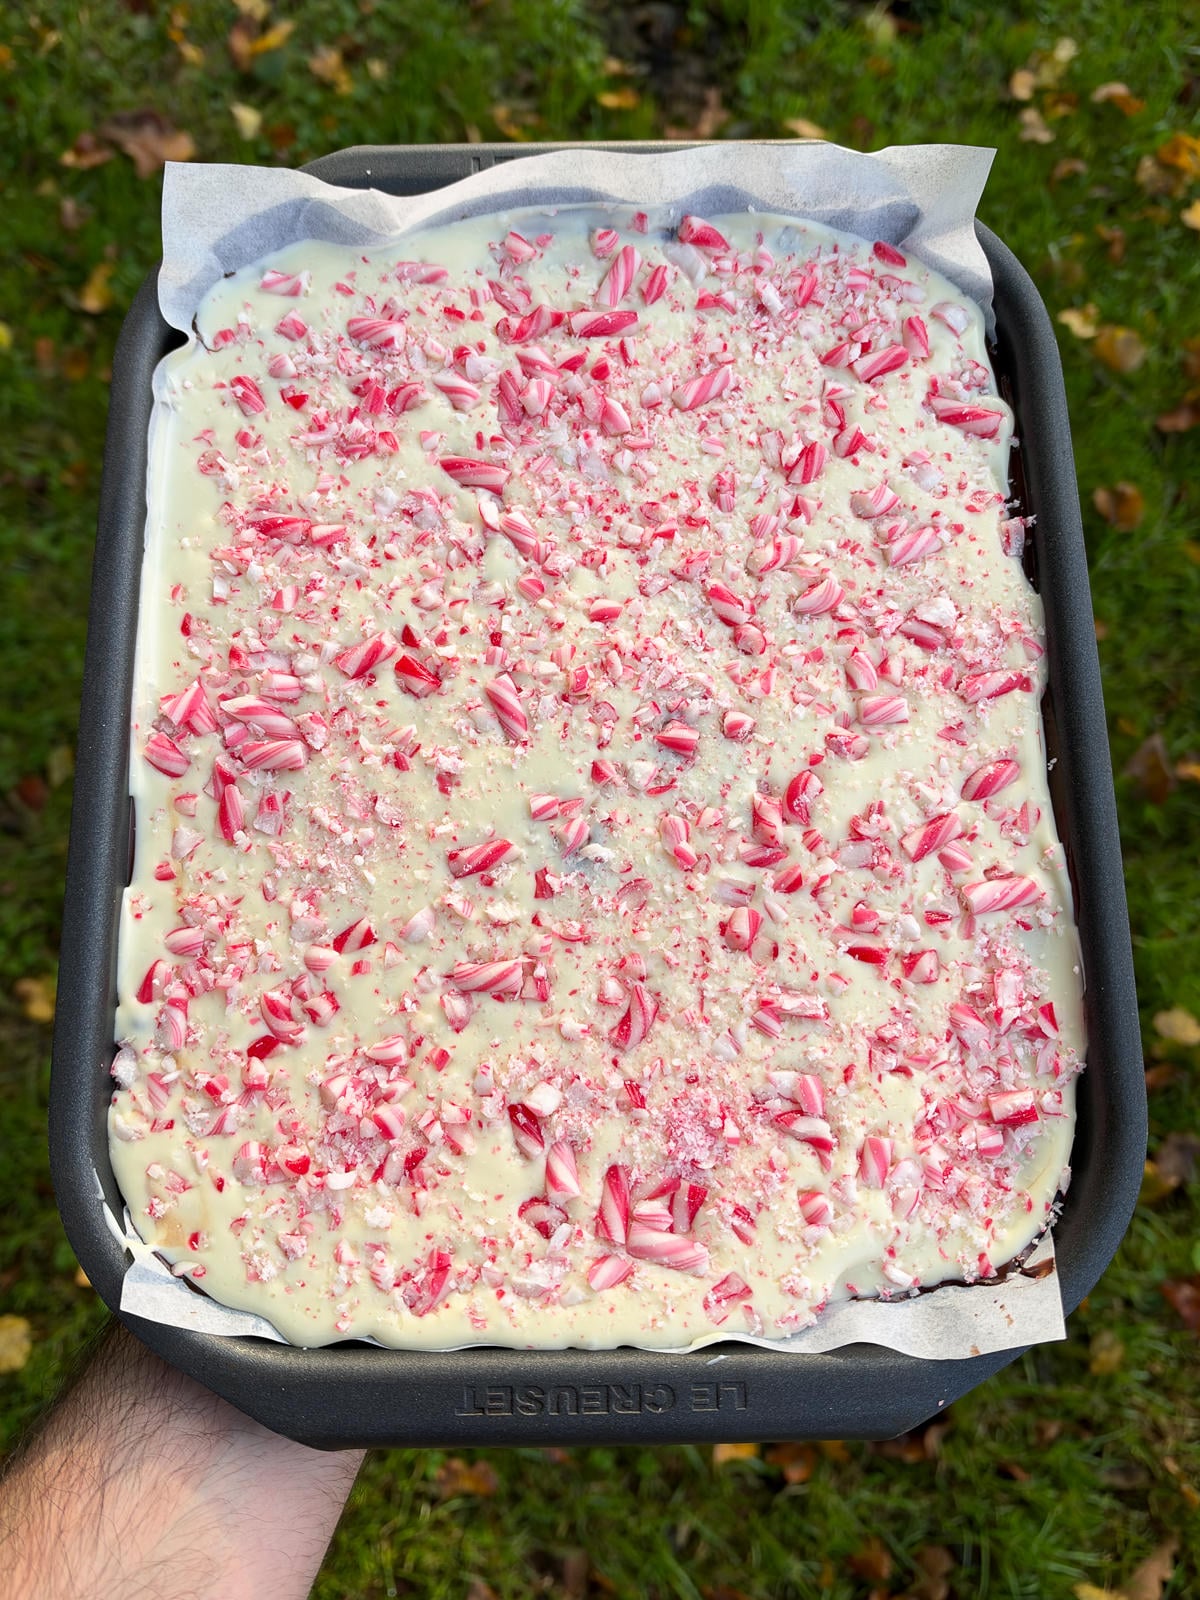
Once your dark chocolate is just set, pour the melted white chocolate on top then use a clean palette knife to spread into an even layer, that completely covers the bottom layer. Then to finish, sprinkle the crushed candy canes over the top, making sure to distribute them evenly. - Chill To Set Fully
Now your peppermint bark needs to chill in the fridge for at least 1 hour, so that it can set. - Break Into Pieces
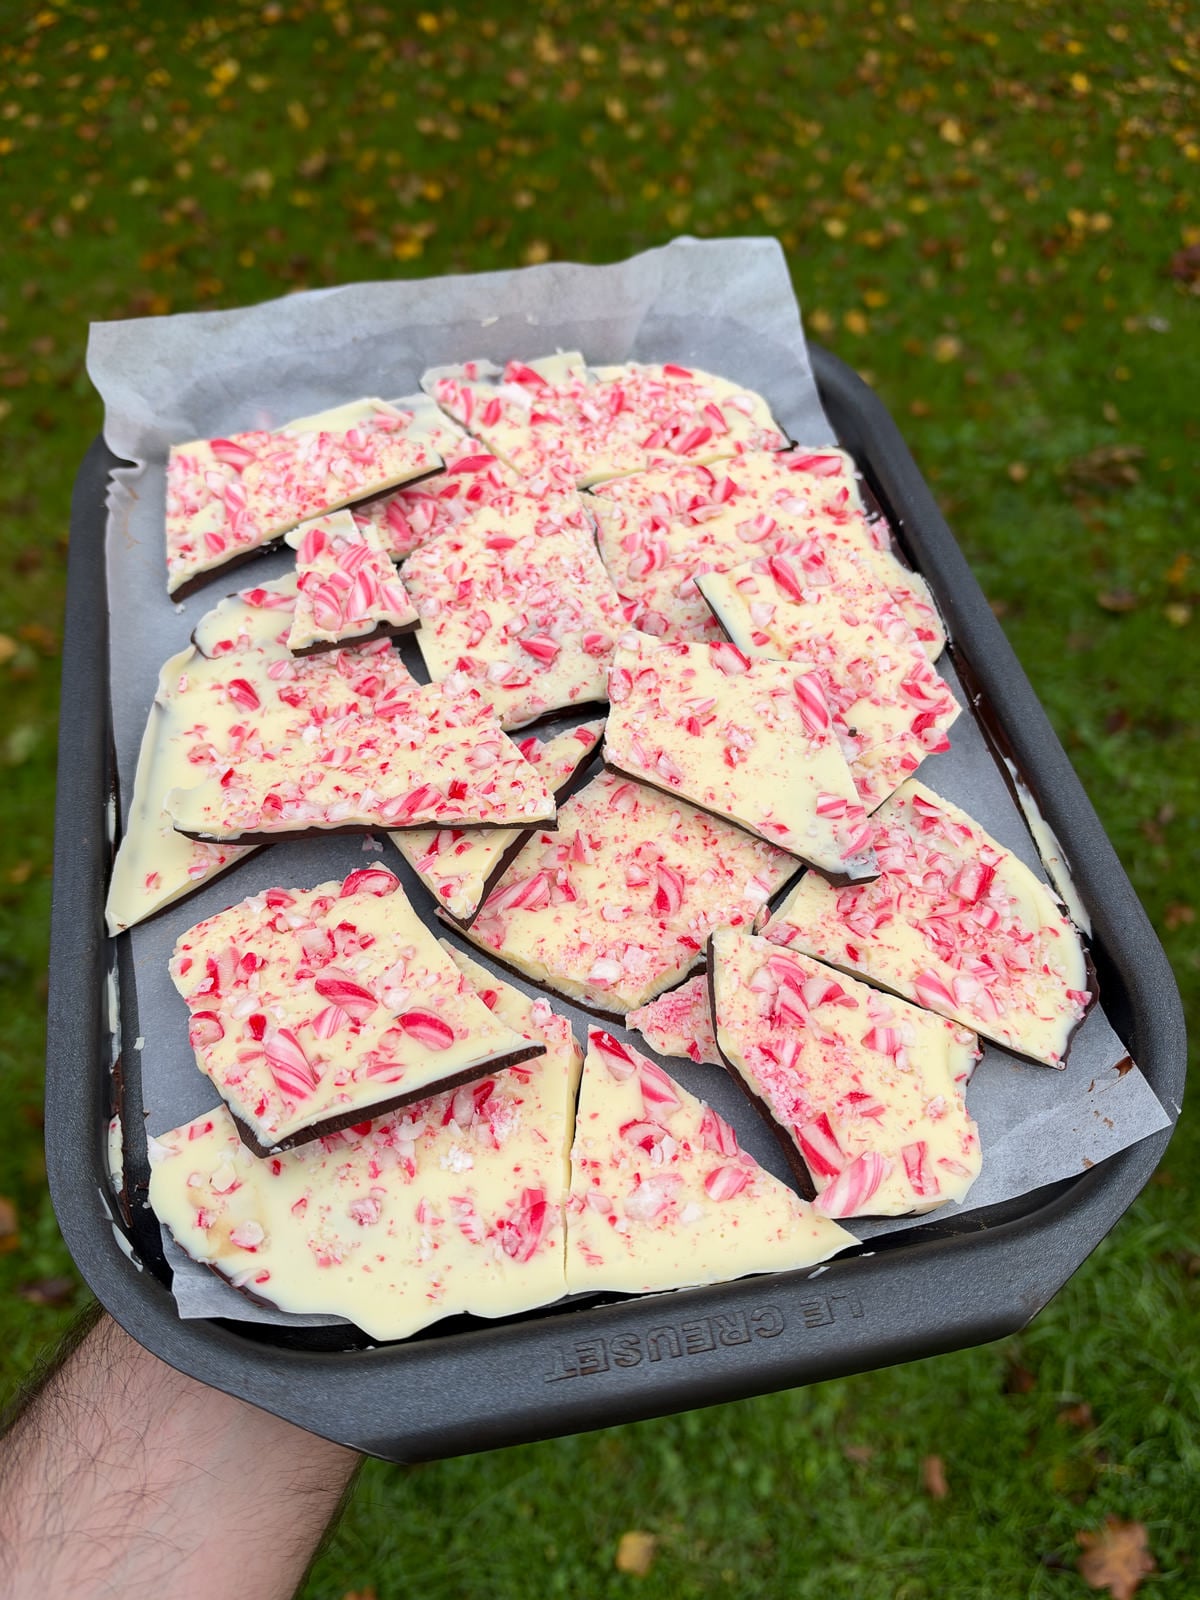
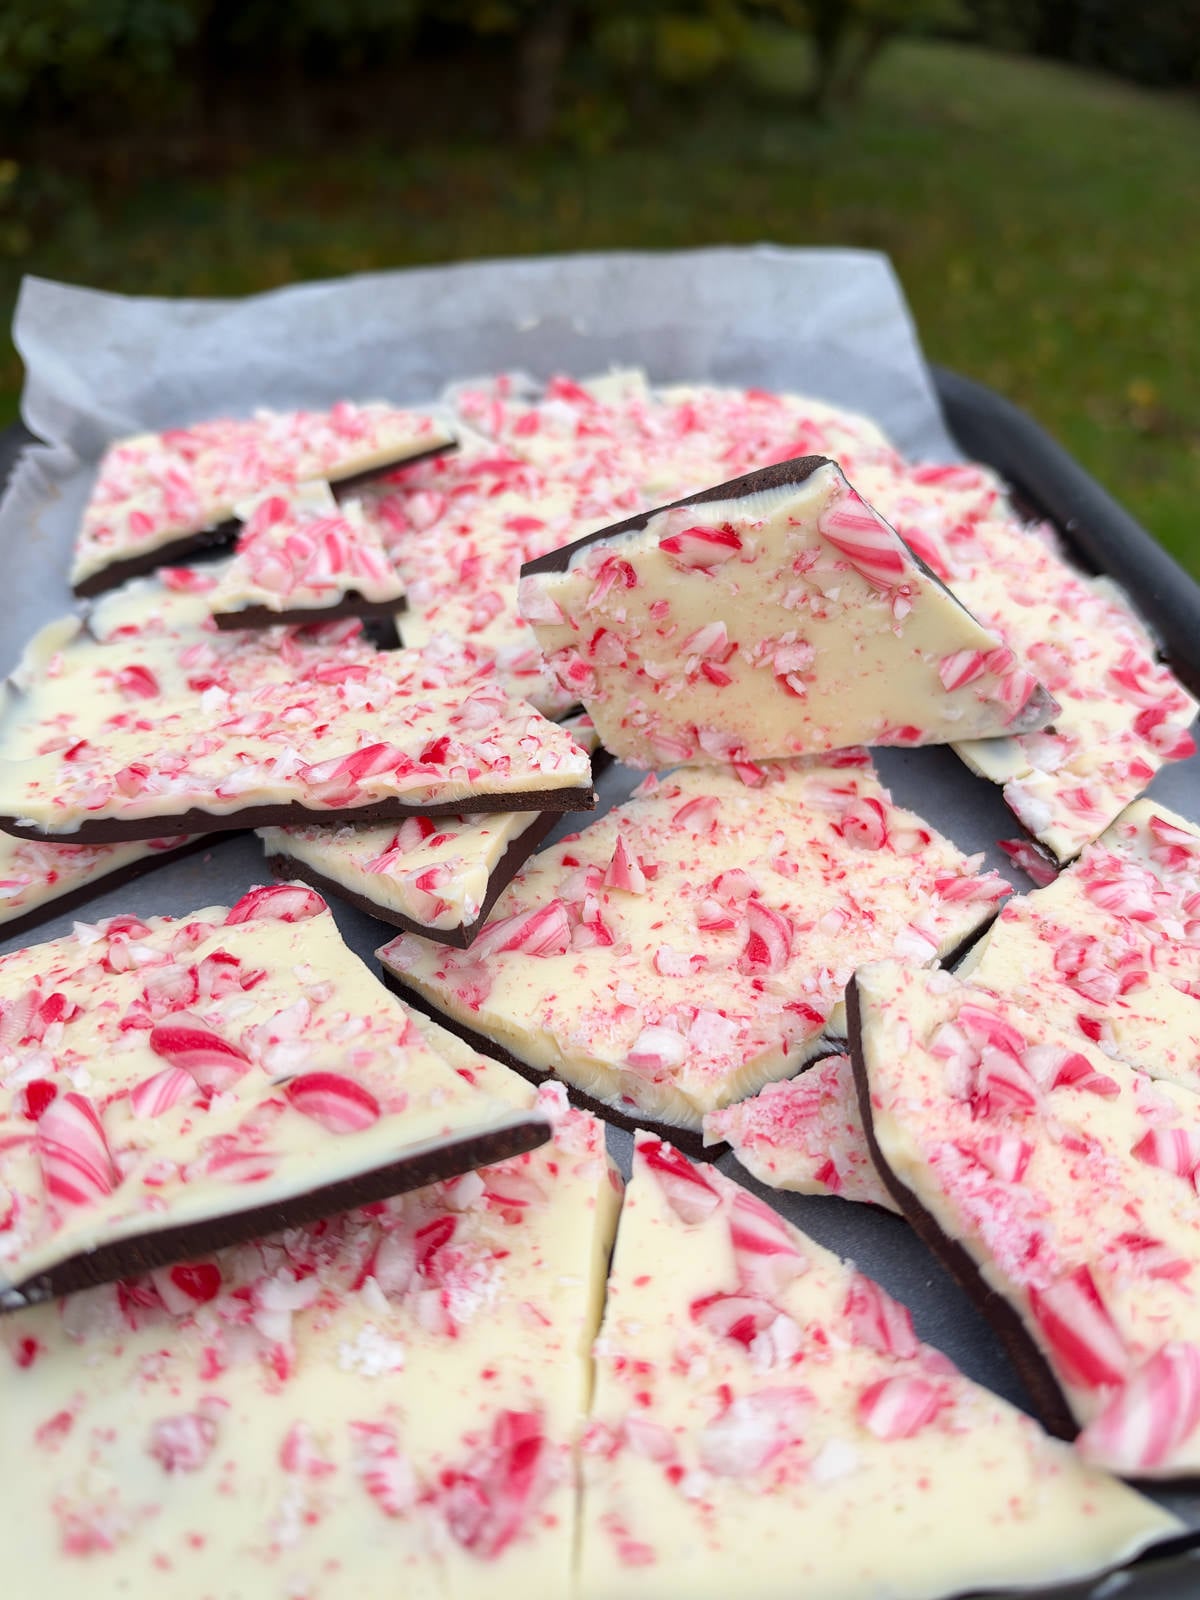
I’ve found that the best way to break peppermint bark into pieces is by giving it a gentle whack with the end of a rolling pin! I like that each piece is a slightly different shape and size. Though if you wanted even pieces, let your bark sit at room temperature for 10 minutes then use a large, flat edged knife to cut it instead.
Peppermint Bark Tips and Tricks
- Use good quality chocolate, for the best flavour! Ideally, you should use chocolate that you’d gladly eat on its own.
- Chill the bottom layer of chocolate until it is just set before pouring on the second layer. If you let the chocolate set completely, the layers can separate. The bottom chocolate layer will only take 10-15 minutes to set.
- Let the melted white chocolate cool slightly before pouring it over the set dark chocolate, otherwise the chocolates will melt together.
- Be careful not to overheat the chocolate when melting, otherwise it’ll seize! I’ve found that the best way to melt chocolate is to heat in 20 second bursts in the microwave, stirring after each burst.
- Let your peppermint bark set in the fridge for at least 1 hour before breaking into pieces, to ensure that the chocolate is fully set.
Frequently Asked Questions
Homemade peppermint bark will keep for up to 3 weeks in the fridge. To keep it fresh and to prevent the pieces sticking to each other, store your bark in an airtight container, using baking parchment to separate the layers.
Using good quality chocolate is key when making homemade peppermint bark, it’s best to use something that you’d eat on its own! It’s best to use chopped up bars of chocolate instead of chips, as they will melt better.
Using an oil based peppermint extract is best for peppermint bark, as water based extracts can make the chocolate split and separate.
More Christmas Baking Recipes To Try
- Christmas Rocky Road
- Deep Fried Mince Pies
- Leftover Christmas Pudding Flapjack
- Baileys Gingerbread Loaf Cake
- Cranberry, Fudge & White Chocolate Cookies
- Classic Mince Pies
If you have enjoyed this peppermint bark recipe, it would mean a lot if you could leave a review & rating. And if you’d like to stay up to date with future recipes, follow us on Instagram & TikTok or subscribe to our newsletter!
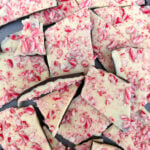
Homemade Peppermint Bark
Equipment
- 9"x12" Baking Tray (See Notes)
- Mixing Bowls
- Rolling Pin
- Palette Knife
Ingredients
- 250 g Dark Chocolate
- 250 g White Chocolate
- 100 g Mint Candy Canes
- ½ tsp Peppermint Extract
- A Pinch Of Sea Salt
Instructions
- Line a 9"x12" baking tray with baking paper then set to one side. If you'd like thinner bark, use a larger tray. For thicker bark, use a smaller one.
- Next, chop the dark chocolate into small pieces then add into a heatproof mixing bowl along with the pinch of salt.
- Using a microwave, heat the chocolate in 20 second bursts until just melted. Stir the chocolate with a spatula after each burst of heat.Alternatively you can melt the chocolate over a pan of barely simmering water (a bain marie).
- Once melted, stir in the peppermint extract then pour the dark chocolate into the lined baking tray. Use a palette knife to spread the chocolate into a thin, even layer.
- Place the tray of chocolate into fridge and leave to chill for 10-15 minutes until just set. It's key that the chocolate does not set fully, as the layer of white chocolate might separate from the bottom layer.
- In the meantime, chop the white chocolate into small pieces, heat until just melted then set aside to cool slightly.If the white chocolate is too hot, it will melt the dark chocolate layer!
- Add the candy canes into a sealed food safe bag then use a rolling pin to coarsely crush.
- Next, pour the melted white chocolate over the dark chocolate, spreading it out into an even layer with a palette knife.
- Sprinkle the crushed candy canes over the white chocolate then chill the bark in the fridge for at least 1 hour.
- To finish, peel the parchment paper off the bark then break into whatever size pieces you like! I use the end of a rolling pin to do this. Store the bark in an airtight container in the fridge, separating the layers with baking paper.If you want to cut the bark into even pieces, let it sit out for 10 minutes first otherwise the layers can separate.
Salt Butter Smoke Magazine
Food that’s made for sharing.
The Christmas 2026 issue features 30 festive recipes, Christmas cooking guides, beautiful food photography and features on everything from the perfect cheeseboard to the art of trifle.
Discover the Christmas Issue →Notes
Enjoying This Recipe?
The Prep List is my free weekly newsletter with seasonal recipes, kitchen notes and behind-the-scenes from my kitchen. Add Salt Butter Smoke as a Google Preferred Source to see more of my recipes in Search.


