Garlic Butter
Learn to make a quick & easy garlic butter at home! This punchy garlic butter is packed full of flavour & comes together in no time at all.
This post contains affiliate links.
I’m struggling to think of a savoury dish that wouldn’t be improved with a spoonful of garlic butter! This stuff’s seriously tasty, comes together in 5 minutes or less & goes great with grilled steaks, pan fried fish, lobster, spread on homemade bread, with pasta & a whole lot more…
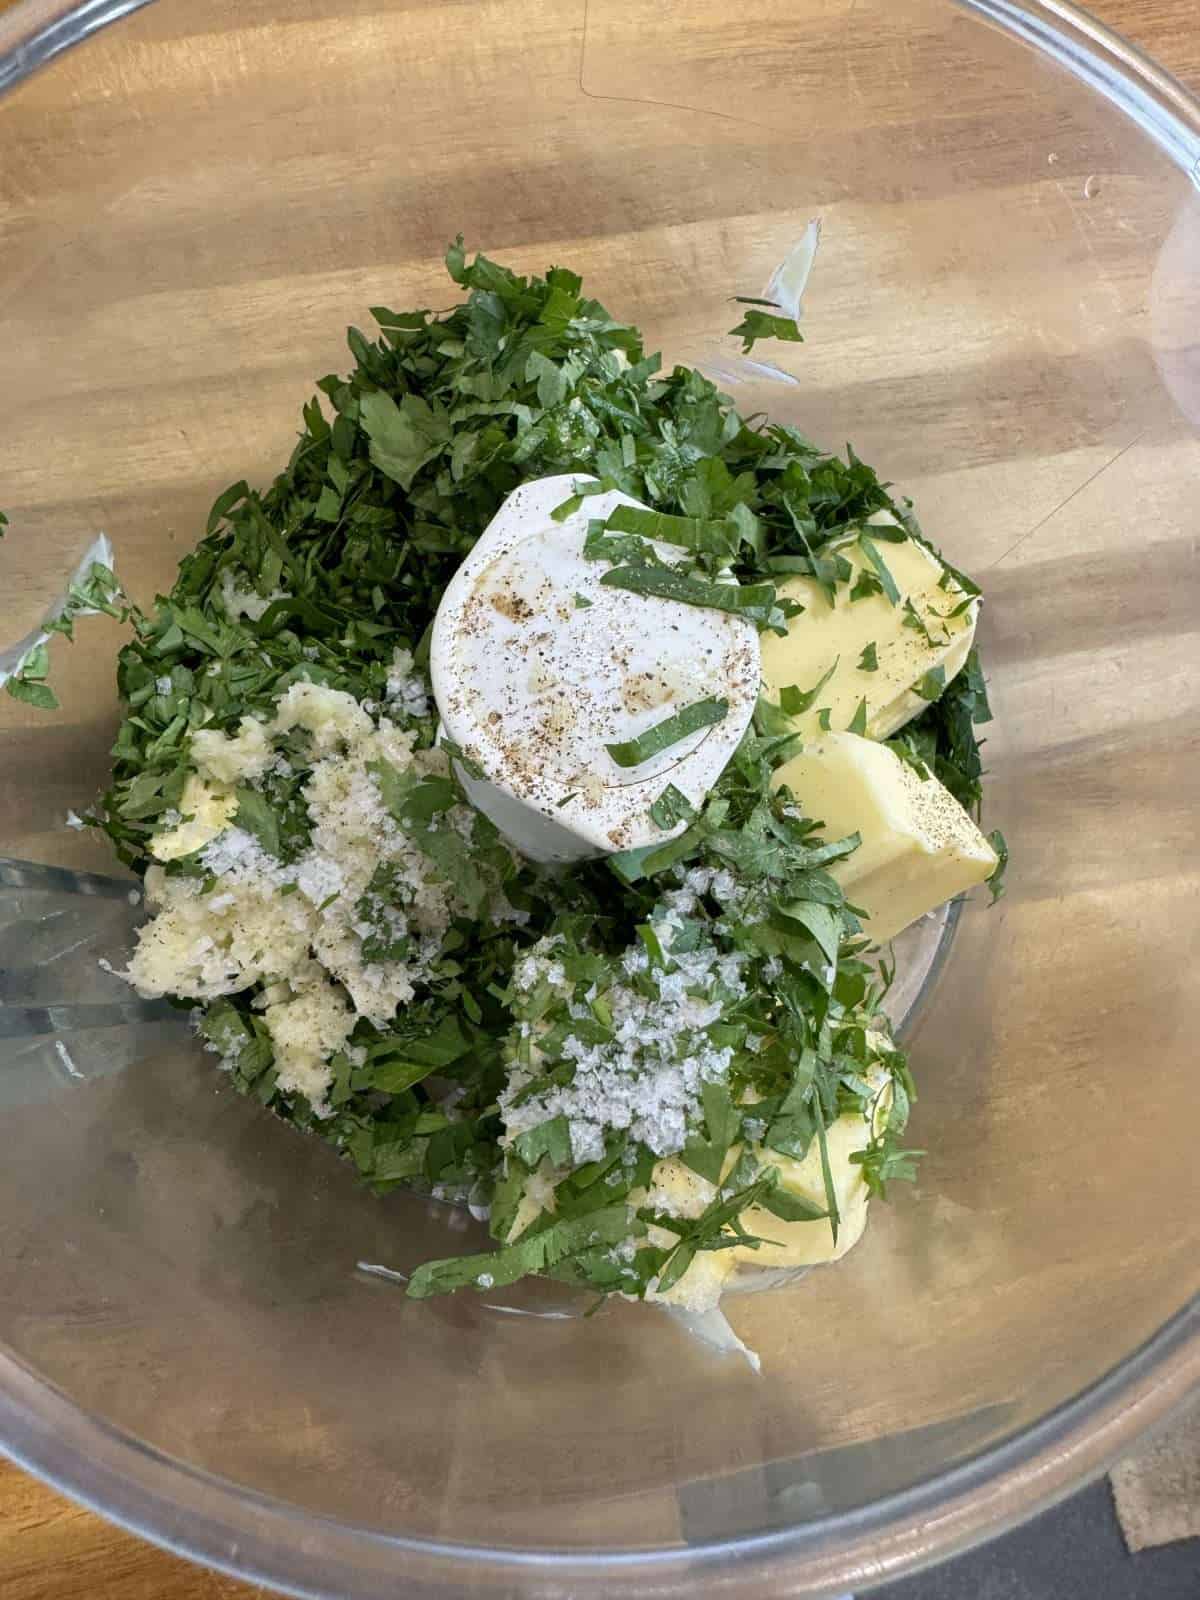
To make our garlic butter, we simply blend butter in a food processor with garlic, parsley, a splash of lemon juice and a good pinch of salt & pepper. If you like your butter extra garlicky, add in a couple of extra cloves or for a deeper, more subtle flavour, try using confit or roasted garlic instead.
For more sides, sauces & garnishes, take a look at our collection of side dish recipes! There’s plenty to choose from here, including caramelised onions, homemade barbecue sauces, flavoured mayos, triple cooked chips, slaws & loads more…
What You’ll Need
- Butter – You can use either salted or unsalted butter for this garlic butter, just make sure that it’s soft before using (leave it out at room temperature for half an hour or so). Keep in mind that your butter won’t need as much seasoning if you use salted butter.
- Garlic – For a strong garlic flavour, raw garlic is best. For a milder, deeper flavour, use roasted or confit garlic.
- Parsley – Chopped parsley gives our garlic butter its’ vibrant green colour.
- Lemon Juice – Used to cut through the punchy garlic flavour. You’ll only need a splash!
- Salt & Pepper – For the best flavour, make sure to season your garlic butter to taste with salt and pepper.
How To Make Garlic Butter
The full, printable recipe card for this butter can be found at the bottom of this post! Here’s a quick rundown of the recipe…
- Prep Ingredients
First, we need to chop up some parsley, grate some garlic (if using raw) & juice half a lemon. - Blend Together
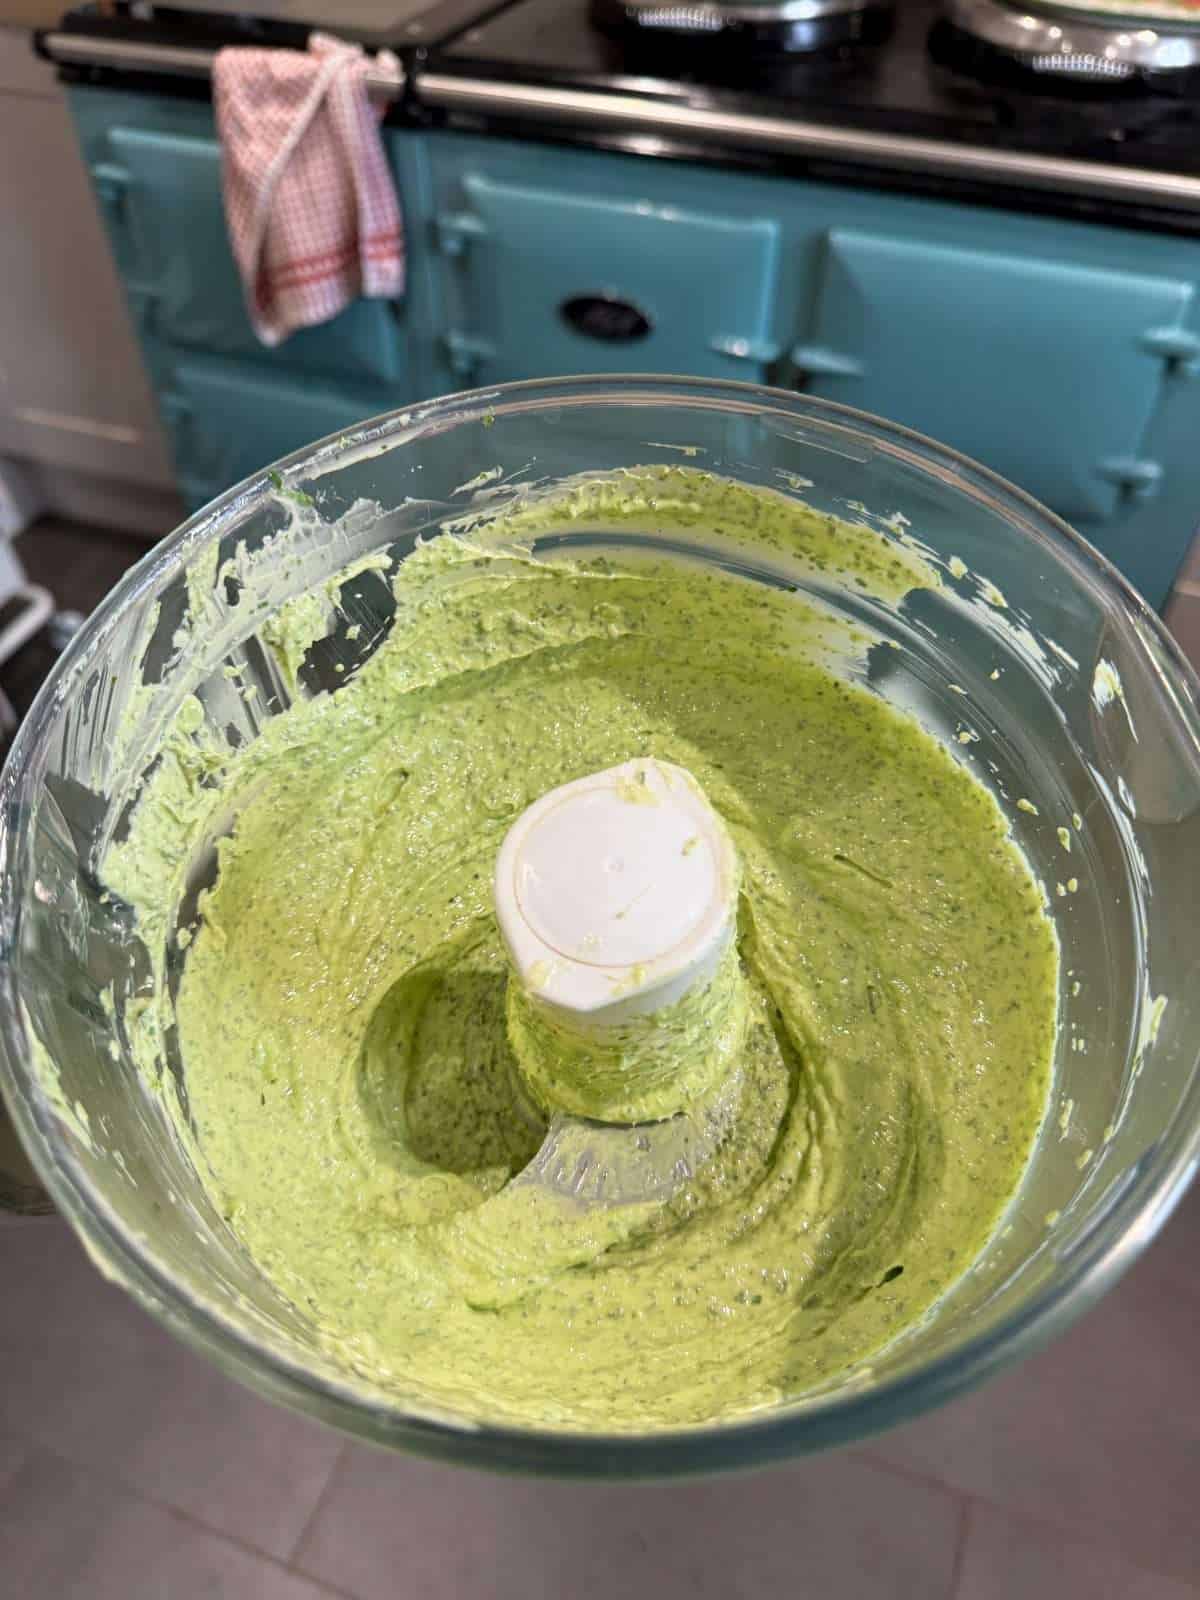
To bring the garlic butter together, we add butter into a food processor along with the garlic, parsley & lemon juice. We season this with salt & pepper then blend until smooth & combined. The butter should be a vibrant green colour when it’s ready! - Check Seasoning
Once our garlic butter has been blended, we give it a taste to check the seasoning then add in more salt & pepper as needed.
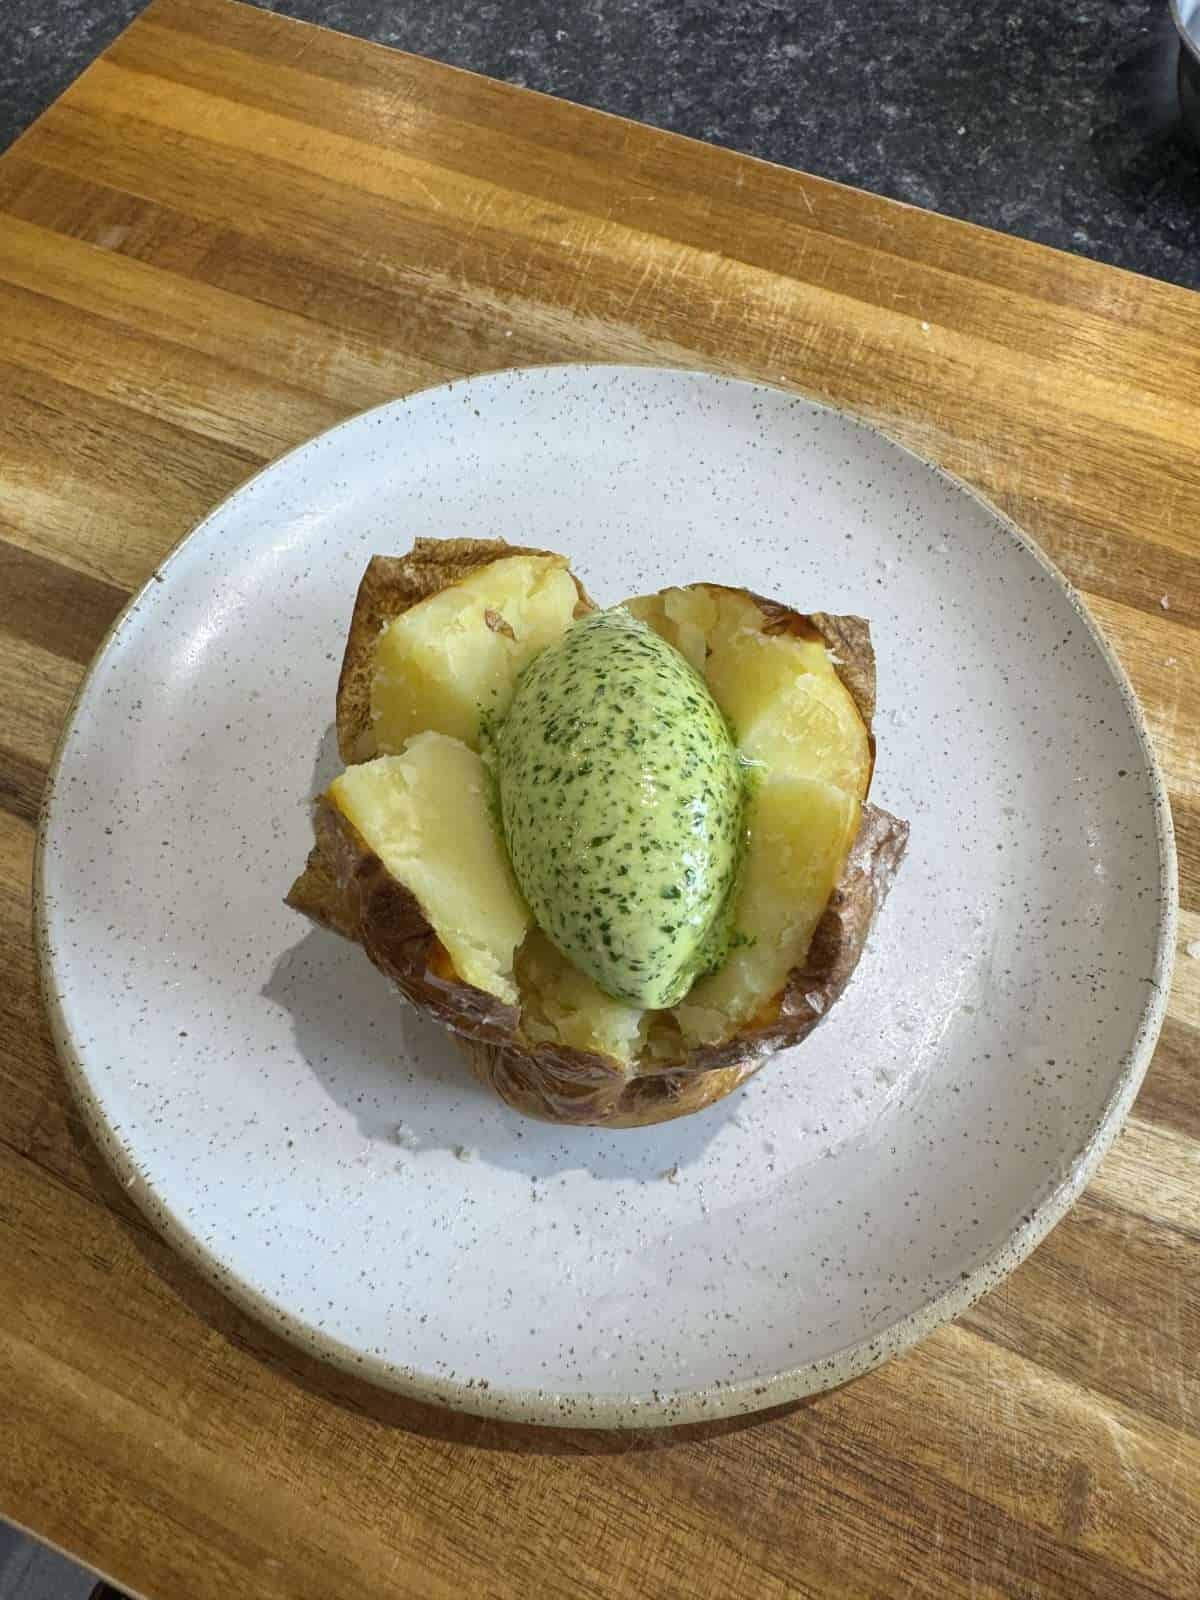
What To Serve Garlic Butter With
Homemade garlic butter is pretty versatile when it comes to what to serve it with. You could use it to butter some freshly baked bread, add a scoop on top of a jacket potato, use it as a pasta sauce, glaze roasted veg with it or use it to cook mussels. The possibilities are endless & it’s a great way to add extra flavour to a wide range of dishes!
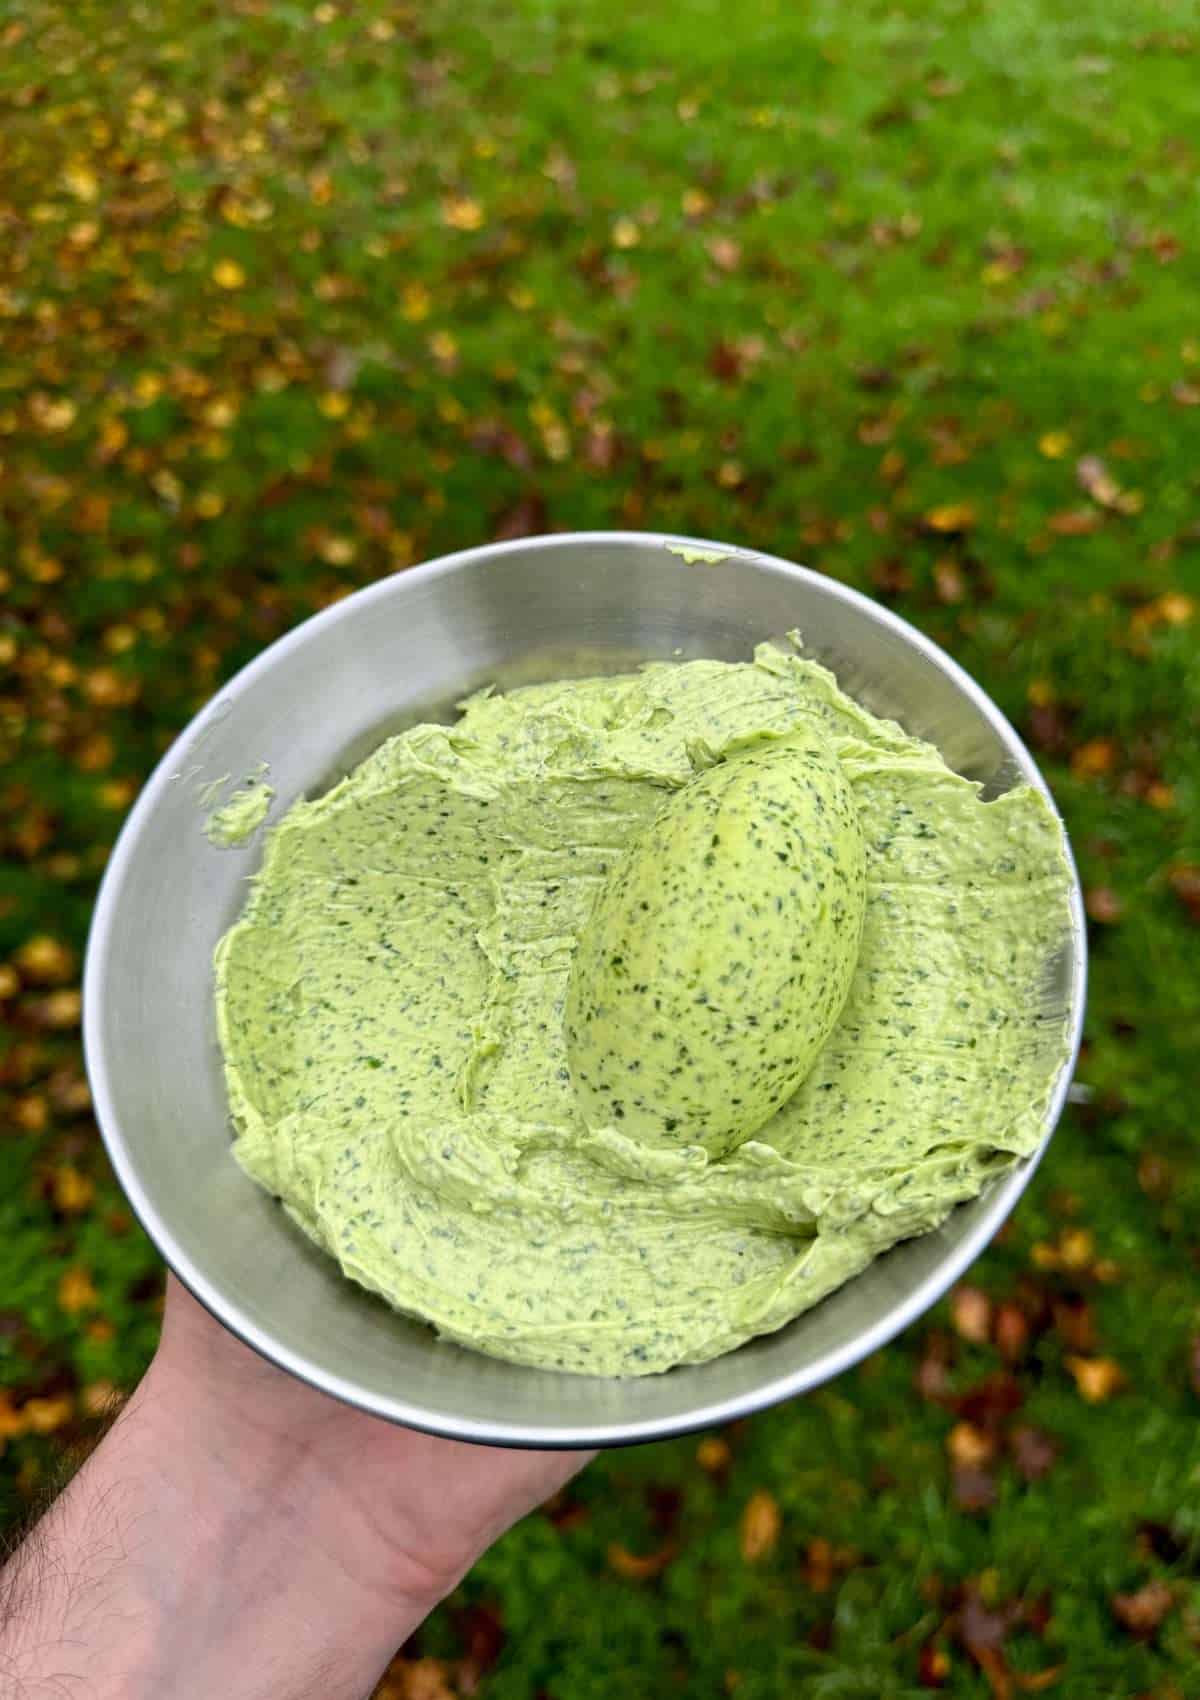
How To Rocher Butter – Tips & Tricks
A rocher is similar to a quenelle but is shaped with one spoon instead of two. Here, we’re basically scooping butter (or ice cream, mash, a puree, anything soft really!) into a 3 sided oval. This technique is used in restaurants all over the world & is a great way to present butter.
Before you want to rocher your butter, you first need to make sure that the butter is in a bowl & is at room temperature, as this makes it a lot easier to scoop. If it’s been in the fridge, I like to let my butter sit out at room temperature for 30 minutes or.
To rocher butter, dip a round sided spoon in warm water (not boiling hot!), dry well with a tea towel then use to scoop your butter, starting at the side of the bowl furthest away from you. Once you’re scoop is formed, scrape the edge of the spoon on the side of the bowl, to get rid of any excess butter then quickly & confidently, turn the rocher of butter out onto a plate/whatever you’re serving the butter on.
A round sided spoon is best for rochers. You can even get spoons specifically designed for rochers! Another way of scooping a rocher, is to push the spoon away from you in the butter then flip it 180 degrees and bring it back under the rocher.
Watch How To Rocher Garlic Butter

Frequently Asked Questions
If you’re not serving your garlic butter straight away, it should be stored in the fridge & will keep for up to 3 days. I’d recommend letting it sit at room temperature for 30 minutes or so before serving, as this will make the butter easier to spread/scoop.
You have a few different options when making garlic butter. You could use raw garlic for a stronger, more intense flavour. Or you can use roasted or confit garlic for a milder, deeper flavour. The choice is yours!
Equipment Used
Please note that these are affiliate links & I may make a small commission if you make a purchase using these links, at no extra cost to you. For more information, click here.
More Side Dishes To Try!
- Béarnaise Mayo
- Caramelised Onions
- Courgette Tzatziki
- Rice Krispie Fried Mozzarella Sticks With Hot Honey
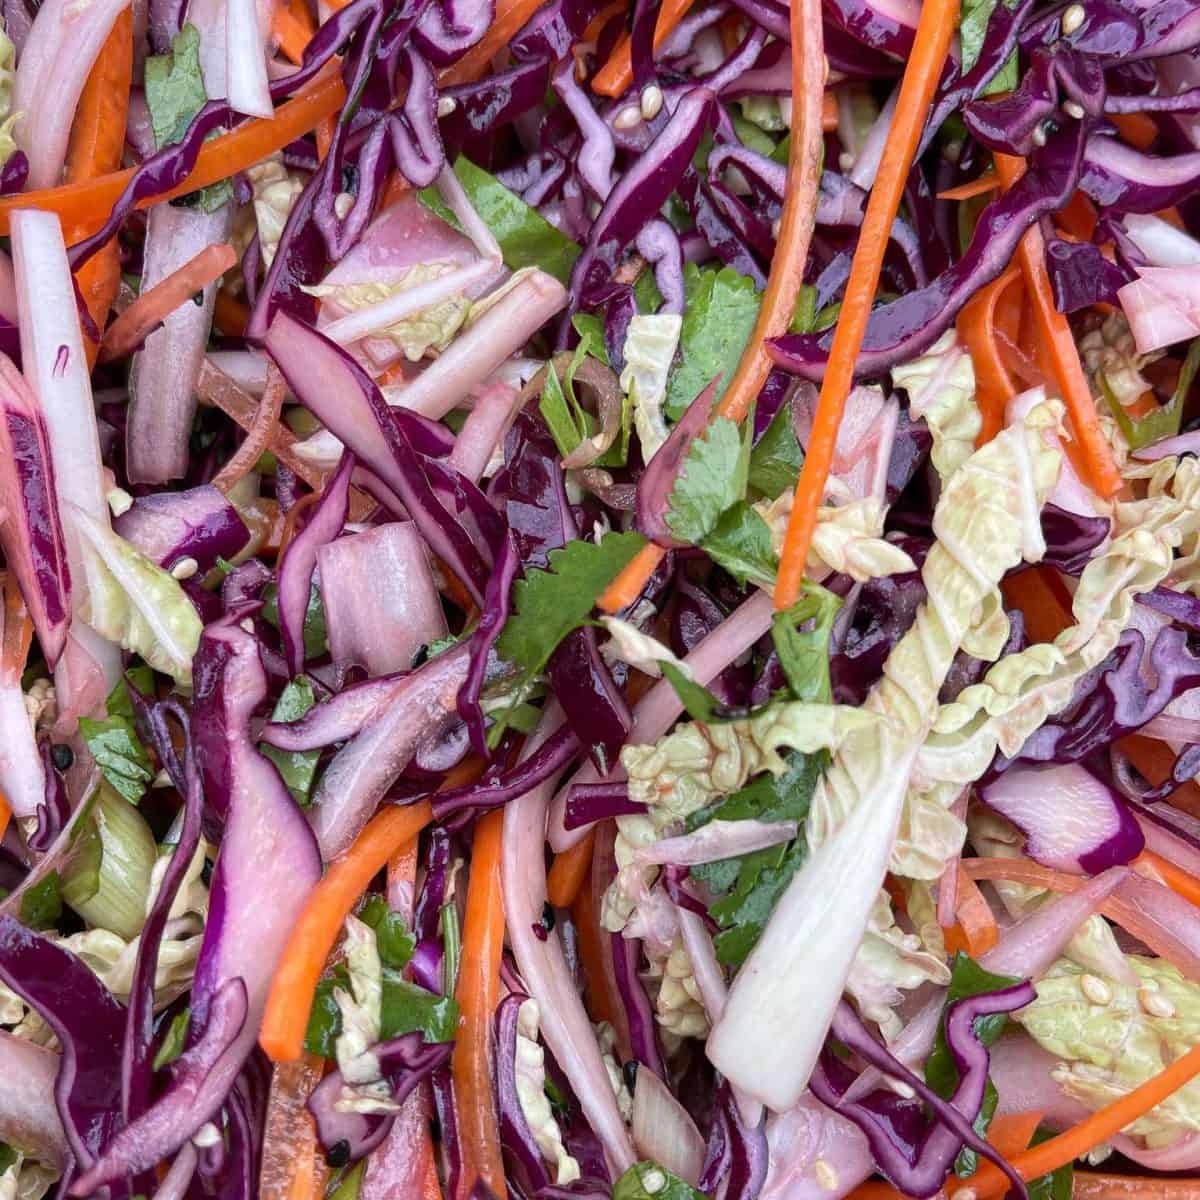
- Sweet Pickled Red Cabbage
- Tahini Garlic Sauce (Kebab Shop Style)
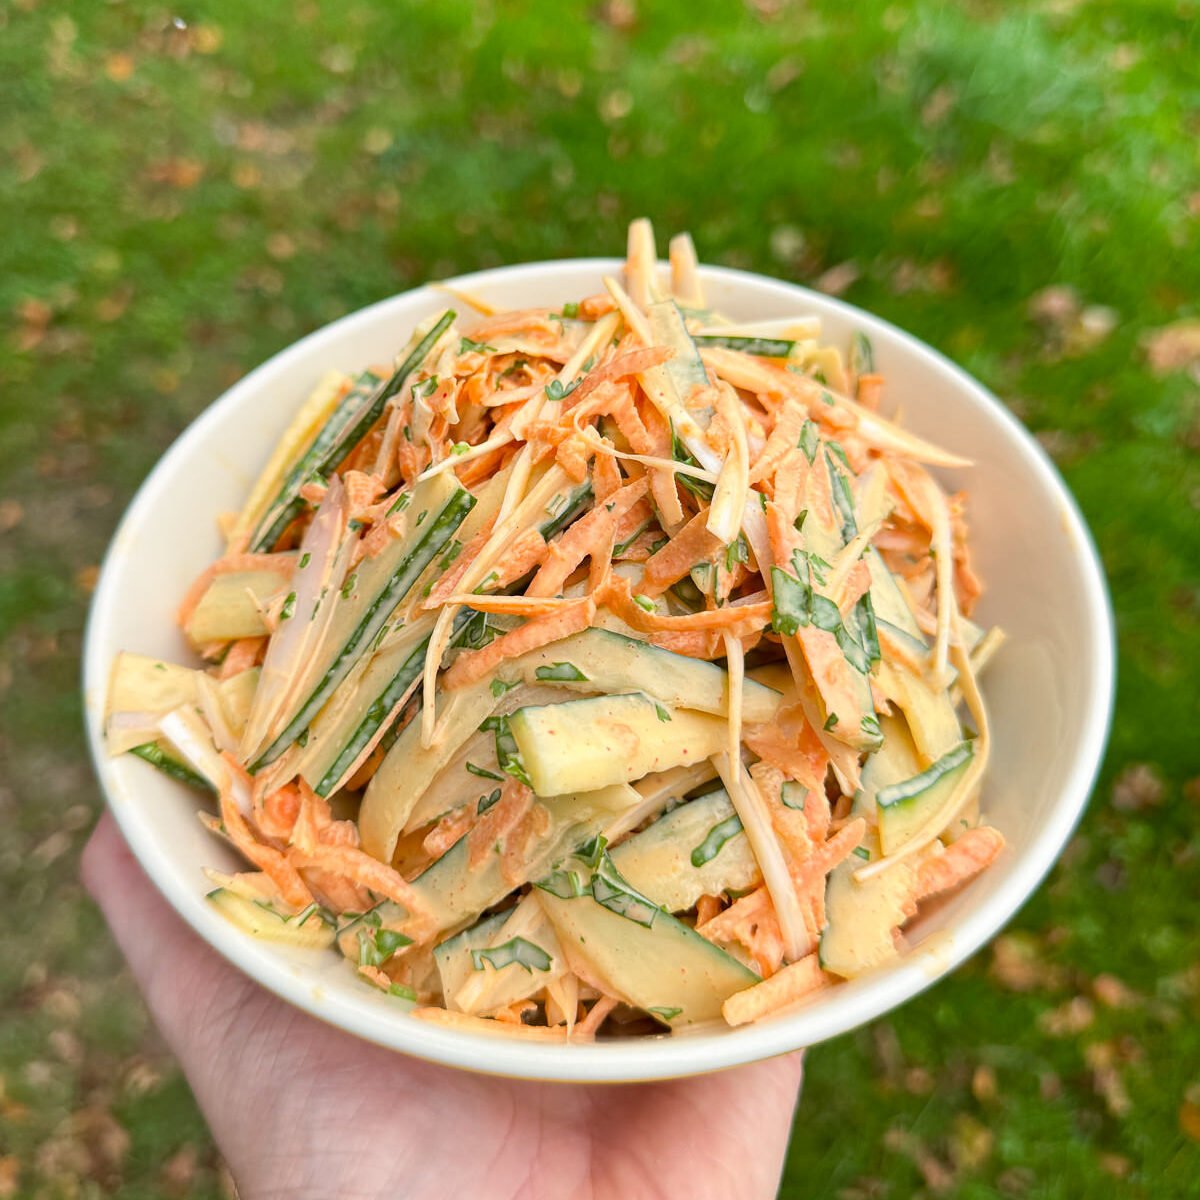
- Tangy Apple Slaw
If you have enjoyed this garlic butter recipe, it would mean a lot if you could leave a review & rating. And if you’d like to stay up to date with future recipes, follow us on Instagram & TikTok!

Garlic Butter
Equipment
- Food Processor
- Microplane/Grater
- Juicer
Ingredients
- 200 g Butter (Softened – See Notes)
- 25 g Flat Leaf Parsley
- 4 Garlic Cloves
- 2 tsp Lemon Juice
Instructions
- Roughly chop the parsley & grate the garlic then add into a food processor with the butter & lemon juice.
- Season the butter with salt & pepper then blitz until smooth.
- Give the butter a taste to check the seasoning then add more salt & pepper as needed, blitzing again to combine.
- Transfer the garlic butter to a bowl then serve immediately or store in the fridge for up to 3 days.