Brown Butter Biscoff Rice Krispie Treats
These brown butter biscoff rice krispie treats are a twist on a classic! We’re making these with toasted marshmallows & cereal, for maximum flavour.
This post contains affiliate links.
If you’ve never had a rice krispie treat, you’re seriously missing out! Not only are they incredibly easy to make, they’re also incredibly delicious!
In this recipe, we’ve taken the classic rice krispie treat & taken it to another level by adding nutty brown butter & creamy biscoff spread into the mix. We’re not stopping there though because we’re also going to be toasting both the marshmallows & the rice krispies, for maximum flavour!
We’ve also included some handy tips & tricks with this recipe, to ensure that you’re rice krispie treats are soft, squidgy & gooey.
Looking for more baking recipes to try? We have recipes for a whole load of bakes. From homemade bread & sourdough, to cakes, brownies & cookies.
What Are Rice Krispie Treats?
Rice krispie treats are a real crowd pleaser!
Made with rice krispies, marshmallows & butter (plus any mix ins) this classic no-bake snack is quick & easy to make and is a popular lunch box treat. For our batch of rice krispie treats, we’re also adding biscoff spread (which is made from caramelised biscuits), for a nutty, caramelised flavour. These are sweet, squidgy & tasty, what’s not to like?
What You’ll Need
- Rice Krispies – Kellog’s rice krispies work best! Make sure to use fresh cereal (not stale!), for the best texture.
- Marshmallows – As we’re toasting them, it’s best to use regular or jumbo sized marshmallows instead of mini ones.
- Butter – Make sure to use unsalted butter so that the mix isn’t too salty!
- Biscoff – This is a spread made from caramelised biscuits & is available in most supermarkets.
- Sea Salt – A light sprinkle of flaky sea salt finished these treats off nicely & enhances all of the flavours. Feel free to leave this out if you’d prefer.
Recipe Breakdown
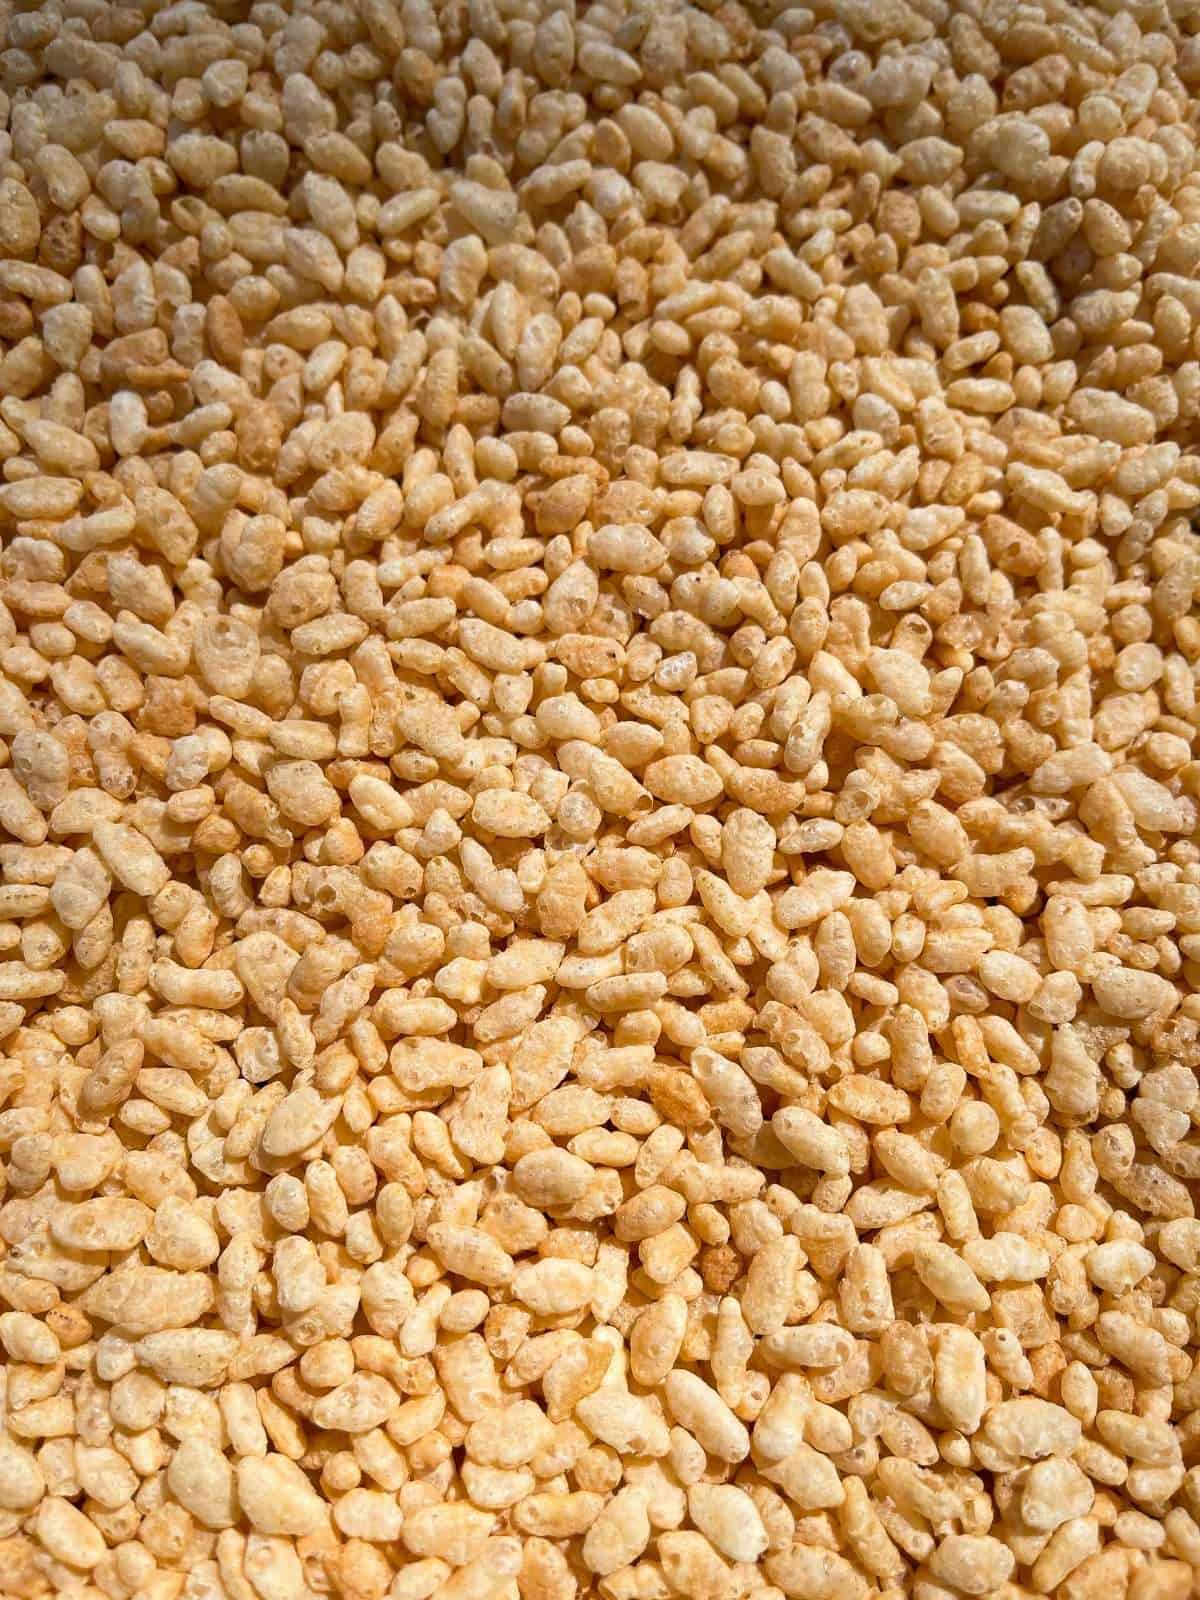
- Toast Rice Krispies – First, we’re toasting rice krispies in the oven until they’re are a deep, golden brown. You may need to do this in batches, depending on the size of your baking trays.
- Torch Marshmallows – Next, we place marshmallows onto a foil-lined baking tray, making sure that none are stuck together then we use a blowtorch to toast them well.
- Brown Butter – Now we chop butter into evenly sized pieces, place into a saucepan then cook over a medium heat until brown. This will only take 3-4 minutes & you’ll when the butter is done because it will smell nutty & the milk solids will have toasted & turned golden brown.
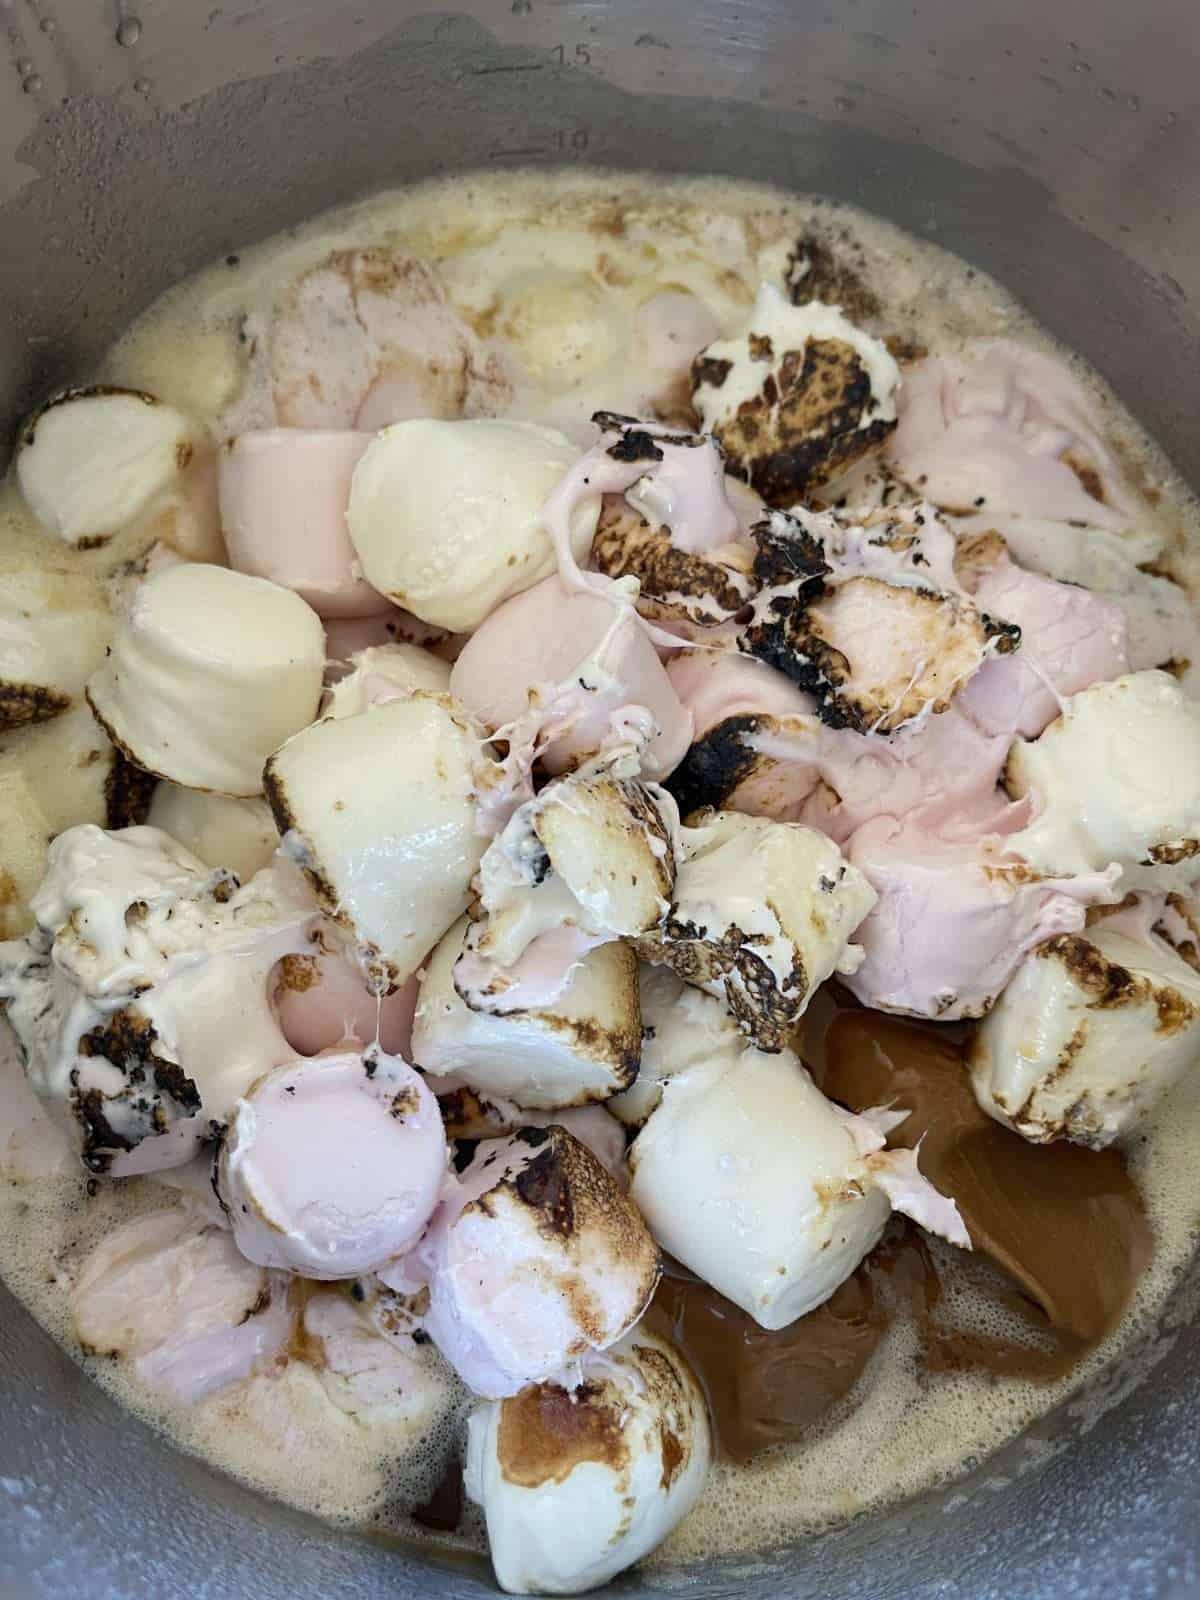
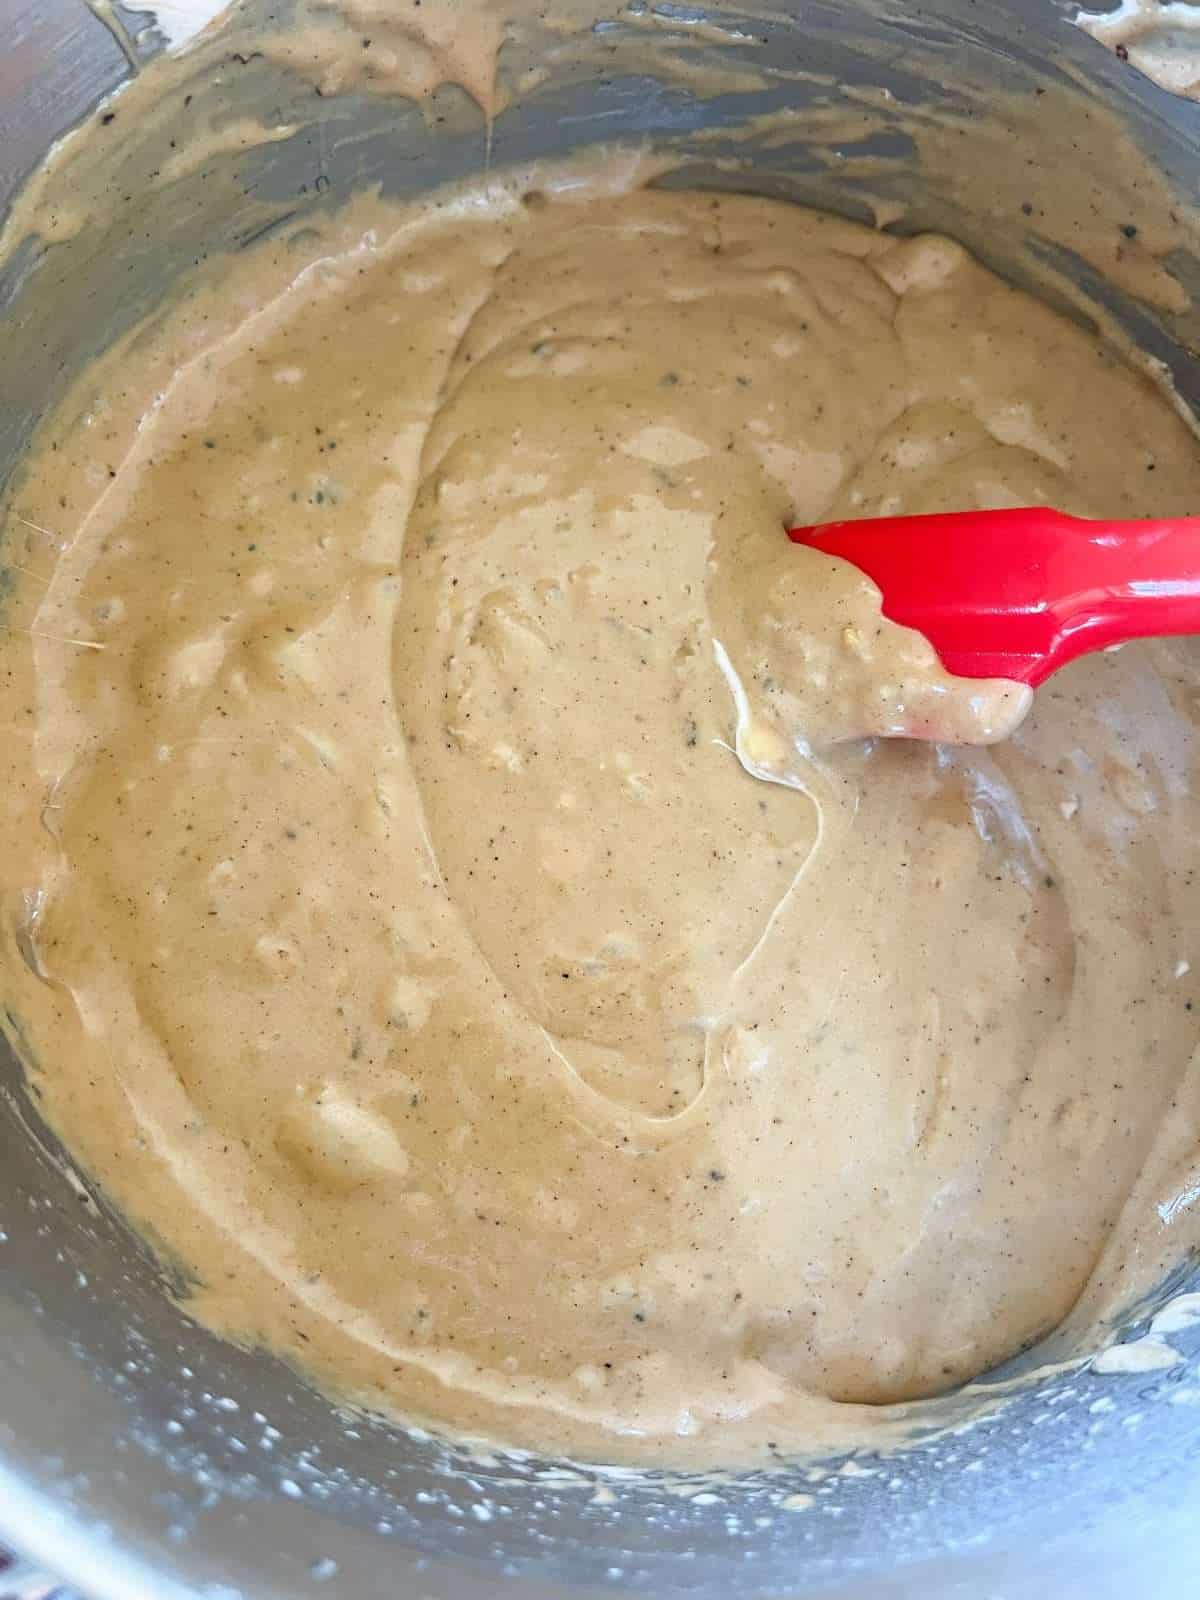
- Add Marshmallows & Biscoff – Once we’ve browned the butter, we add in the biscoff spread & the toasted marshmallows then stir, to melt. We do this off the heat, as the brown butter will still be hot enough to melt everything together.
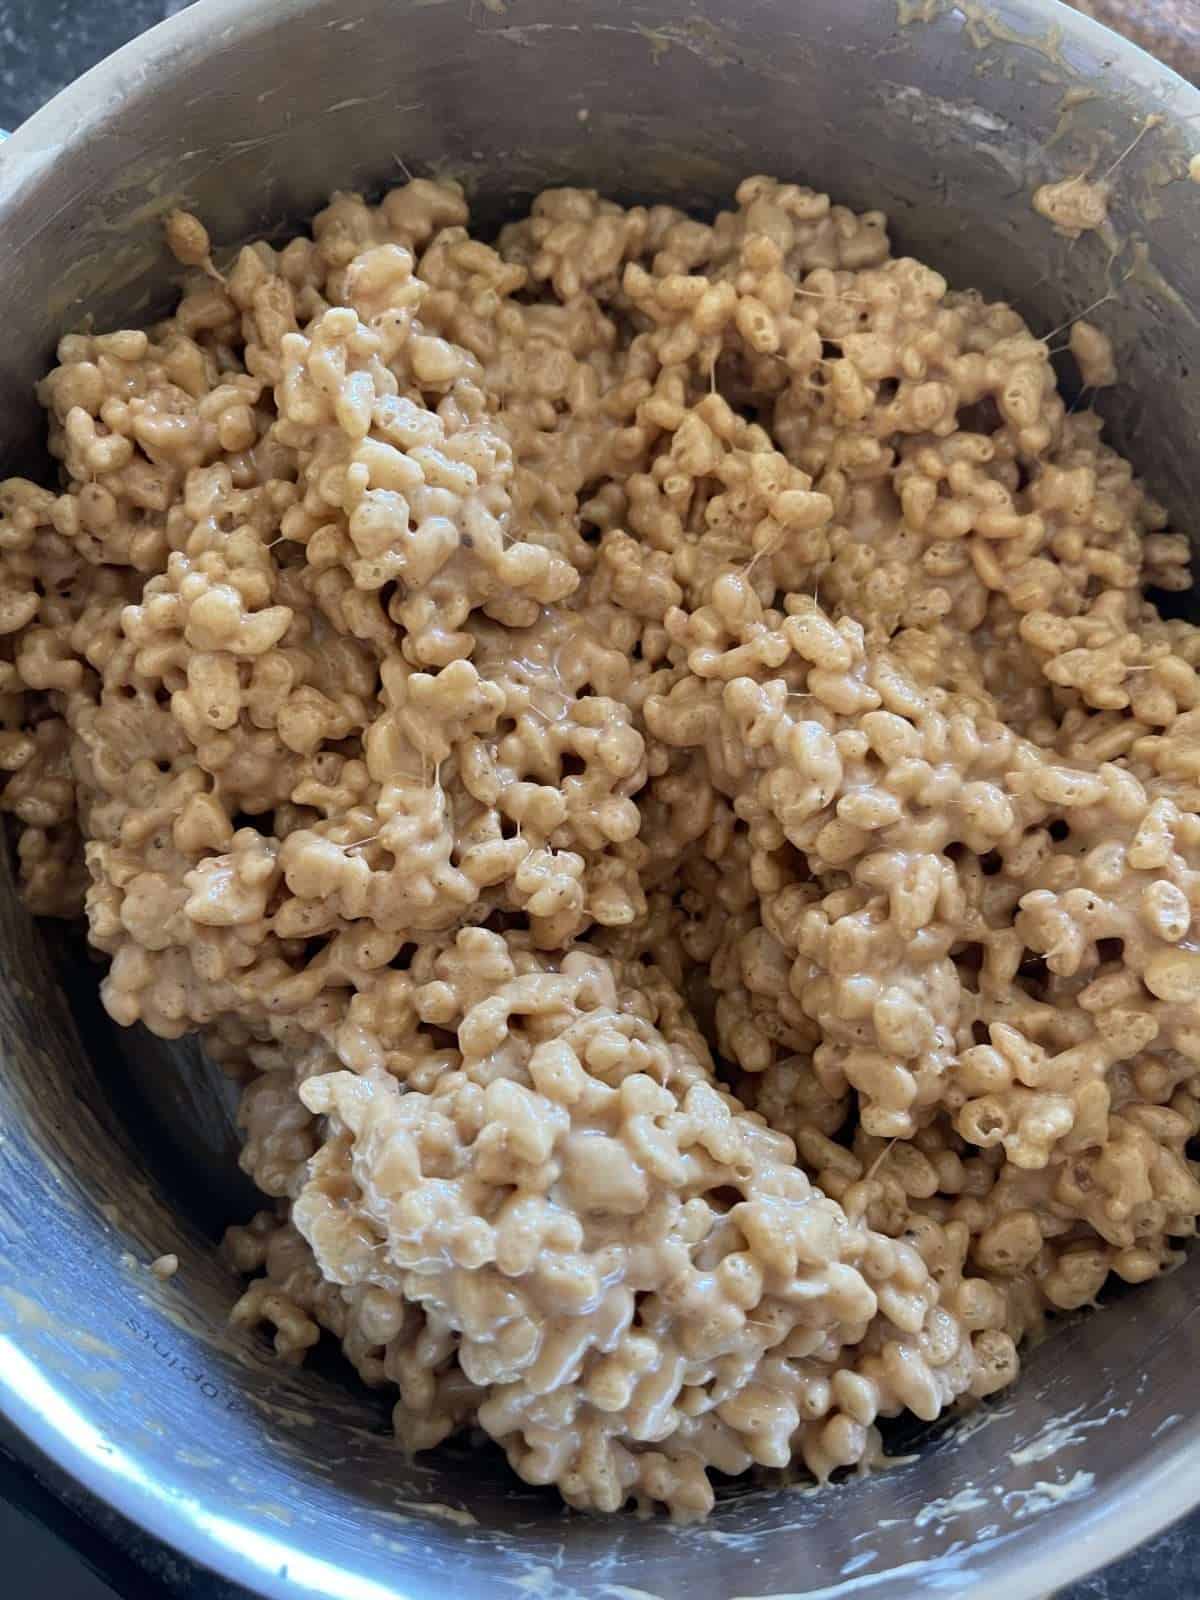
- Stir In Rice Krispies – Next, we add the toasted cereal into the marshmallow mix then stir, so that every rice krispie is coated.
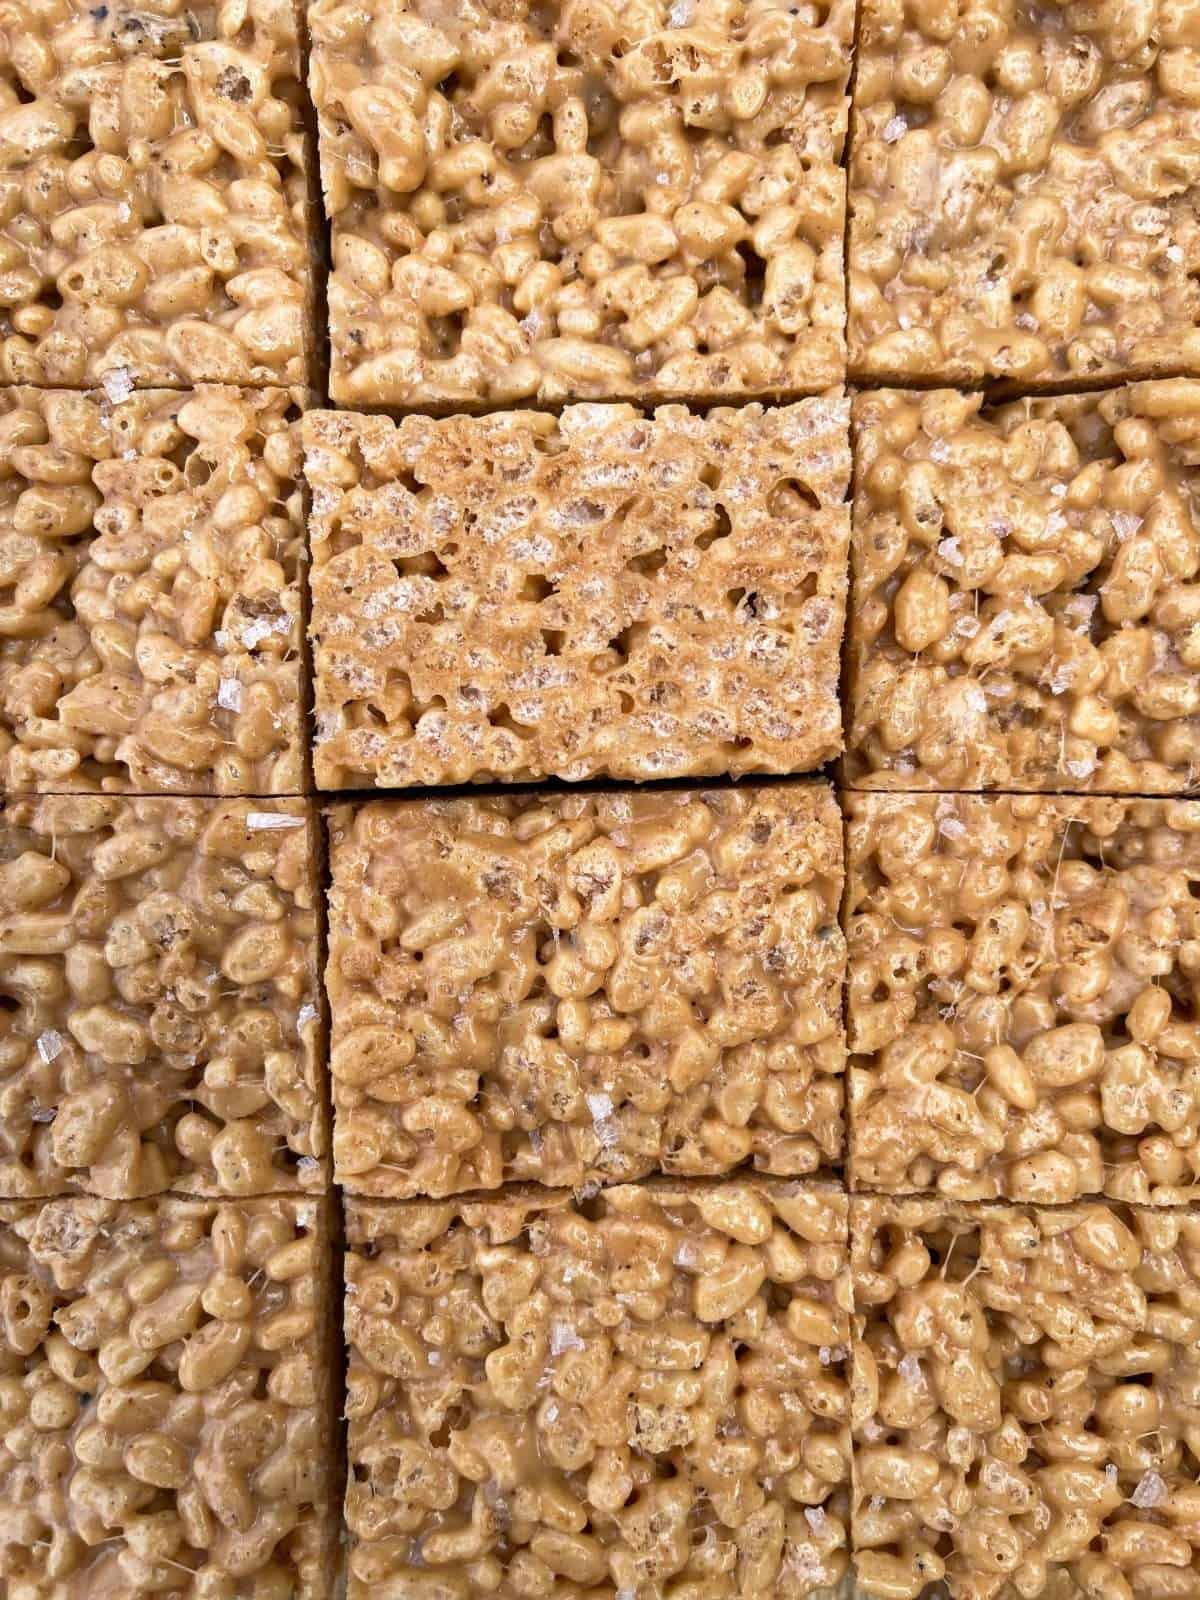
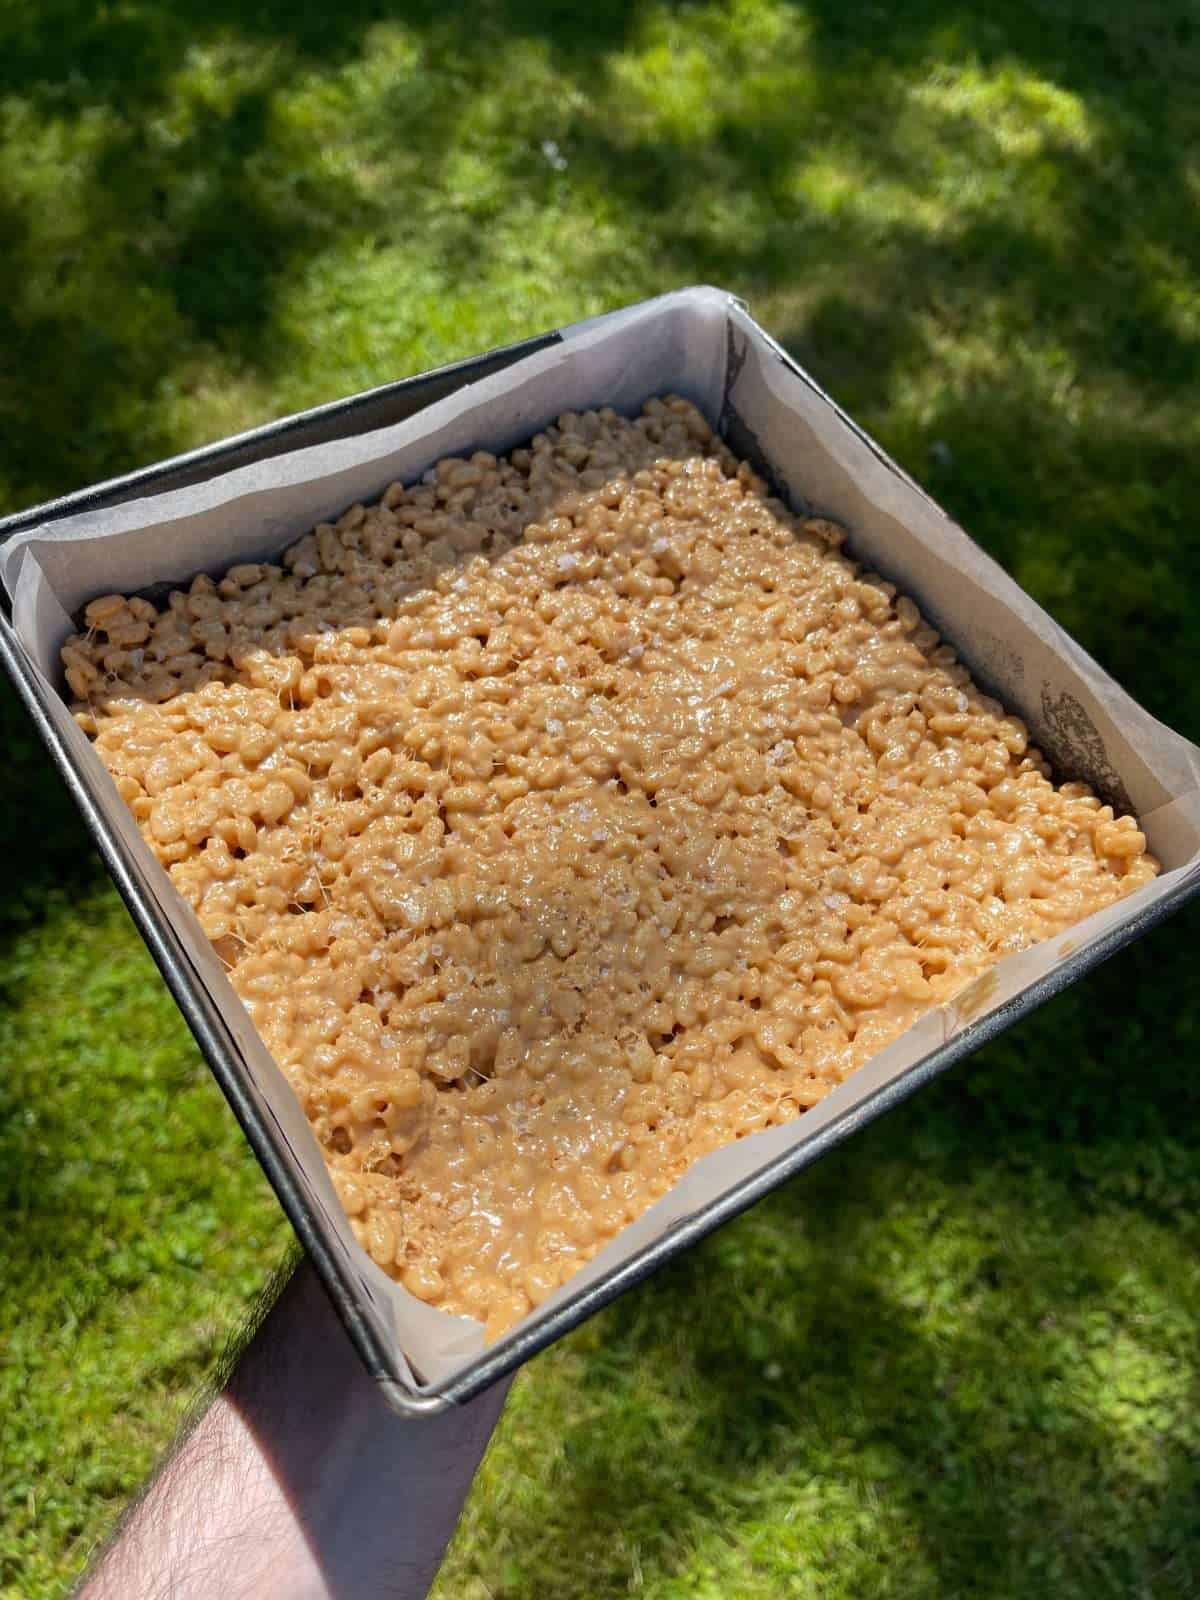
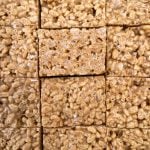
- Set In A Tin – Once mixed, we transfer the mix into a lined & greased 8″ square baking tin then gently press down into an even layer. To finish, we sprinkle sea salt over the top then leave to cool to room temperature before cutting into portions.
Frequently Asked Questions
Rice krispie treat should be kept in an airtight container & are best eaten within 3 days.
I wouldn’t recommend freezing rice krispie treats as this could affect the texture. If you want to add a couple of extra days to the shelf life, they can be stored in the fridge instead of at room temperature.
Absolutely! Feel free to add whatever you like into the mix. Chopped chocolate, nuts, pretzels or dried fruit would be some good mix ins.
These rice krispie treats will take at least an hour to set at room temperature. Make sure that they are completely cool before cutting them.
The best way to keep rice krispie treats soft & gooey is to avoid getting the marshmallows too hot (the residual heat from the brown butter will melt them) & to loosely press the mix into the tin, to set.
Rice Krispie Treats Tricks & Tips
- Toast The Rice Krispies – For a deeper, caramelised flavour, toast the rice krispies in the oven first. This step doesn’t take long but adds a load of flavour!
- Brown The Butter – Browning the butter gives these rice krispie treats a nutty flavour that work’s great with the sweet marshmallows.
- Torch The Marshmallows – Using a blowtorch to toast the marshmallows before melting them, adds in even more flavour. Think classic s’mores! If you haven’t got a blowtorch, use a grill/broiler instead.
- Press The Mix Into The Tin Loosely – Pressing the rice krispie mix loosely into the tin, keeps them soft & gooey. Press the mix in too hard & the treats will set too hard!
- Serve At Room Temperature – These rice krispie treats are best stored at room temperature, in an airtight container.
Cooking Rice Krispie Treats In An Aga
With all of my recipes, I include cooking instructions for conventional ovens, fan ovens & also Agas. Here’s how to cook this recipe in an Aga…
Toast the rice krispies in the baking oven, on the bottom set of runners. If you need to toast them in batches, cook them one tray at a time. To brown the butter, use the boiling plate.
Equipment Used
Please note that these are affiliate links & I may make a small commission if you make a purchase using these links, at no extra cost to you. For more information, click here.
More Baking Recipes To Try!
- Nutella Swirled Tahini Banana Bread
- Oreo & Espresso Brown Butter Brownies
- Nutty Brown Butter Flapjacks
- Lemon Fondant Fancies
- Black Sesame Cheesecake Cookies
- Lemon & Almond Battenberg
- Traditional Eccles Cakes
- Miso Banana Bread Chocolate Chip Cookies
Watch How To Make This Recipe
If you have enjoyed this recipe for brown butter biscoff rice krispie treats, it would mean a lot if you could leave a review & rating!
Brown Butter Biscoff Rice Krispie Treats
Equipment
- 8" Square Baking Tin
- Large Saucepan
- Baking Trays
- Blowtorch
Ingredients
- 200 g Rice Krispies
- 400 g Marshmallows See Notes
- 140 g Unsalted Butter
- 150 g Biscoff Spread
- Sea Salt
Instructions
- Preheat an oven to 175°c/155°c fan (350°f/311°f).
- Grease & line an 8" square baking tin with baking parchment. Lightly grease the parchment as well (with oil or butter). Set this aside for now.
- Place the rice krispies onto a large baking tray & bake in the preheated oven for 4-5 minutes, until they are a deep, golden brown. Once toasted, set the rice krispies to one side.Make sure not to overcrowd the baking tray with rice krispies, you may have to use two trays to cook the cereal, in batches.
- Line another baking tray with foil then place the marshmallows on top in a single layer, making sure that none of them are stuck together. Toast each marshmallow with a blowtorch, until well browned. If you haven't got a blowtorch, you can toast the marshmallows under a grill/broiler.
- Next, chop the butter into evenly sized pieces then place into a large saucepan. Set over a medium heat & cook, stirring regularly until the butter is brown & smells nutty. This will take 3-4 minutes.
- Take the pan of butter off the heat & immediately add in the biscoff spread & toasted marshmallows. Stir with a rubber spatula, until the marshmallows are just melted (the residual heat from the butter will melt the marshmallows).
- Stir the rice krispies into the marshmallow mix, making sure that every piece if cereal is coated then tip into the prepared baking tin. Using a palette knife (or the back of a spatula), lightly press the mixture into the tin.Make sure not to press the mixture down too firmly, as this will cause it to set too hard.
- Sprinkle a pinch of sea salt over the top of the rice krispies then leave to cool to room temperature (at least an hour) before cutting into portions.