Apricot & Vanilla Bean Jam
Make the most out of seasonal apricots with this apricot & vanilla bean jam. This stuff’s super easy to make & contains a whole vanilla bean!
This post contains affiliate links.
Make the most of seasonal apricots with this homemade apricot & vanilla bean jam!
To make this jam, we’re going to be macerating the apricots overnight with sugar, lemon juice & a whole vanilla bean! This homemade jam is incredibly easy to make, it’s packed full of flavour & unlike some jams, it isn’t overly sweet. Plus, you’ll only need a few ingredients to make it.
Apricot is easily one of my favourite flavours of jam & it has so many uses! You can use it to fill doughnuts, spread it on toast (made with homemade bread), stir it into rice pudding or use it to glaze a baked ham, to name a few things…
If you’re looking for more jam recipes or ways to use your homemade jam, take a look at our collection of baking & breakfast recipes!
What You’ll Need
- Fresh Apricots – Make sure to use fresh apricots that are just ripe & aren’t bruised.
- Vanilla – Apricot & vanilla is a classic combination! A good vanilla pod makes all the difference here. Alternatively, you can use 2 teaspoons of vanilla paste & stir it in at the end (with the butter). If you’re using a vanilla pod, make sure to scrape out the seeds & add both the seeds & pod to the jam.
- Sugar – You don’t need to use jam sugar to make apricot jam, regular caster sugar does the job! We’re using 75% of the fruit’s weight in sugar, which I find adds just the right amount of sweetness.
- Lemon Juice – Adding lemon juice to our jam adds flavour & helps cut through the sweetness from the sugar. It also helps the jam set properly.
- Butter – Stirring in a small amount of unsalted butter after cooking, removes any foam from the jam.
- Salt – A pinch of salt enhances our jam’s flavour. I like to use a fine sea salt, like Maldon.
How To Make Apricot & Vanilla Bean Jam
The full, printable recipe card for this jam can be found at the bottom of this post! Here’s a quick rundown of the recipe…
- Prep Fruit
First, we need to prep our fresh apricots. To do this, we cut them in half & remove the stones. That’s it! - Macerate Apricots
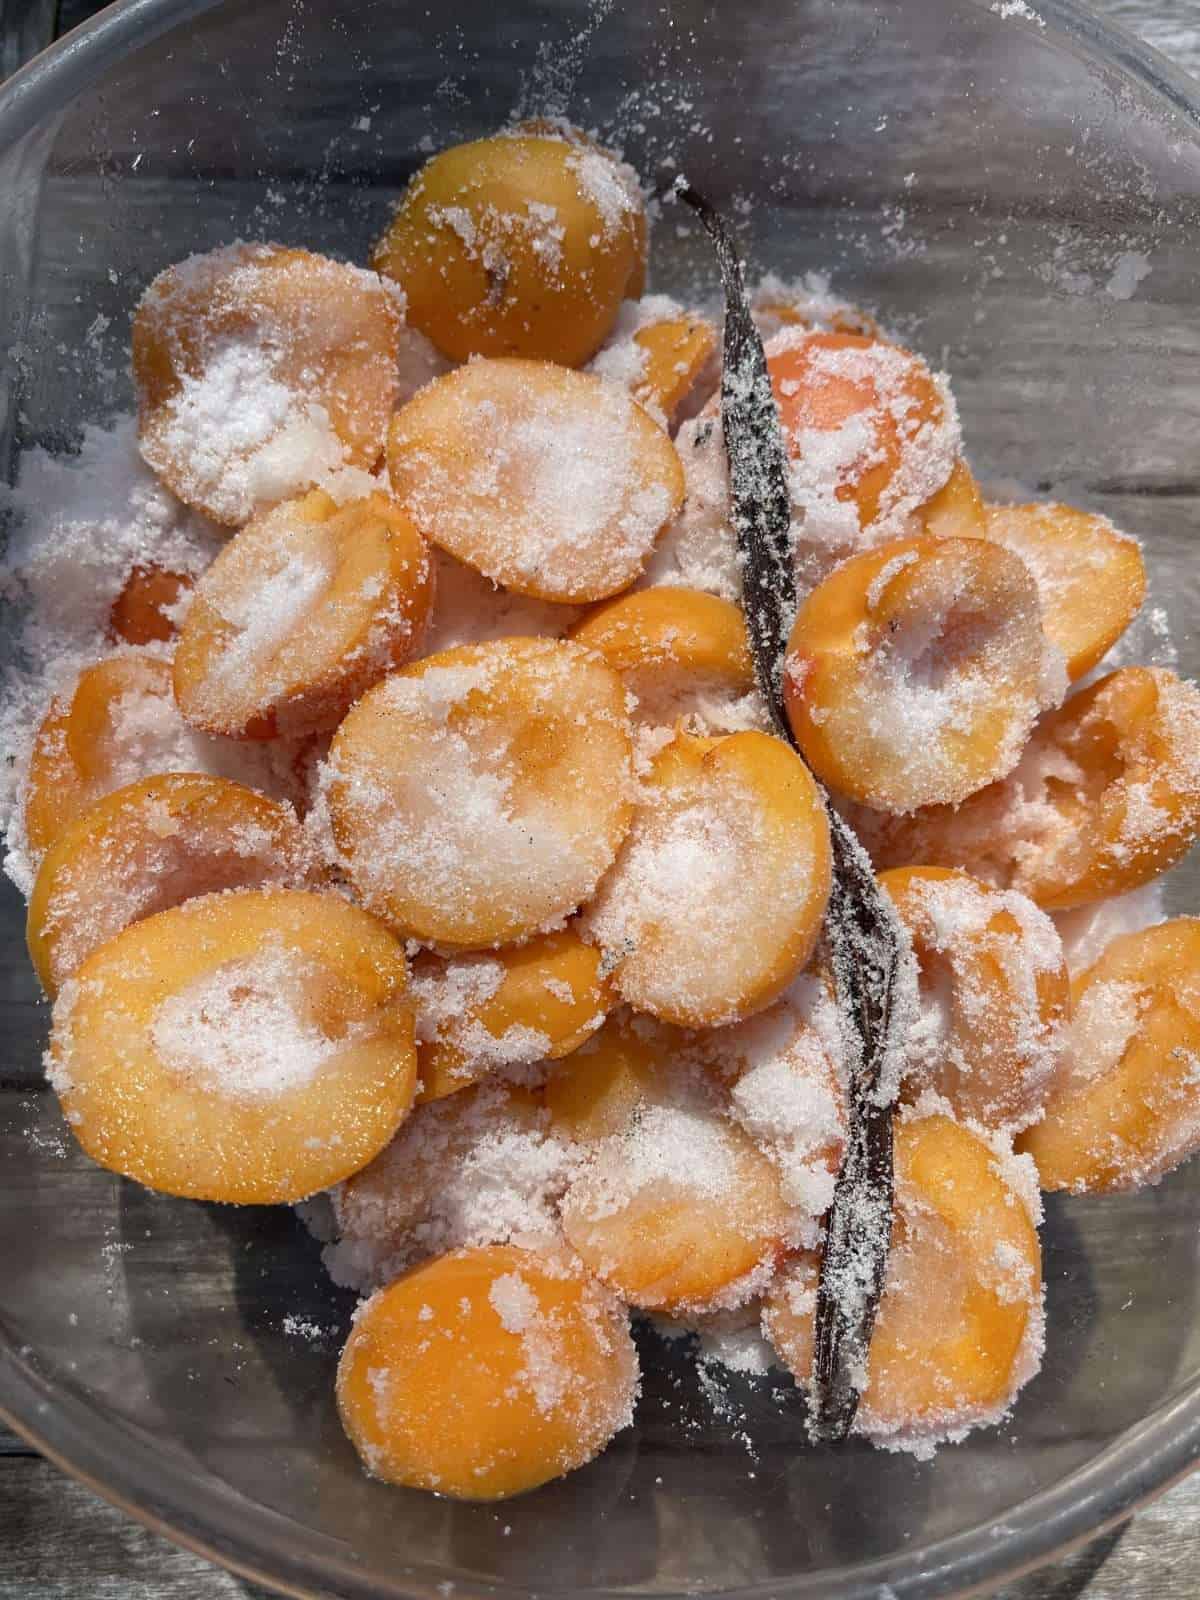
Next, we place the apricots into a large mixing bowl with caster sugar, a vanilla pod (with the seeds scraped out) & lemon juice. We give this a good mix then cover & refrigerate overnight. This step is called macerating the fruit & is used to enhance the flavour of our jam. - Dissolve Sugar
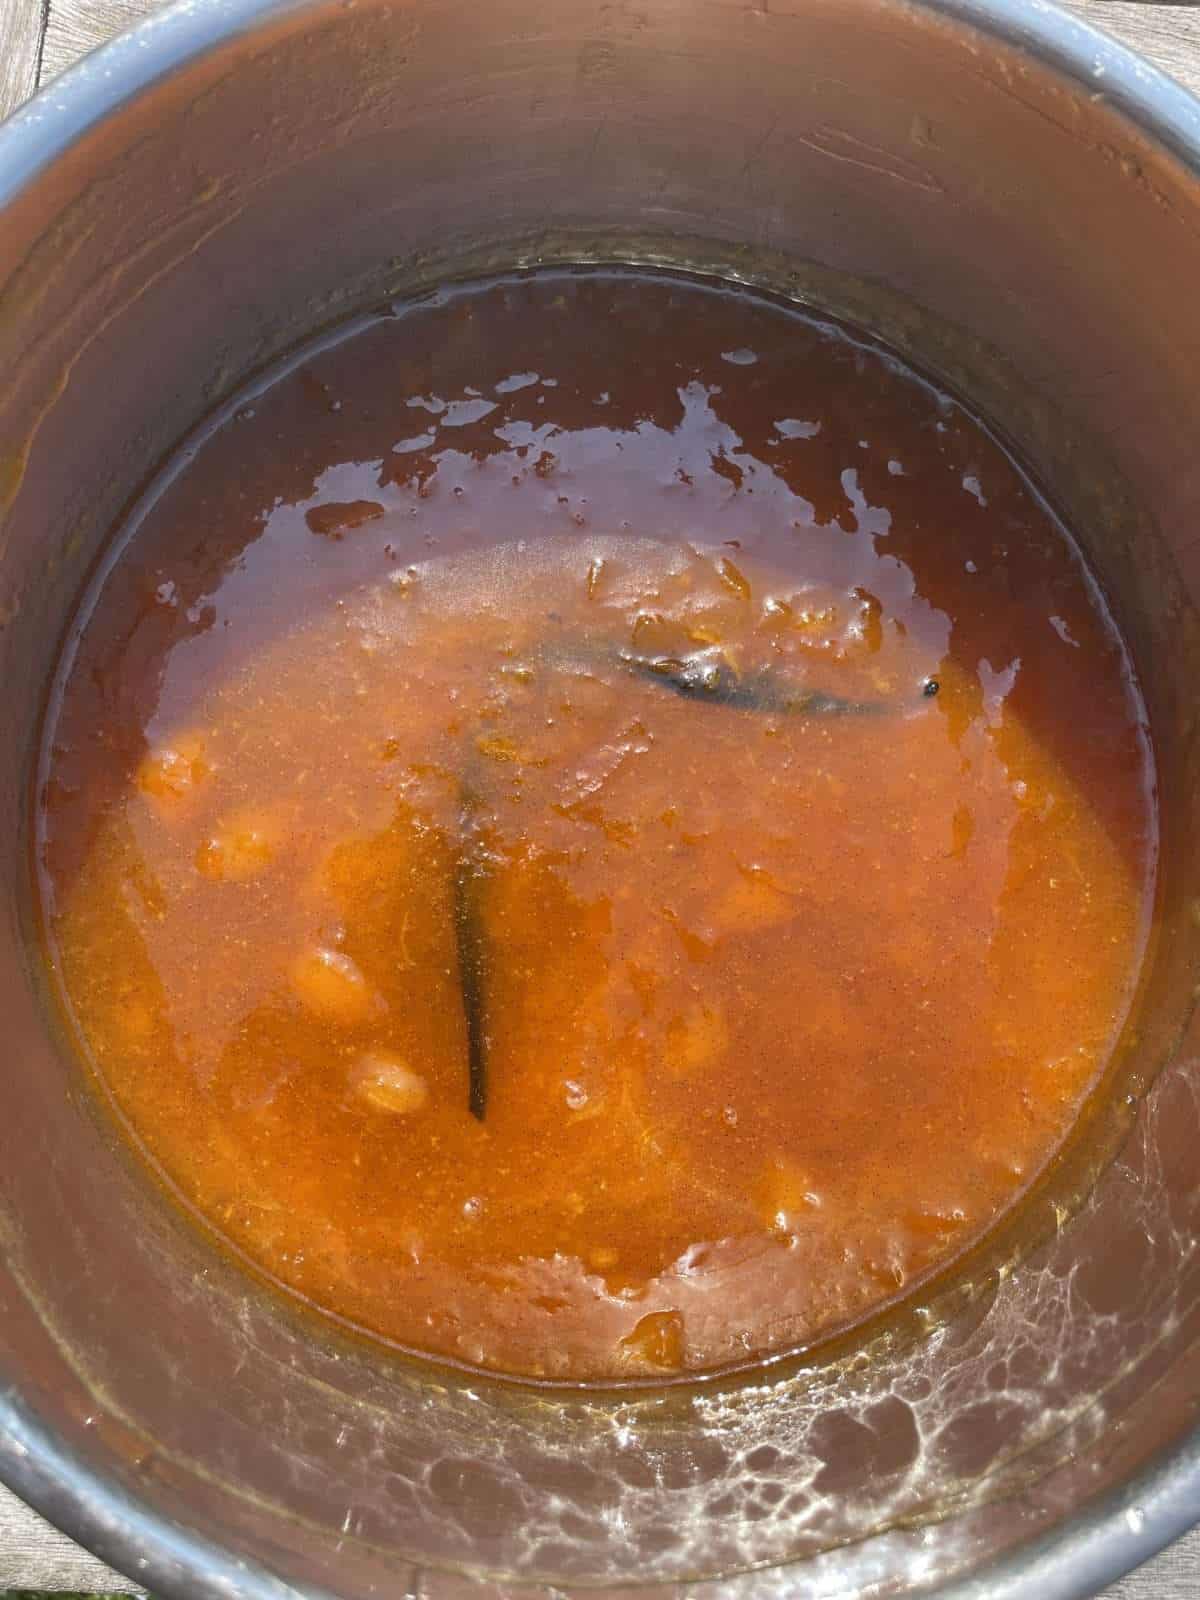
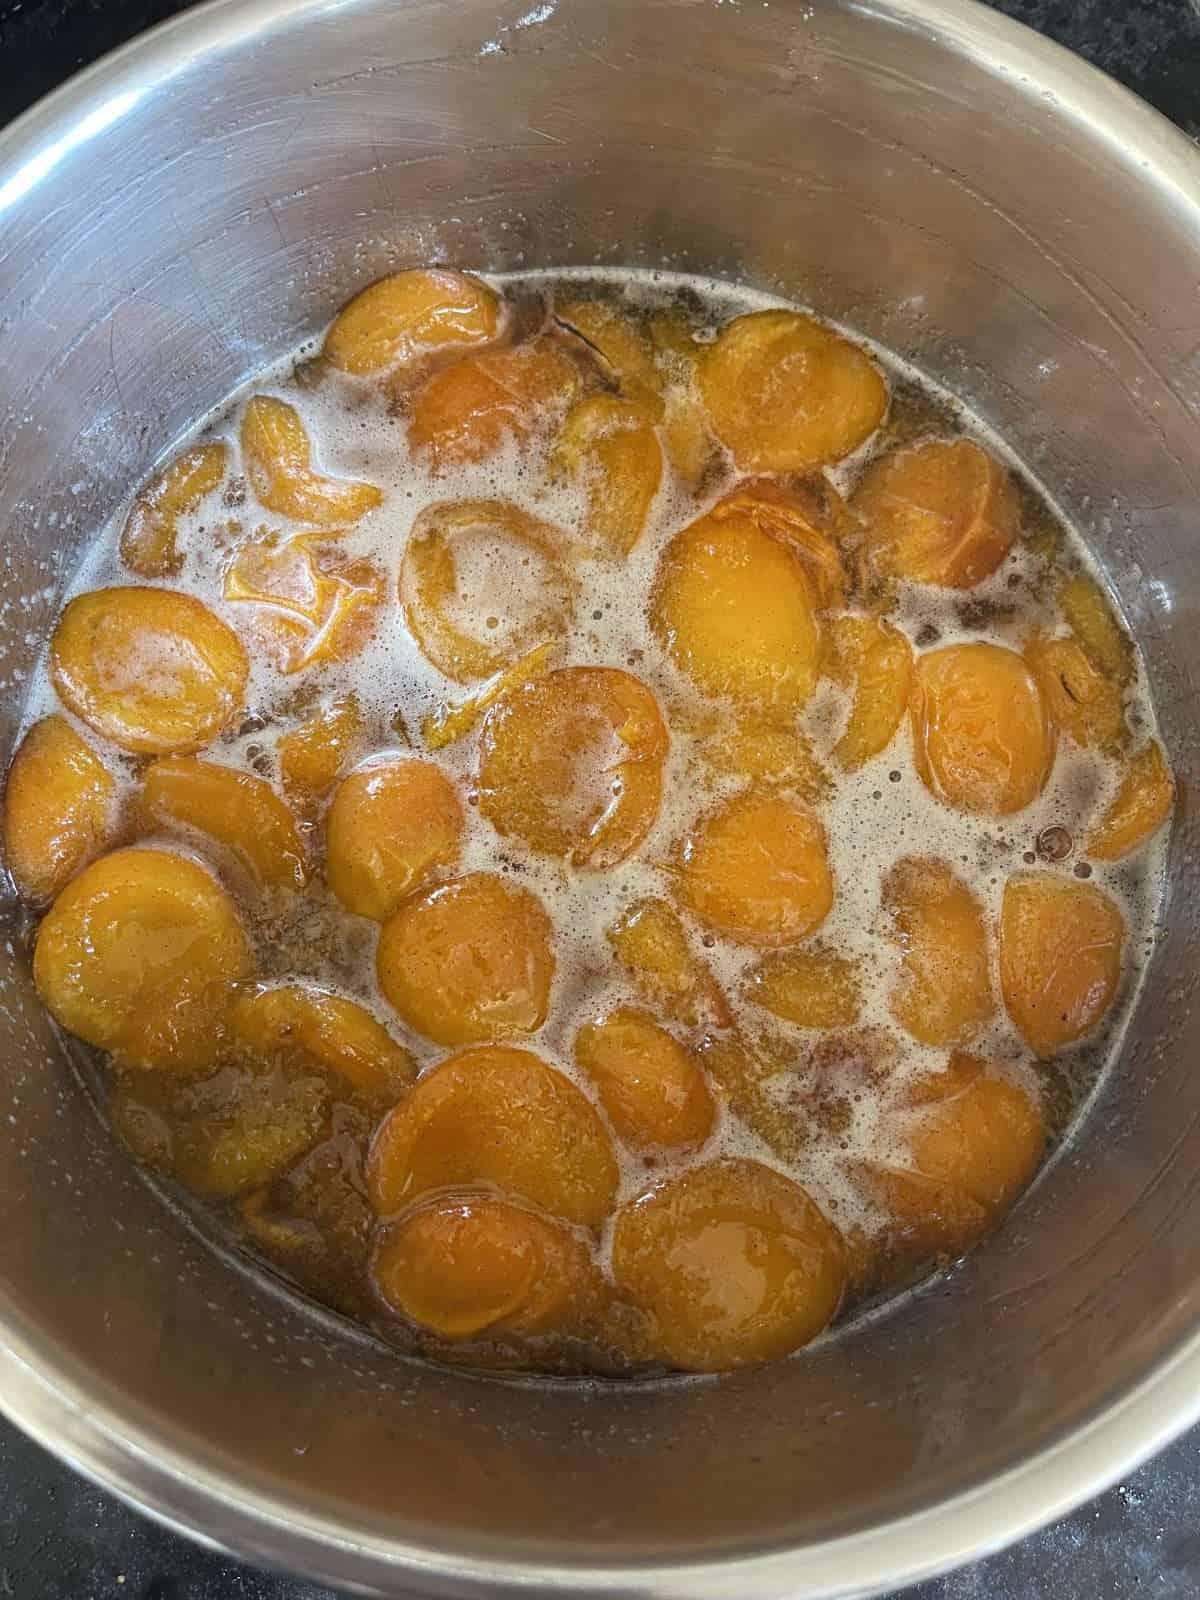
The next day, we tip the contents of the mixing bowl into a large pan then set over a low heat. We then cook the apricots, stirring regularly until the sugar has dissolved & the fruit is soft. This will take 10 minutes or so. - Boil
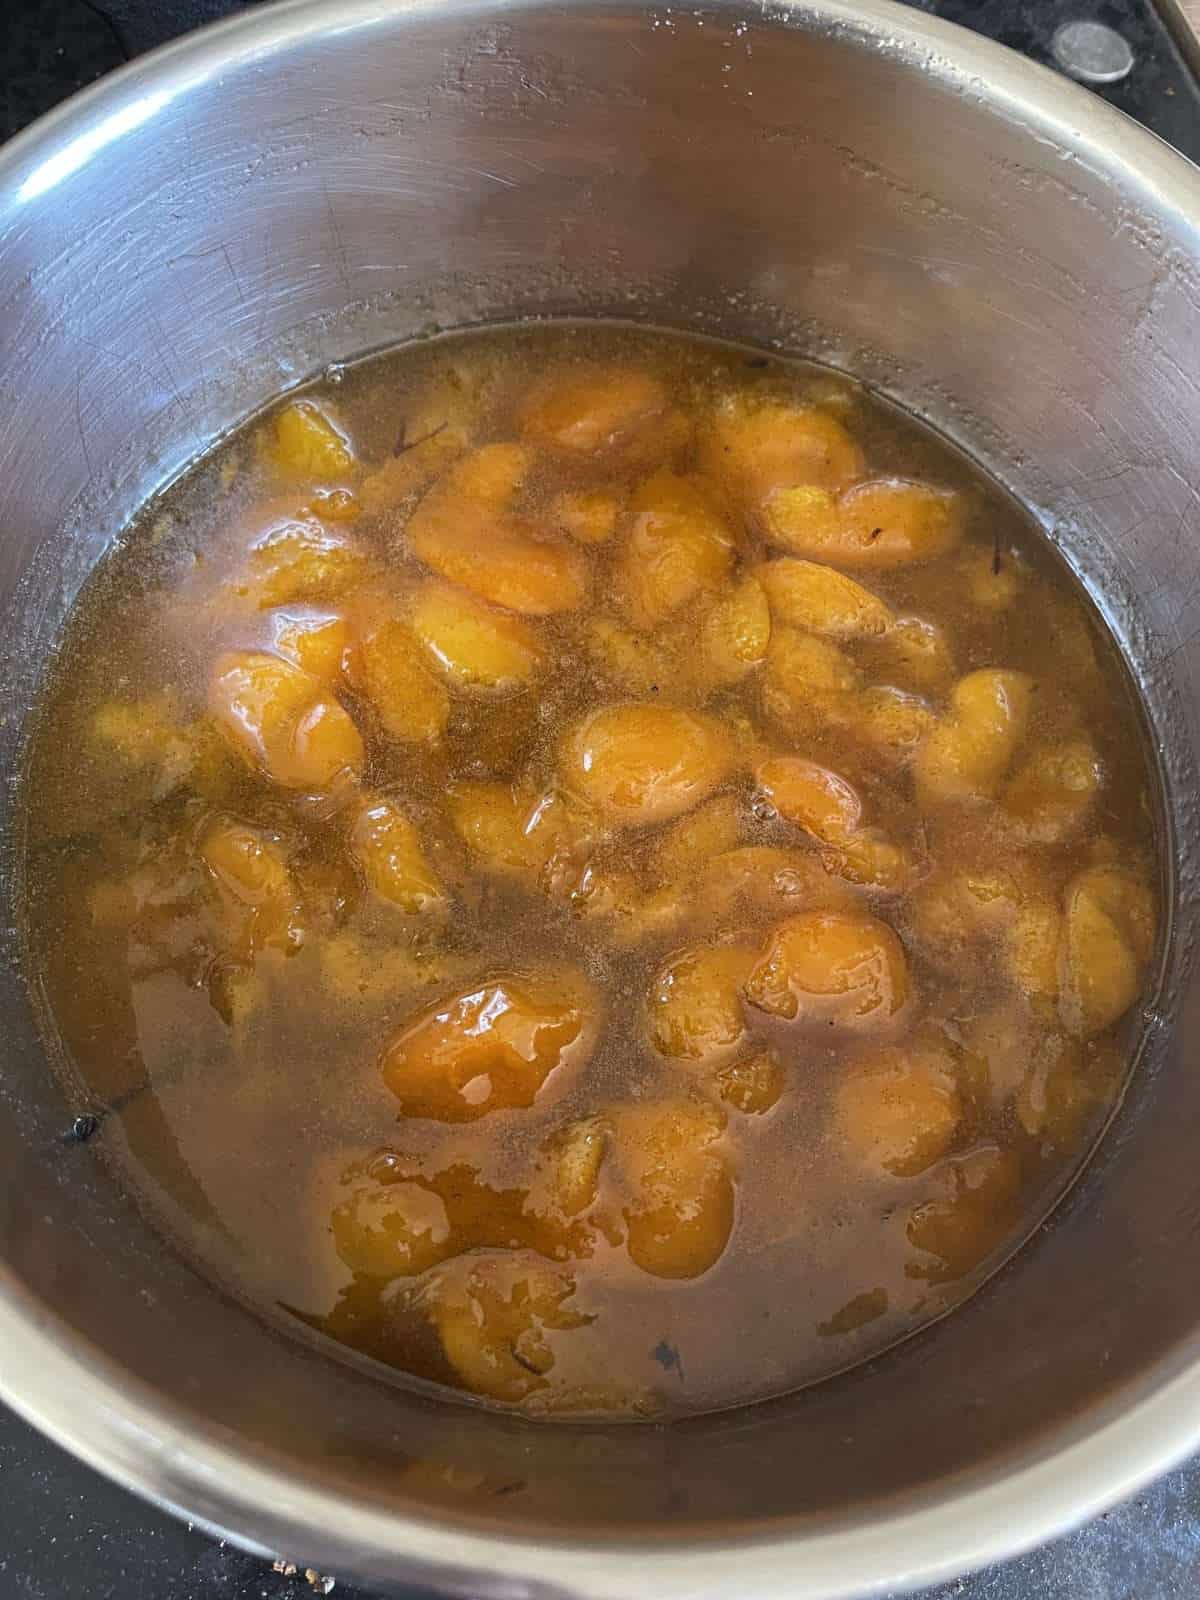
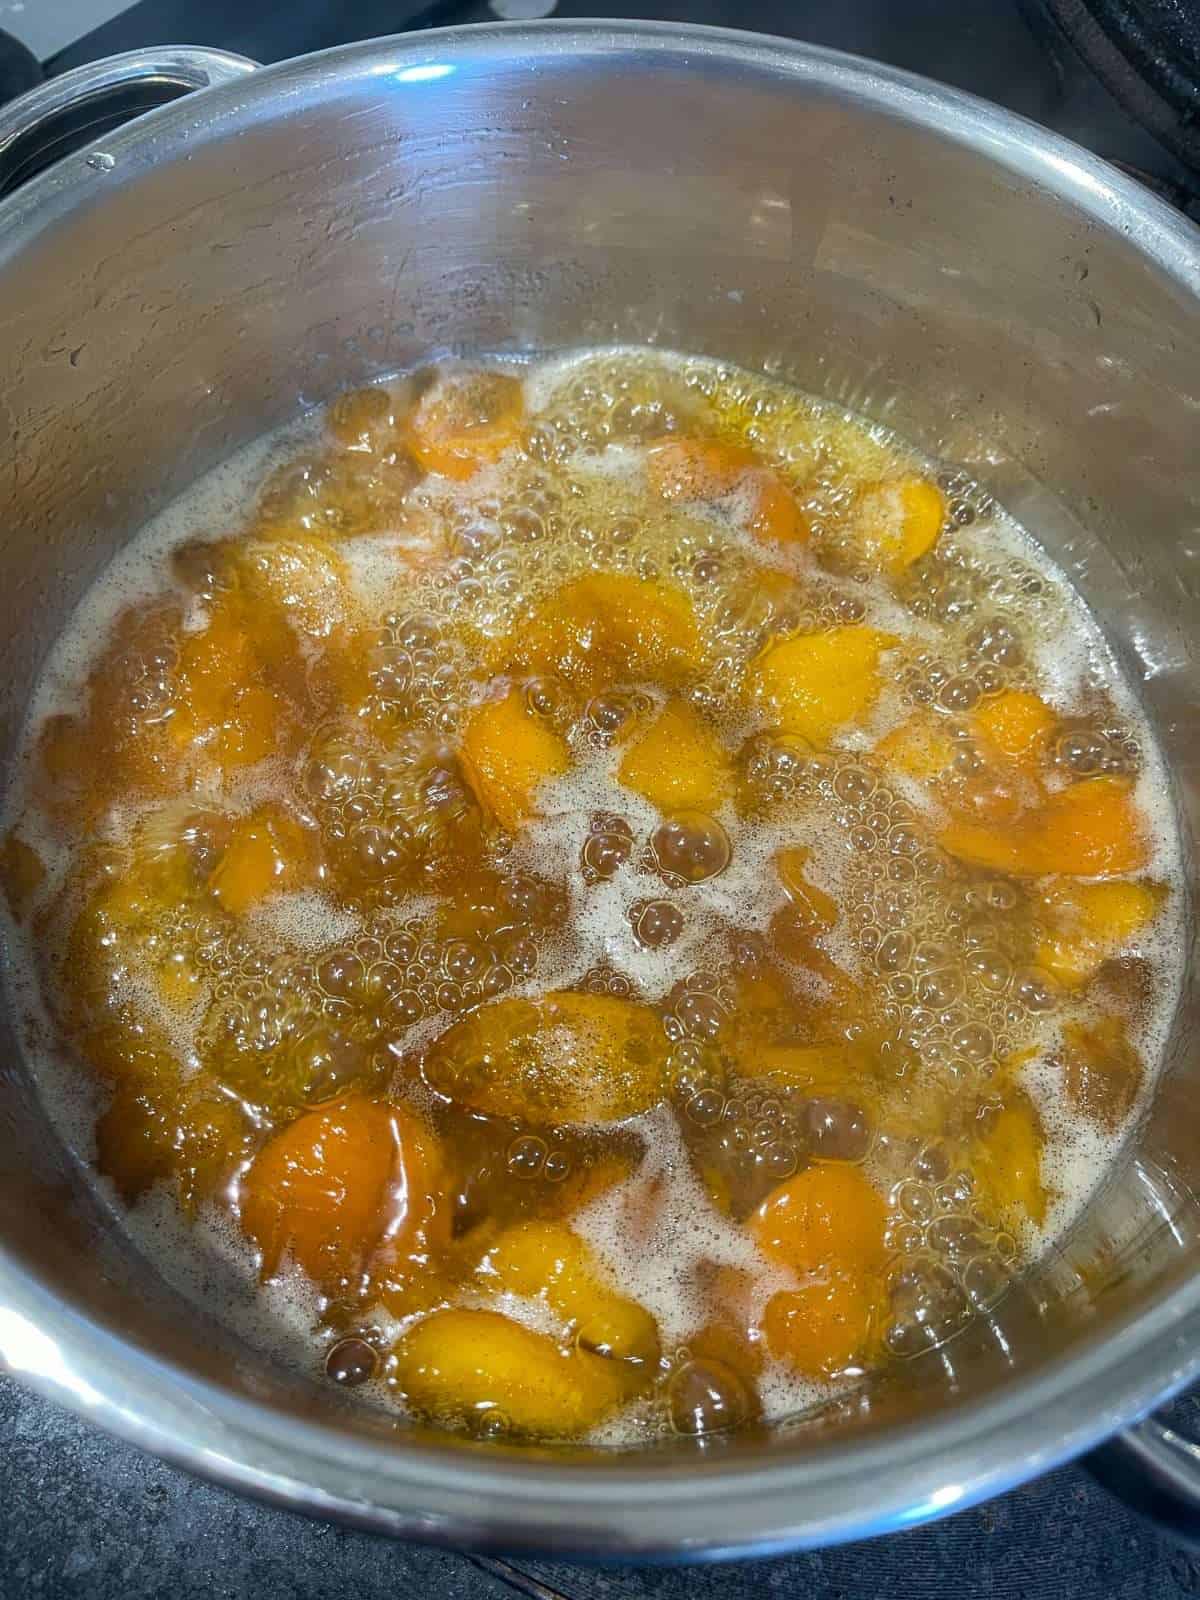
Once the sugar has dissolved, we turn the heat up to medium-high, bring the jam to the boil then cook until it reaches setting point (105°c/221°f), making sure to stir the jam occasionally, to stop it from catching. - Test If Set
The best way to check if your jam is set, is by taking it’s temperature with a digital food probe as it cooks. Once it reaches 105°c/221°f, it’s ready.
If you haven’t got a food probe, you can use the wrinkle test. To do this, spoon a small amount of jam onto a cold, frozen plate then let it set for a minute. Drag a finger through the jam & if it wrinkles, it’s ready! - Stir In Butter & Salt
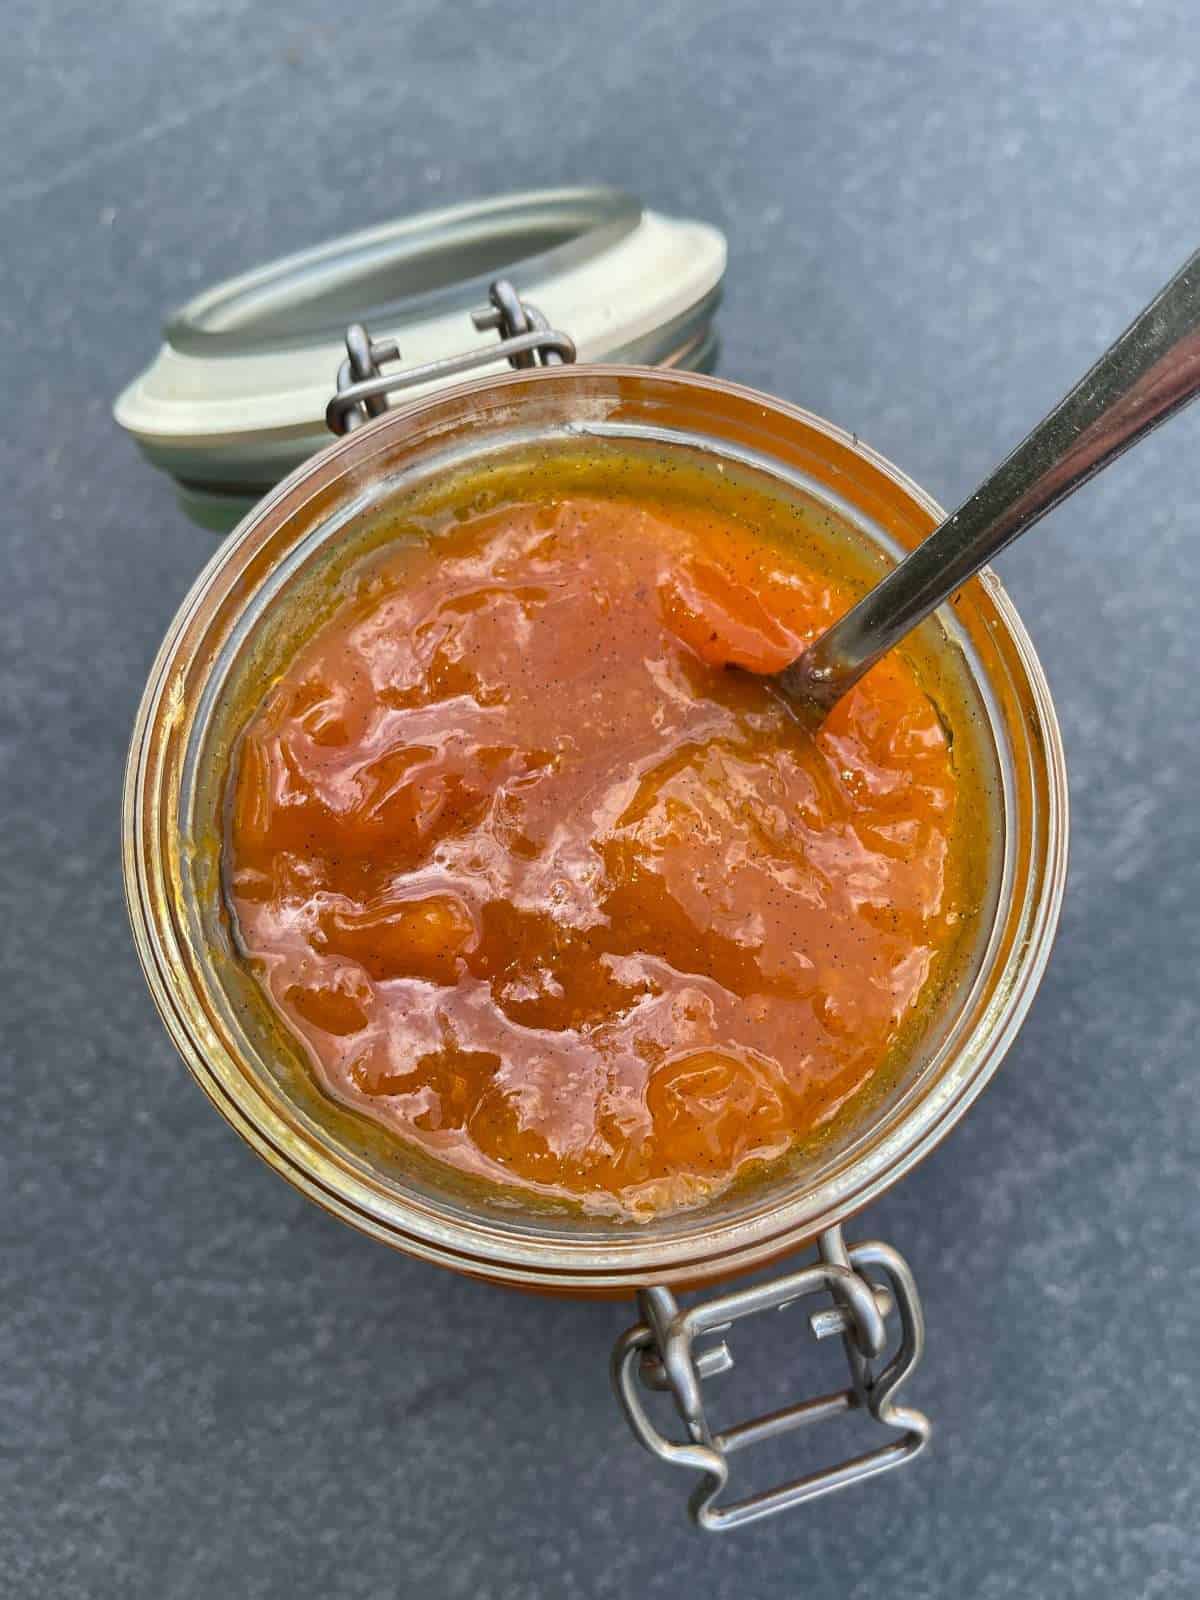
Once are jam is cooked, we take it off the heat then stir in a small amount of unsalted butter & sea salt. This gives our jam a cleaner, glossier finish & enhances the flavour. - Storage
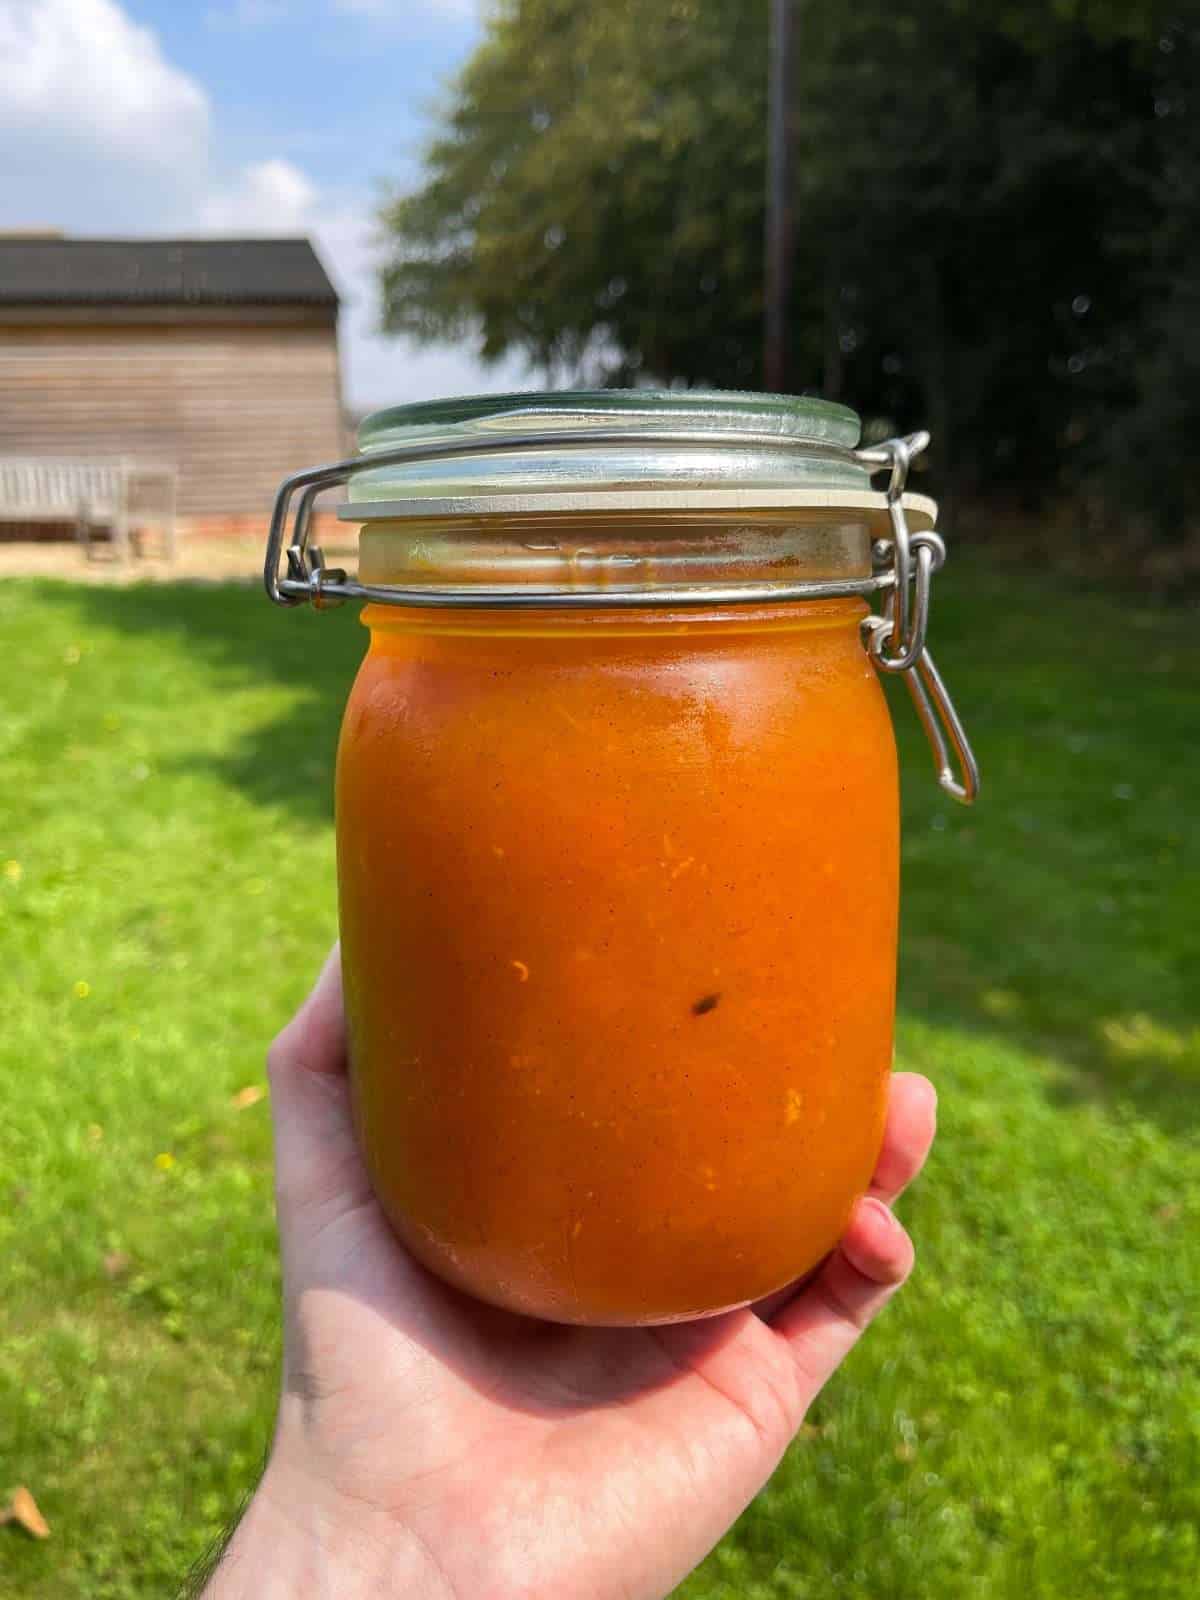
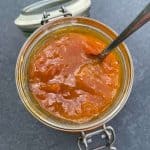
When our jam is ready, we let it cool for a minute or two then transfer it into a sterilised jar. Kept in the fridge, this jam will keep for several months.
Apricot Jam Tips & Tricks
- Use a digital food probe – Using a digital food probe (like a Thermapen) to take your jam’s temperature as it cooks, is the best way to prevent overcooking. The setting point of jam is 105°c/221°f.
- Sterilise your jar – Storing your homemade jam in a clean, sterilised jar is the best way to ensure that it keeps for as long as possible.
- Macerate your fruit – Leaving your fruit to macerate overnight before cooking releases it’s juice & enhances the flavour.
- Dissolve the sugar properly – Before boiling your jam, it needs to be cooked over a low heat, to dissolve the sugar & soften the fruit. This prevents crystallisation in the finished jam.
- Take jam off heat to check – If you’re using the wrinkle test to check if your jam is set, make sure to take it off the heat as you check it, to avoid overcooking it.
- Stir in butter & salt – Stirring in a small amount of butter & a pinch of salt to our cooked jam enhances the flavour & gets rid of any foam, giving the jam a cleaner, glossier finish.
Sterilising Jam Jars
Jars need to be sterilised to get rid of any bacteria before being filled with jam. This is an important step for preserves like jam as it keeps them fresh for longer.
I like using kilner jars for jam as they seal well & are easy to clean. The best way to sterilise these jars is by boiling them in a saucepan of water. I’d recommend using the sterilising instructions that can be found on the Kilner Jar Website.
Frequently Asked Questions
Different fruits will require different amounts of sugar. The quantities of ingredients in this recipe is best suited for apricots.
Stored in the fridge in a sterilised jar, homemade apricot jam will keep for several months.
The best way to check that your jam is cooked enough, is by taking it’s temperature with a digital food probe. The setting point of jam is 105°c/221°f. Alternatively, you can use the “wrinkle test” which is where you spoon a small amount of jam onto a cold, frozen plate then leave it to set for 1 minutes. If the jam wrinkles when you drag a finger through it, it’s ready!
You can use homemade apricot jam for lots of things! I like to spread it on toast, use it to fill doughnuts & cakes or to glaze a baked ham.
In the UK & Europe, apricots are in season from May to September. In the USA, apricots are in season from early May to July & in Australia, apricots are in season from November to February.
Cooking Homemade Jam On An Aga
With all of my recipes, I include cooking instructions for conventional ovens, fan ovens, regular hobs & also Agas. Here’s how to cook this recipe on an Aga…
Cook the jam on the simmering plate to dissolve the sugar then move over to the boiling plate to boil.
Equipment Used
Please note that these are affiliate links & I may make a small commission if you make a purchase using these links, at no extra cost to you. For more information, click here.
More Recipes To Try!
- Forced Rhubarb & Vanilla Bean Jam
- Nutty Brown Butter Flapjacks
- Lemon Fondant Fancies
- Traditional Eccles Cakes
- Lemon & Almond Battenberg
- English Muffins
- Overnight Tangzhong Doughnuts
If you have enjoyed this homemade apricot jam recipe, it would mean a lot if you could leave a review & rating. And if you’d like to stay up to date with future recipes, follow us on Instagram & TikTok!
Apricot & Vanilla Bean Jam
Equipment
- Digital Food Probe
- Large Kilner Jar
- Large Mixing Bowl
- Large Saucepan
- Juicer
Ingredients
- 1 kg Fresh Apricots (Prepared Weight – See Notes)
- 750 g Caster Sugar
- 1 Vanilla Pod
- 2 tbsp Lemon Juice
- 30 g Unsalted Butter
- ¼ tsp Sea Salt
Instructions
Macerating
- Cut each apricot in half & remove the stones.
- Place the fruit into a large mixing bowl with the sugar, vanilla & lemon juice. Give everything a good mix then cover the bowl with clingfilm & refrigerate overnight.Scrape the seeds out of the vanilla pod & add both the pod & seeds to the apricots. Let the fruit macerate for at least 12 hours or up to 24.
Cooking
- Transfer the contents of the mixing bowl into a large saucepan then set over a low heat. Cook, stirring regularly until the sugar has dissolved & the apricots are soft & have started to break down. This will take 10-15 minutes.
- Next, turn the heat up to medium-high, bring the jam to the boil then cook, stirring occasionally until the temperature of the jam reaches 105°c/221°f.You'll need a food probe here!
- Take the pan off the heat then stir in the butter & a pinch of sea salt. Leave to cool slightly then transfer the jam to a sterilised jar.