Whipped Peanut Butter & White Chocolate Ganache
This whipped peanut butter & white chocolate ganache is creamy, full of flavour & perfect for layer cakes! It’s stabilised so will stay fluffy for longer.
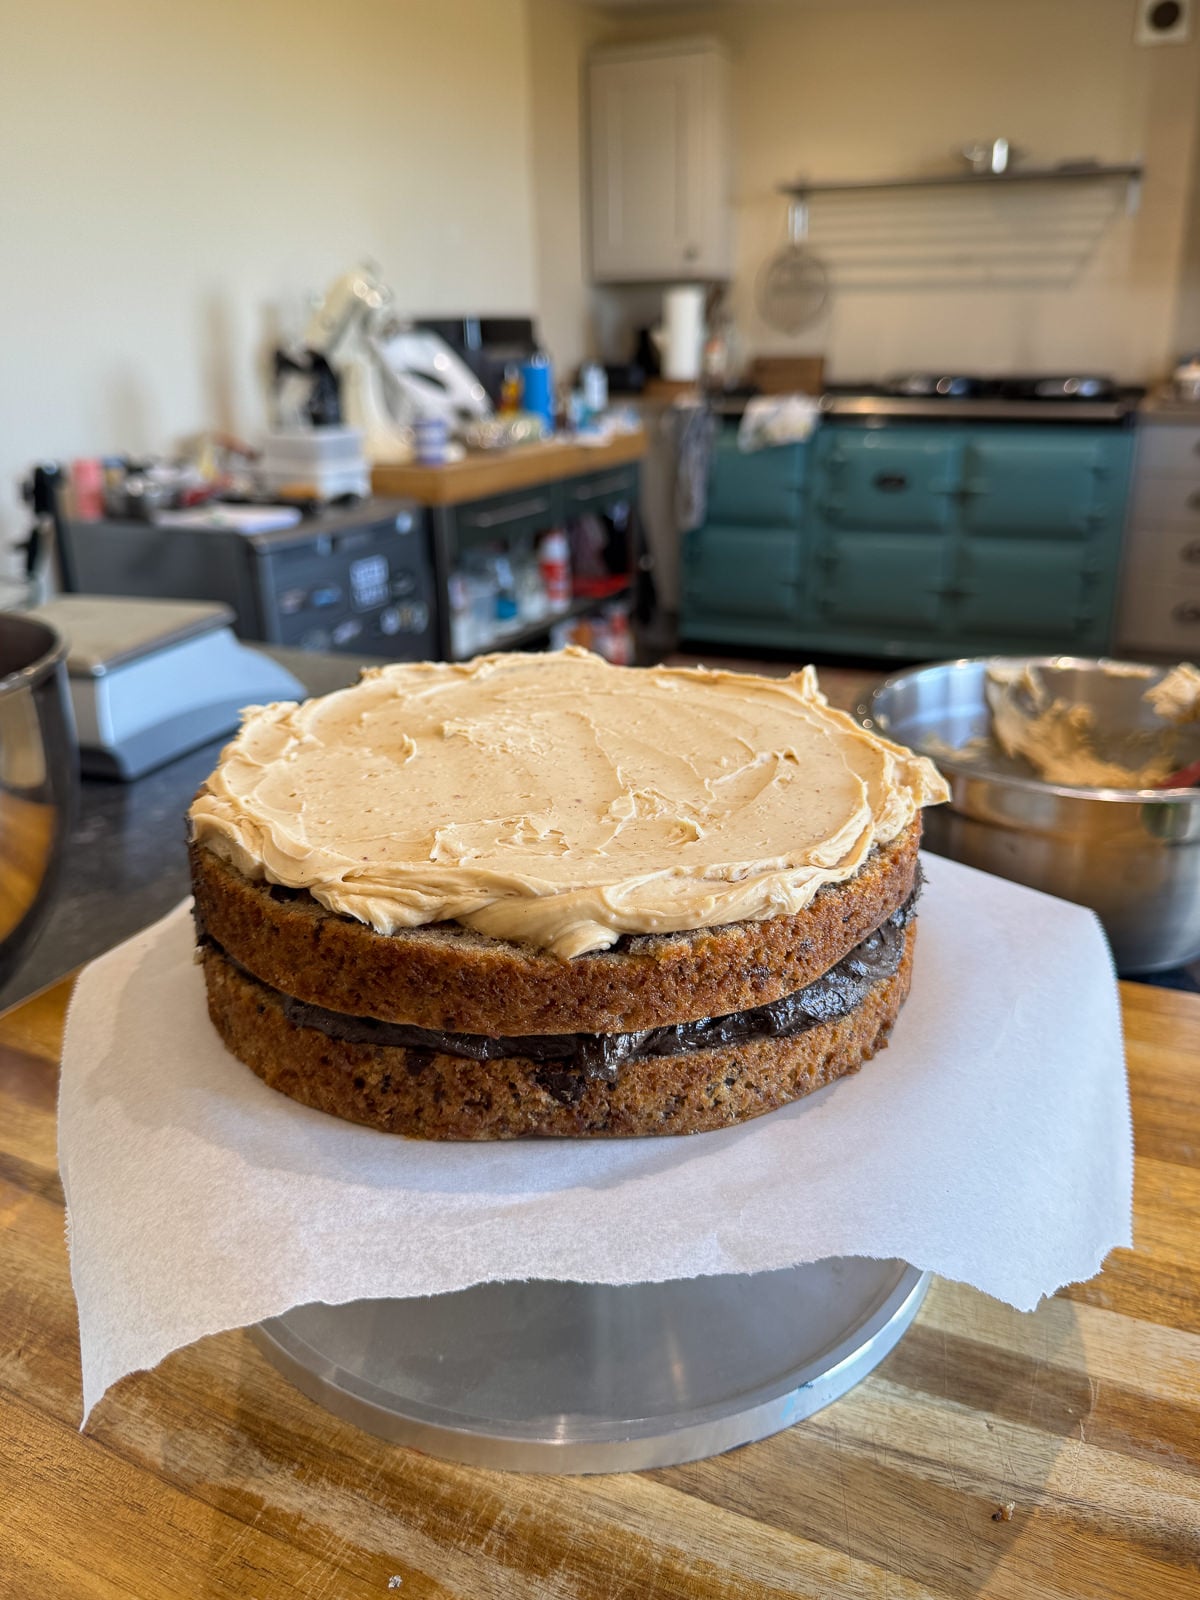
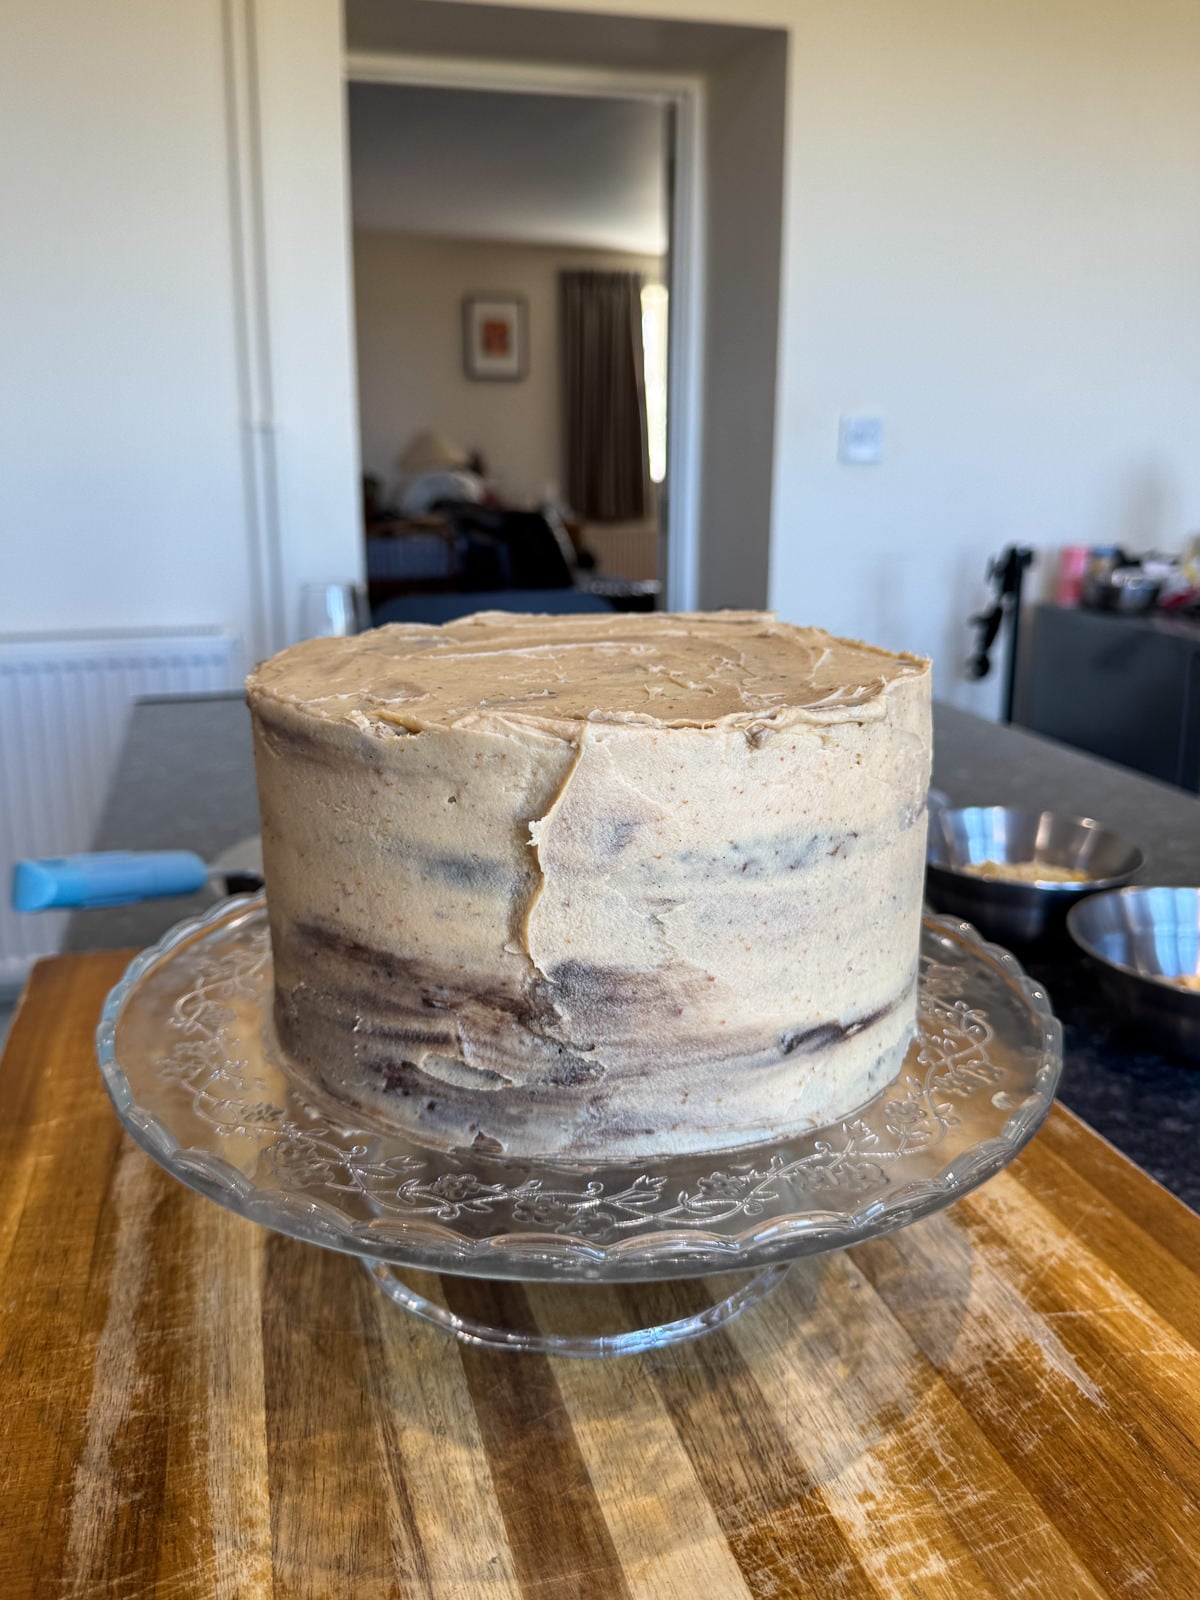
This whipped peanut butter & white chocolate ganache is the perfect choice for layer cakes, piping on top of cupcakes & spreading on top of sheet cakes and brownies. It’s smooth & creamy with a deep peanut flavour and light, fluffy texture that’s easy to work with! I used my ganache for a banana & chocolate layer cake but it’s good with loads of different flavours including chocolate, vanilla & even carrot cake.
This style of ganache is made a similar way to regular ganache but with a few additions & of course, the whipping step. There’s also a small amount of gelatine in the mix, which stabilises the ganache. This means that it will stay light & fluffy for longer and won’t melt as easily!
It’s best to make this one the day before you want to use it so that it has plenty of time to set. I like to let my cakes chill in the fridge overnight anyway (layer cakes especially!) as this gives the flavours time to develop & makes the sponge easier to work with. This just means that you can make both components ahead of time then assemble your cake the following day. Although if you’re short on time, this ganache will set in about 4 hours.
For more baking recipes, check out every growing baking recipe collection! There’s plenty to choose from here, from chocolate chip cookies & brownies, to homemade breads, pastry & loads more.
What You’ll Need
- Peanut Butter – For this recipe, it’s best to use a high quality, smooth peanut butter. I used a dark roasted peanut butter, to give my ganache a deeper flavour but regular peanut butter will work as well.
- White Chocolate – Make sure to use a bar of chocolate instead of chips, as this will melt better. It’s best to use a high quality white chocolate with a cocoa content of at least 25%. Chocolate couverture or callets (professional grade chocolate chunks) will work as well.
- Cream – Like most ganache, this one uses double cream (heavy cream).
- Mascarpone – Added for extra creaminess & to give the ganache a softer texture that’s easier to spread.
- Gelatine – A small amount of gelatine (a single sheet) is added to stabilise the ganache, meaning that it will hold its’ shape for longer & won’t melt as easily. If you wanted to scale up this recipe, by half for example, just cut a gelatine sheet in half with a pair of scissors.
- Golden Syrup – Adding golden syrup to ganache adds a touch of sweetness & gives the ganache a glossier finish.
- Salt – A pinch of salt brings out the flavours from the chocolate!
How To Make Whipped Peanut Butter Ganache
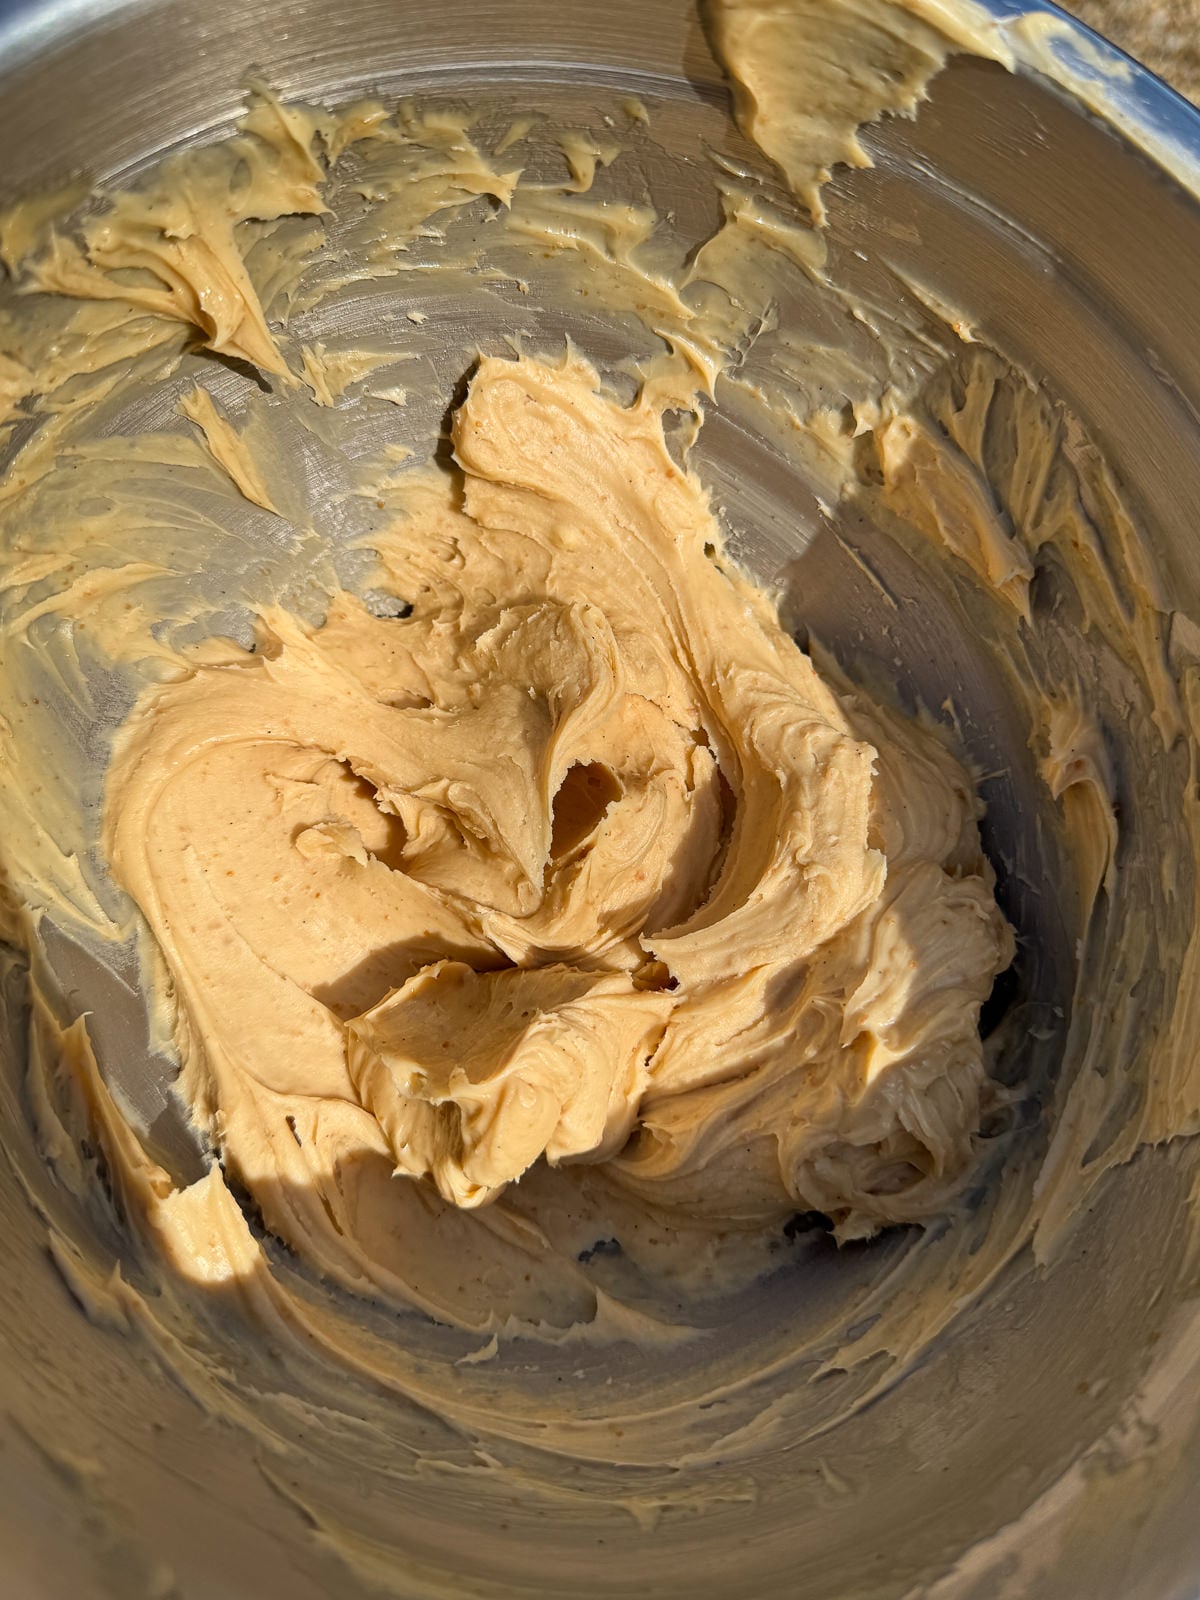
This whipped peanut butter ganache is made pretty much the same way as a regular ganache but with the addition of peanut butter, golden syrup & mascarpone. The ganache is set in the fridge then whipped by hand just before using, to give it a light, fluffy texture that’s perfect for spreading & piping.
- Soak Gelatine
This ganache contains a sheet of gelatine, which we need to soak in cold water before using. I like to do this first, so that the gelatine has plenty of time to soak. To soak gelatine, we fill a small bowl up with cold water then simply add in the gelatine sheet. - Warm Cream & Peanut Butter
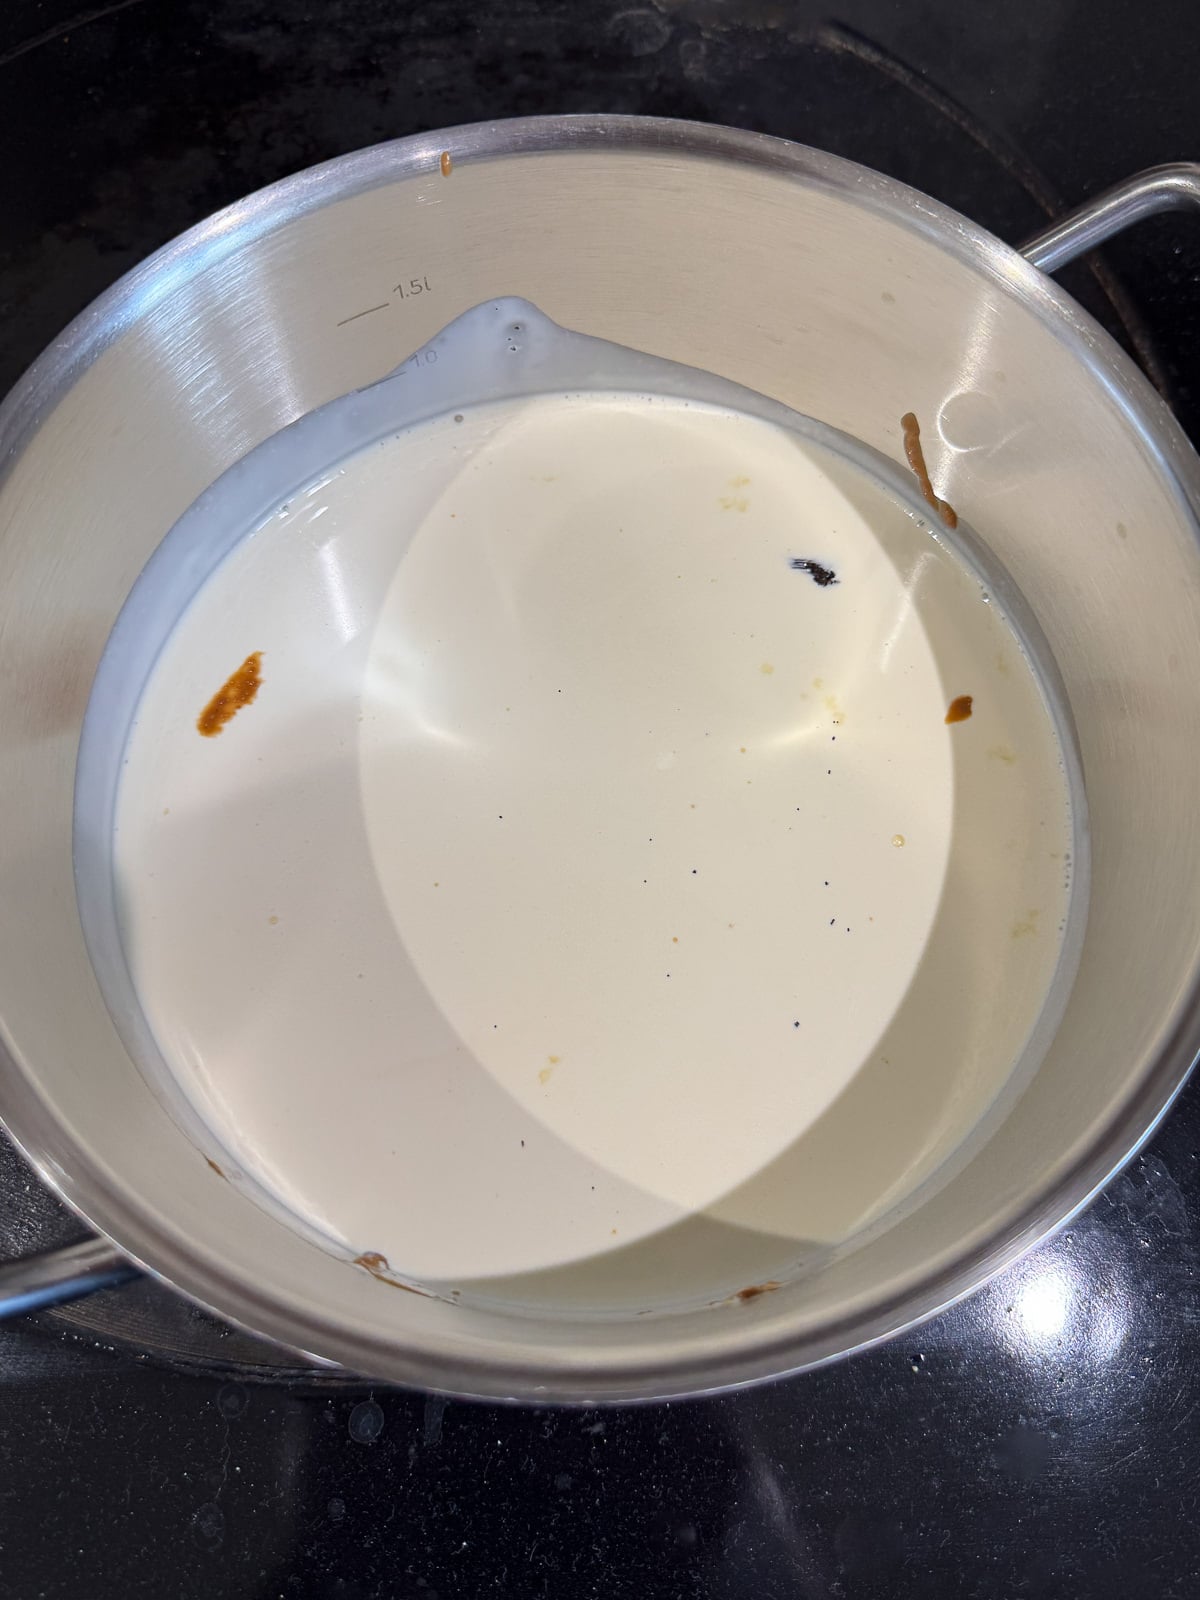
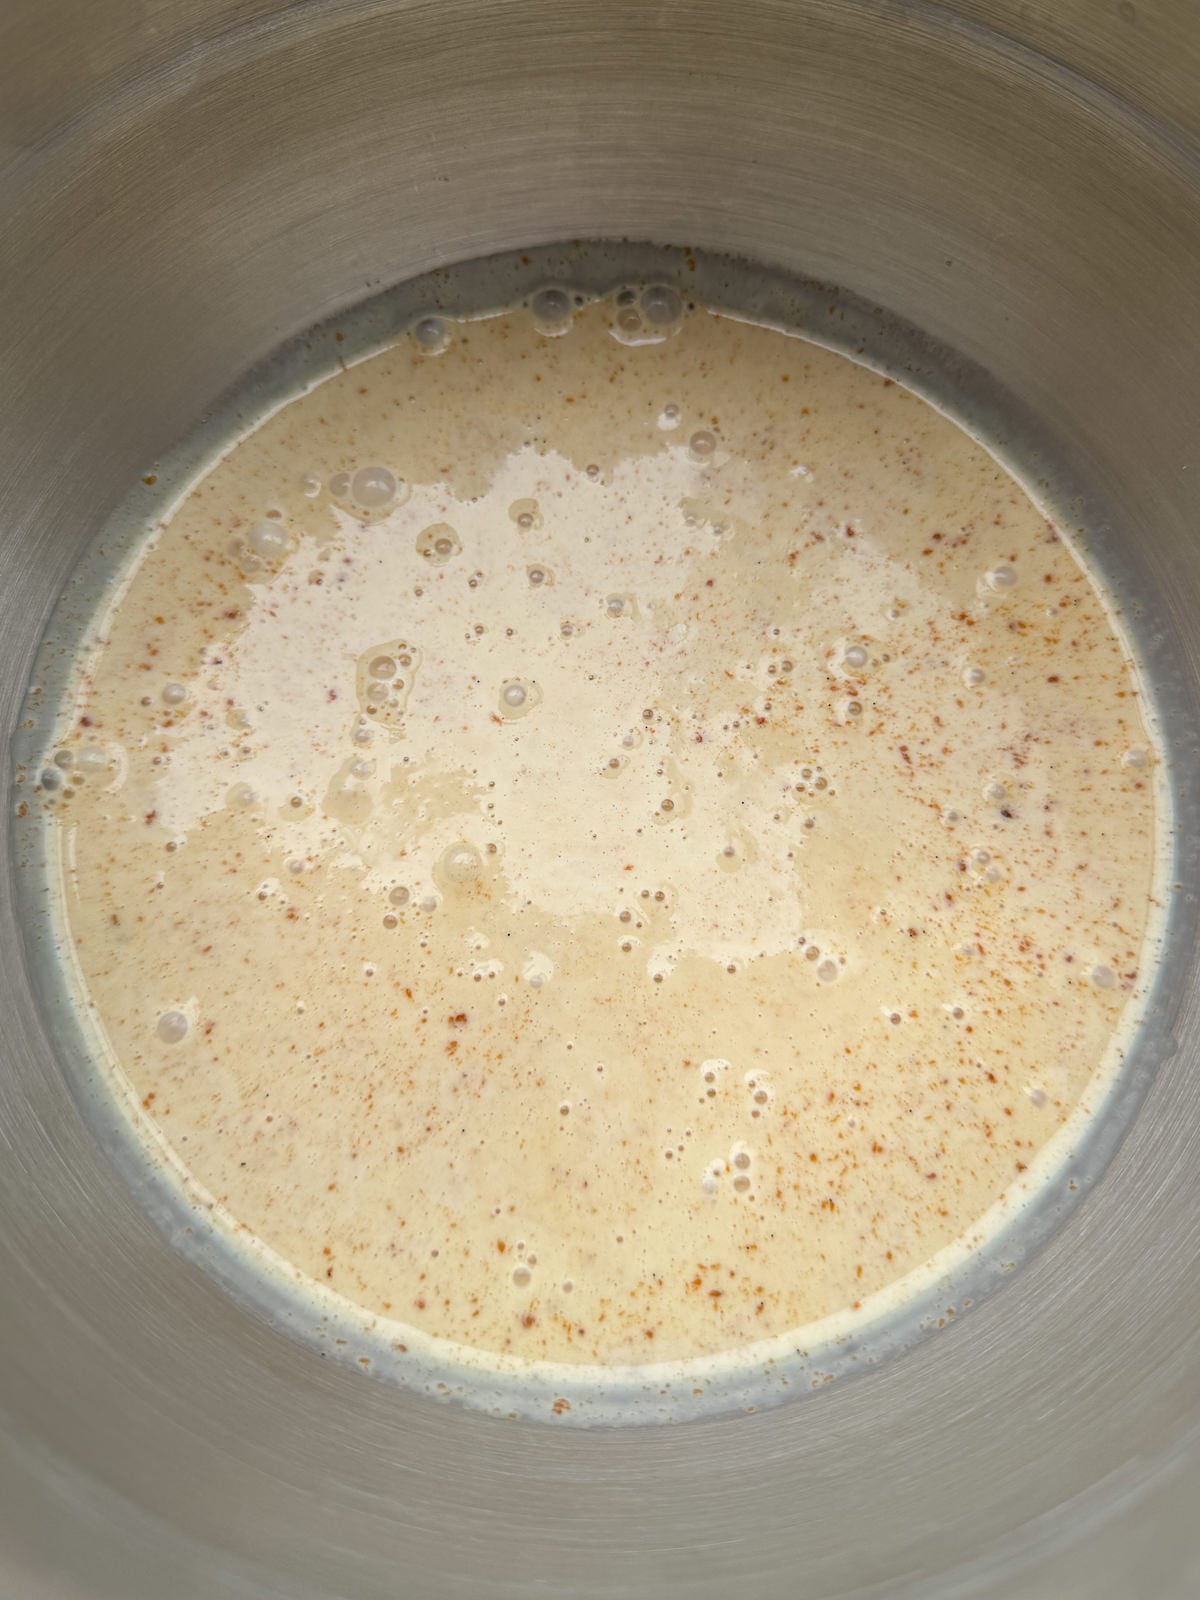
The next step is to warm double cream, peanut butter, golden syrup & a pinch of salt in a pan, over a low heat until it’s steaming hot. It’s key not to let the cream boil though as this could make the ganache split! If you take the temperature of the cream, it will be around 80°c/176°f when ready. - Chop Chocolate
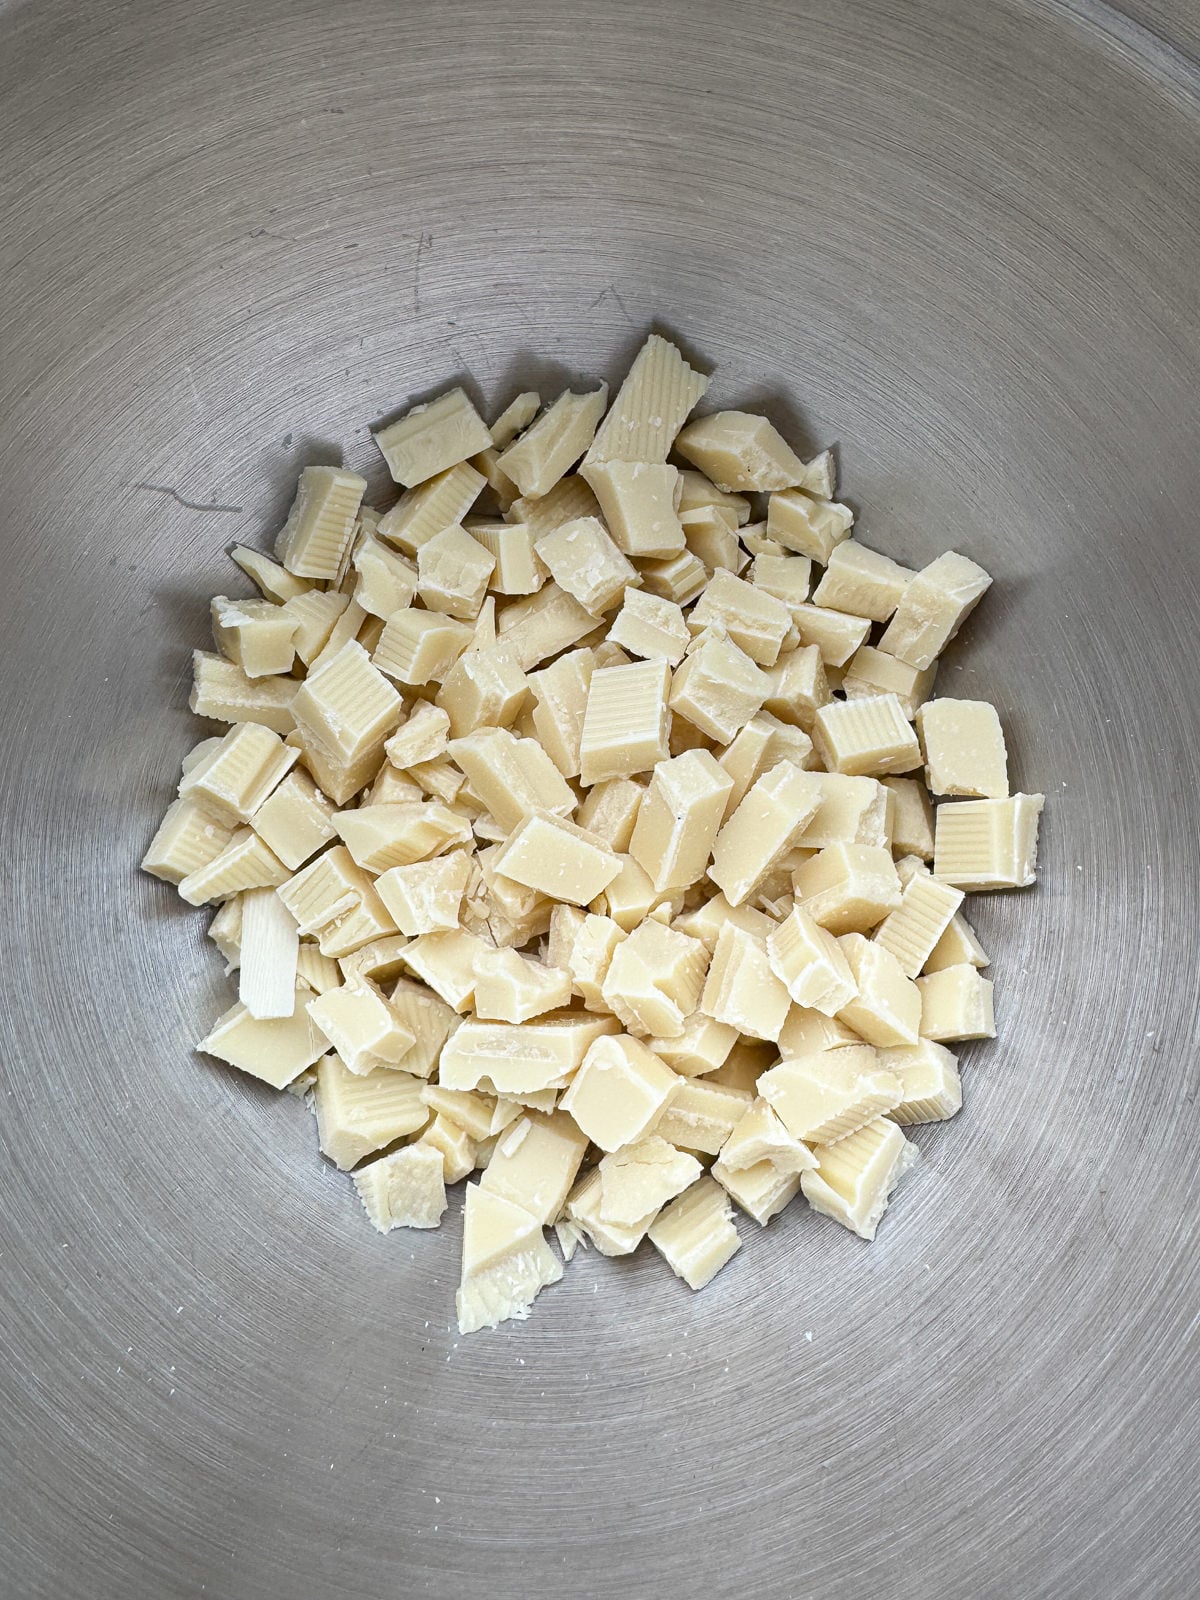
Whilst the cream is warming up, we need to chop our chocolate into small pieces (no bigger than 1 cm) then place into a heatproof bowl. - Add Gelatine
Once the cream is warm, we squeeze as much water as possible out of the gelatine sheet then add it into the cream, stirring to melt. - Pour Cream Over Chocolate
Next, we pour the warm cream over the chopped chocolate then let the mix stand for 2 minutes. This just helps the chocolate melt more evenly. - Mix To Combine
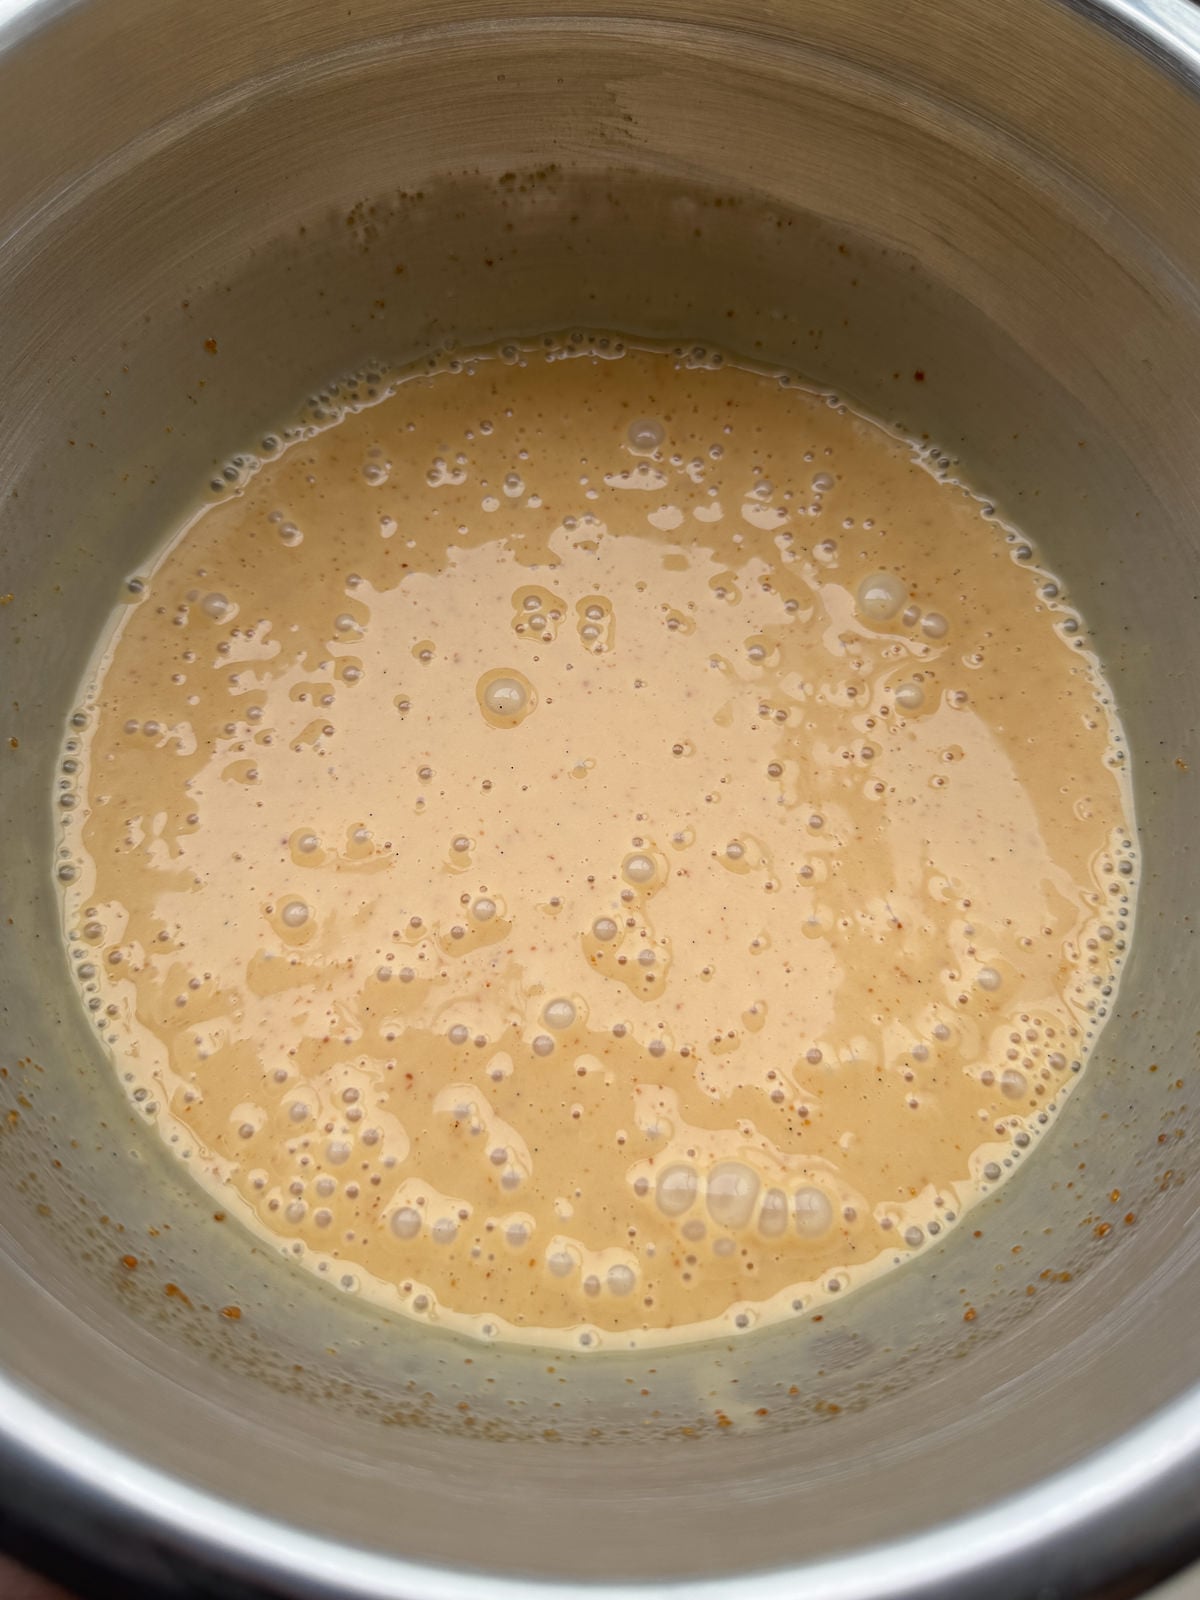
Next, we use a spatula to gently stir the cream & chocolate together until melted & smooth, starting from the middle, working outwards. - Blend In Mascarpone
Once our ganache is smooth & combined, we add in room temperature mascarpone then use a stick blender to blend it in. The mix may look split at first but just keep blending & it will all come together! - Set In The Fridge
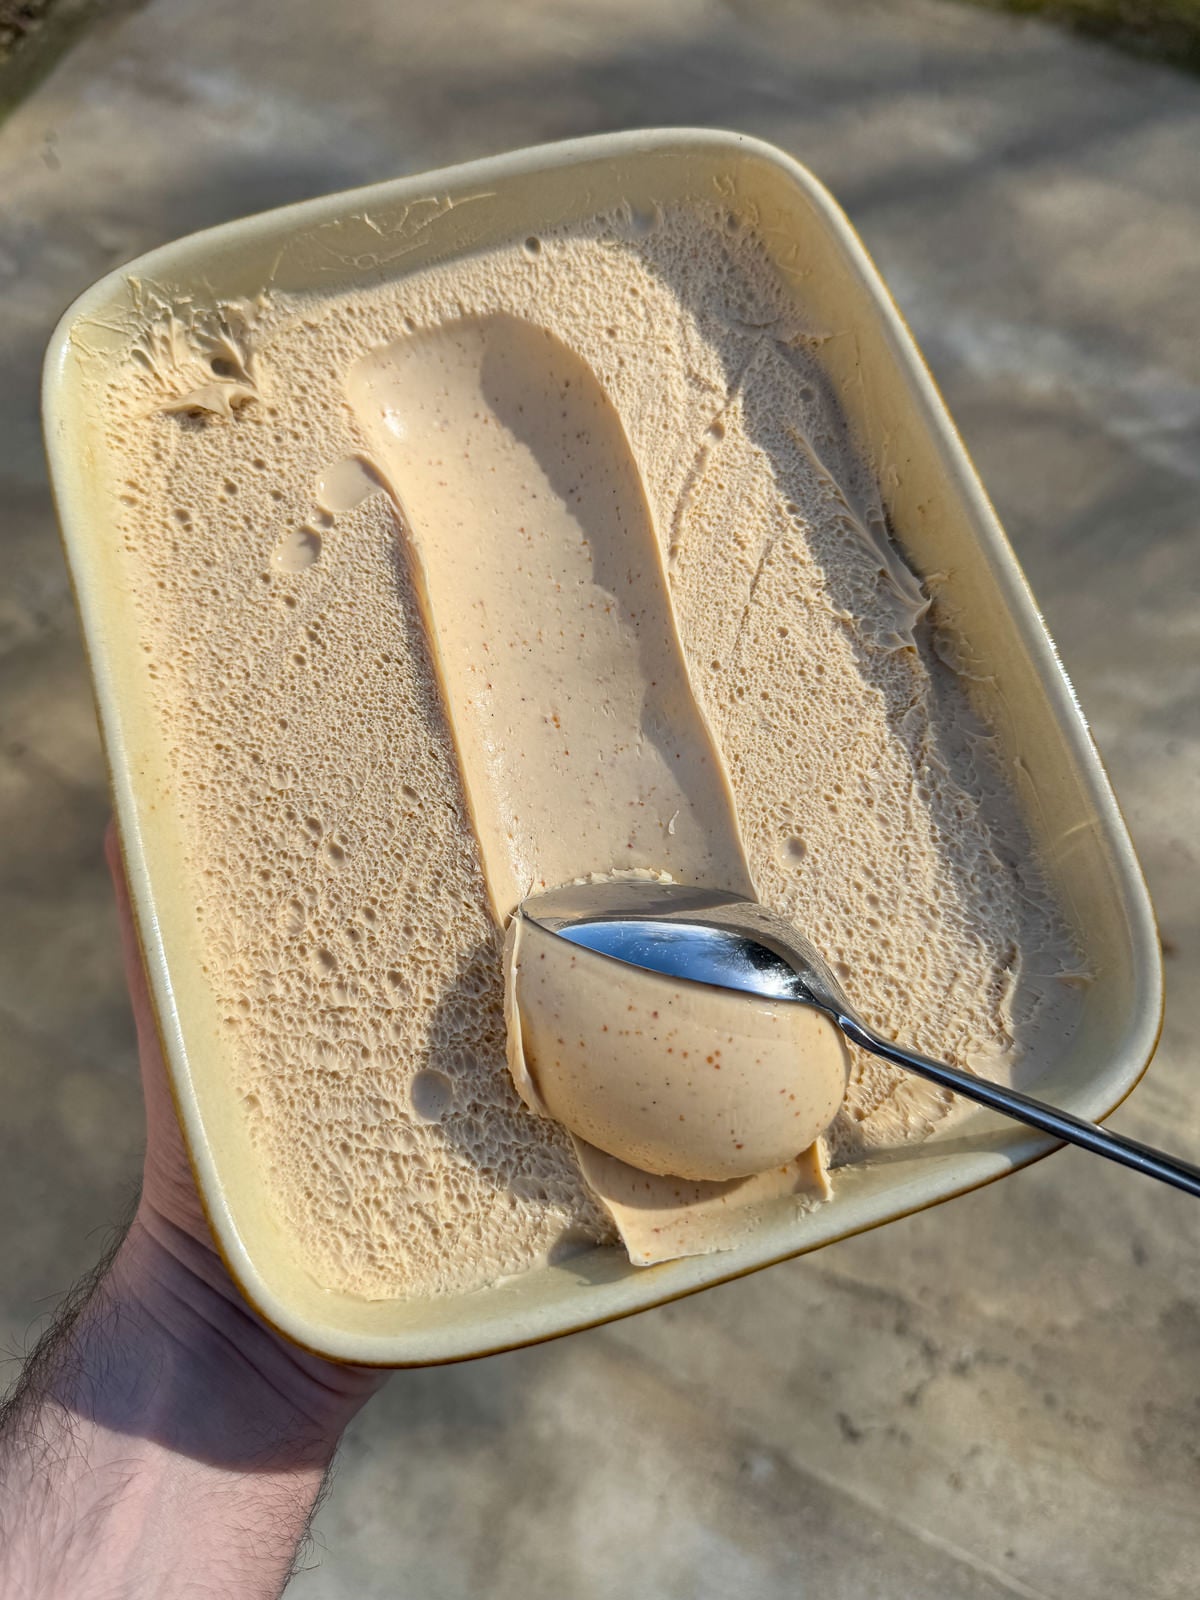
Now we need to transfer the ganache to a container, cover the surface with clingfilm then let it chill in the fridge until set. This will take at least 4 hours but overnight is best! I prefer not to pass the ganache through a sieve, as I like the flecks of peanut butter that you get this way. - Whip By Hand
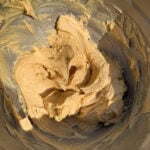
Once the ganache is set, we can transfer it to a mixing bowl then use a whisk to whip it by hand until light & fluffy. This will only take a minute or two. I’d recommend letting the ganache sit at room temperature for 20 minutes before whipping, to let it soften up slightly.
Using Whipped Peanut Butter Ganache For Cake
This whipped peanut butter ganache is perfect for layer cakes, either in between the layers of sponge, over the outside or both! I used it for a banana layer cake that I’ve been working on but it’s equally as good with chocolate cake, carrot cake & classic vanilla. It’s key to whip the ganache just before you want to use it, otherwise you’ll need to re whip it which risks over whipping. And nobody wants grainy ganache!
Other Uses
This whipped ganache isn’t just good with layer cakes! It also works really well piped onto cupcakes and spread on top of sheet cakes, brownies & loaf cakes. You can also use peanut butter whipped ganache as a filling for choux buns & profiteroles and macarons.
Tips, Tricks & Troubleshooting
- Use a good quality chocolate & peanut butter to give your ganache the best flavour.
- Add mascarpone to your ganache to give it a softer texture that’s easier to spread and golden syrup, to give it a glossier finish.
- Give your ganache a quick blend with a stick blender, to help emulsify it properly.
- Add a small amount of gelatine to your ganache (I use sheets!) to stabilise it.
- Let your ganache sit at room temperature for 20 minutes or so before whipping, as it will be easier to work with.
Frequently Asked Questions
Whipped ganache is best eaten within 5 days of being made. Make sure to store ganache in the fridge.
It’s best to whip ganache just before you plan to use it as it will keep it’s light, fluffy texture for longer.
A good quality smooth peanut butter works best for ganache, as you’ll get the best flavour! I used a dark roasted peanut butter to give my ganache a deeper flavour but regular peanut butter will work as well.
A good quality bar of chocolate is best for whipped ganache as it will melt easier compared to chocolate chips. Chocolate couverture or callets (professional grade chocolate chunks) will work as well. And it’s best to use a white chocolate with a cocoa content of at least 25%.
When making whipped ganache, it’s best to add a small amount of gelatine in as it stabilises the ganache. This means that the ganache will hold its’ shape for longer & won’t melt as easily. If you’re a vegetarian, you can use vegetarian gelatine but you might need to use slightly less as it has a tendency to set more firmly.
More Baking Recipes To Try!
- Chocolate Fudge Layer Cake
- Mascarpone Chocolate Fudge Frosting
- Mascarpone Dark Chocolate Ganache
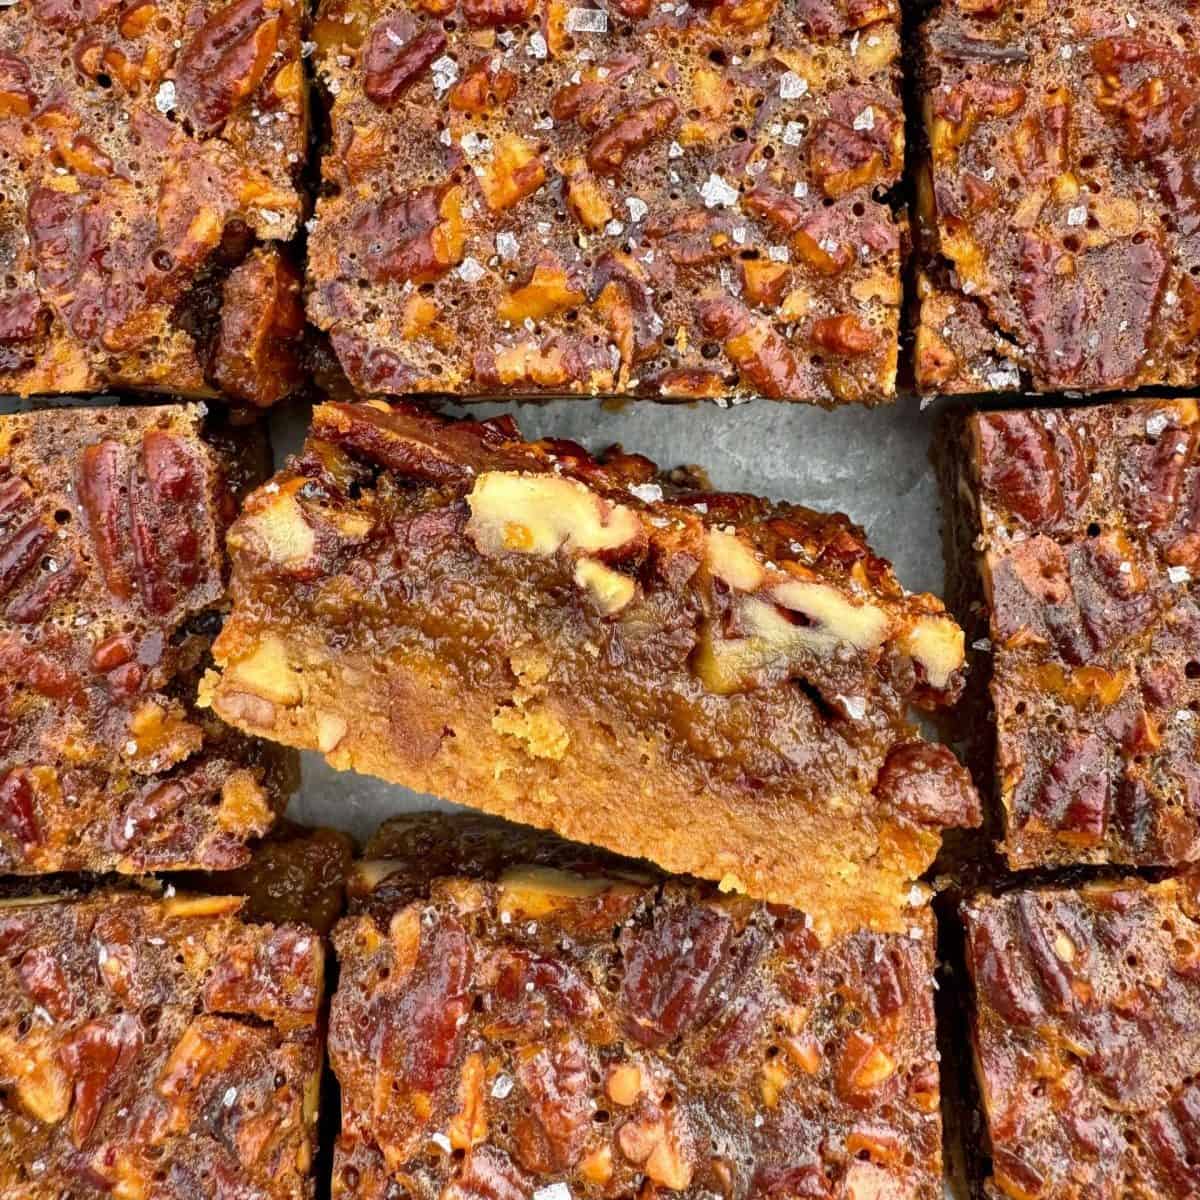
- Brown Butter & Miso Pecan Pie Bars
- Chocolate Loaf Cake With Dark Chocolate Ganache
- Sour Cream Pound Cake With Vanilla Bean Icing
If you have enjoyed this recipe for whipped peanut butter ganache, it would mean a lot if you could leave a review & rating. And if you’d like to stay up to date with future recipes, follow us on Instagram & TikTok or subscribe to our newsletter!
Whipped Peanut Butter & White Chocolate Ganache
Equipment
- Saucepan
- Mixing Bowl
- Sieve
Ingredients
- 1 Gelatine Sheet
- 400 g Double Cream
- 80 g Peanut Butter (See Notes)
- 40 g Golden Syrup
- A Pinch Of Sea Salt
- Half A Vanilla Pod (Or 1 tsp Vanilla Paste)
- 180 g White Chocolate (See Notes)
- 100 g Mascarpone
Instructions
Peanut Butter Ganache
- Fill a small bowl with cold water then add in the sheet of gelatine. Leave this to soak whilst you make the ganache.
- Next, add the cream, peanut butter, golden syrup & salt into a medium saucepan. Use a small knife to scrape the seeds out of the vanilla pod then add both the pod & seeds into the pan of cream.
- Set the pan over a low heat then leave to warm up gently, stirring often until the cream is steaming hot. But not boiling! If you take the temperature of the cream, it will be around 80°c/176°f when ready.
- Whilst the cream is warming, chop the white chocolate into small pieces (no bigger than 1cm) then place into a heatproof bowl.
- Once the cream is hot, take the pan off the heat. Squeeze as much water as possible from the soaked gelatine sheet then add into the cream & stir to dissolve.
- Next, pour the cream over the chocolate, let it stand for 2 minutes then use a spatula to gently stir the cream & chocolate together until melted & smooth, starting from the middle, working outwards.
- Once the chocolate has melted, add in the mascarpone then use a stick blender to blend it into the ganache. The mix may look split at first but keep blending & it will come together, to make a smooth, shiny ganache.
- Transfer the ganache to a shallow dish, cover the surface with a piece of clingfilm then chill in the fridge until set. This will take at least 4 hours but overnight is best!If you like, you can pass the ganache through a sieve. I don't bother though, as I like there to be flecks of peanut butter in the ganache.
Whipping & Using
- When you want to use your ganache, take it out of the fridge & let it sit at room temperature for 20 minutes. Or just until it has softened slightly.
- Next, transfer the ganache to a mixing bowl then whisk by hand until it's light & fluffy. This will only take a minute or two. Be careful not to over whip the ganache as it will become grainy. It should be like gently whipped cream!
- Once whipped, use the ganache straight away!