Vanilla Custard Doughnut Filling
This homemade vanilla custard is rich, creamy & packed full of flavour. Perfect for filling doughnuts with!
This post contains affiliate links.
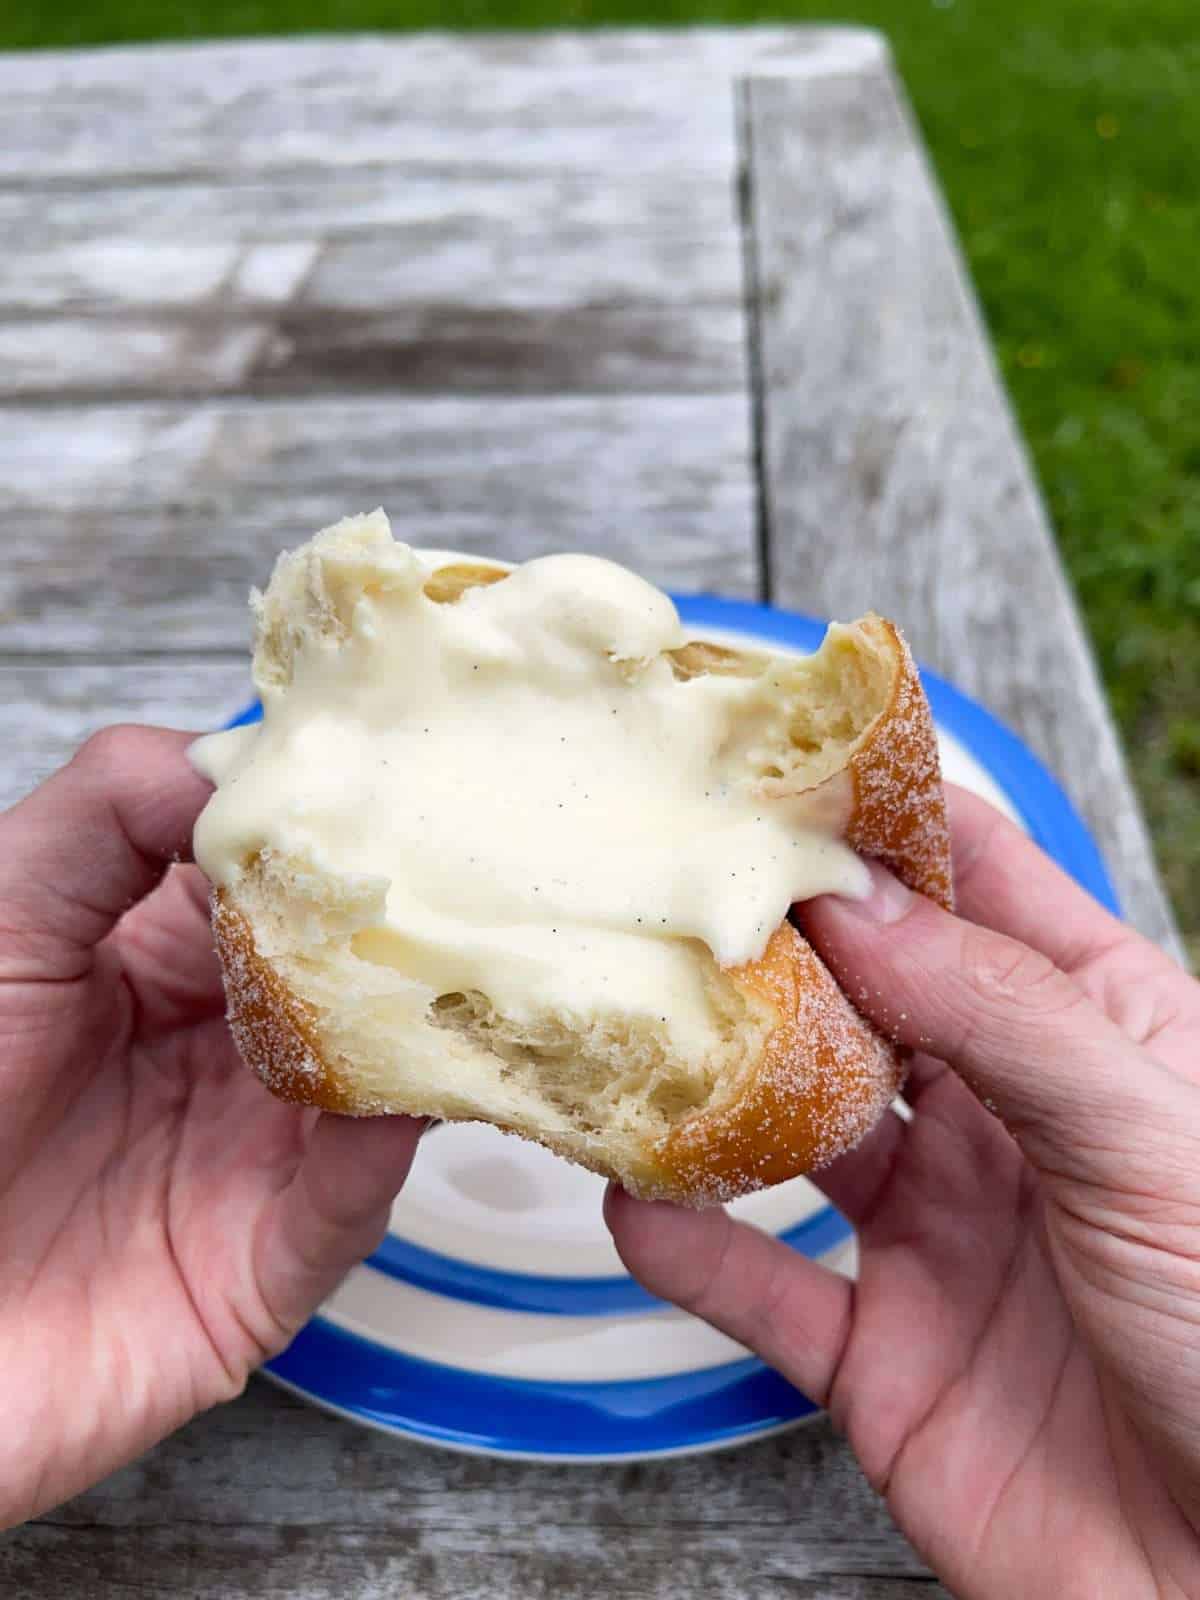
This vanilla custard could be the best doughnut filling EVER!
This custard is rich, creamy & made with a really good vanilla bean, so the flavour is next level! It’s also super easy to make! This stuff’s great when used to fill homemade doughnuts but can also be piped into eclairs or even served cold with some fresh berries…
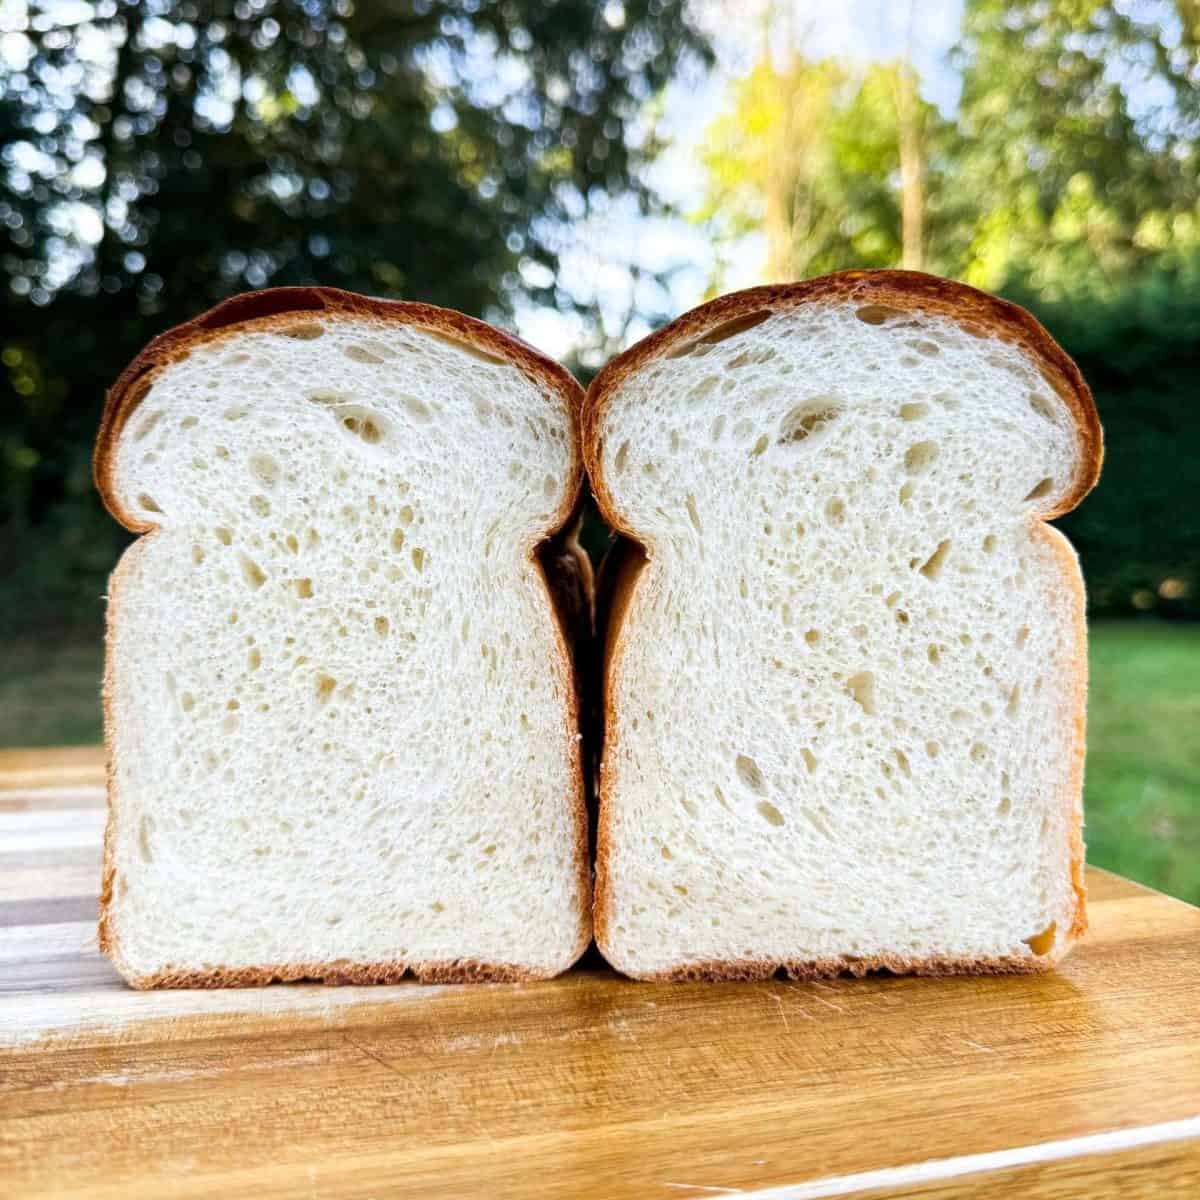
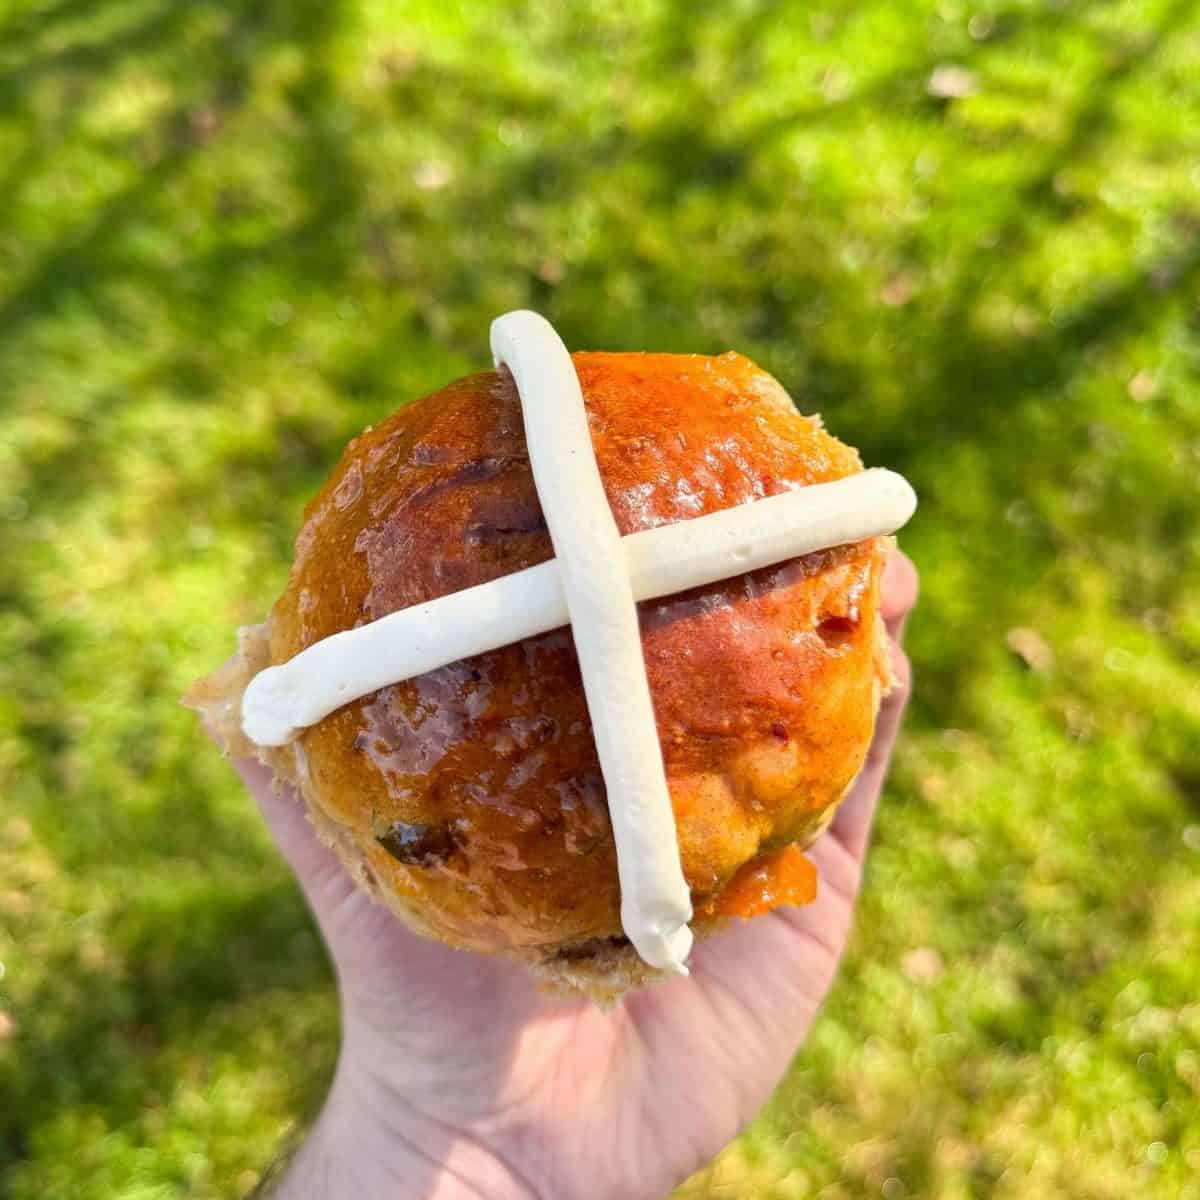
Looking for more baking recipes to try? We have recipes for a whole load of bakes. From homemade doughnuts, bread & sourdough, to cakes, brownies & cookies.
What You’ll Need
- Double/Heavy Cream – We’re using double cream for an extra rich & creamy flavour.
- Milk – Whole milk works best for custard but semi skimmed will work as well.
- Vanilla – A good quality vanilla makes all the difference when making custard! You can either use half a vanilla pod or 2 teaspoons of vanilla paste.
- Sugar – We’re adding in enough caster sugar to give our custard just the right amount of sweetness. If you’d prefer a more caramelised flavour, you could use light brown sugar instead.
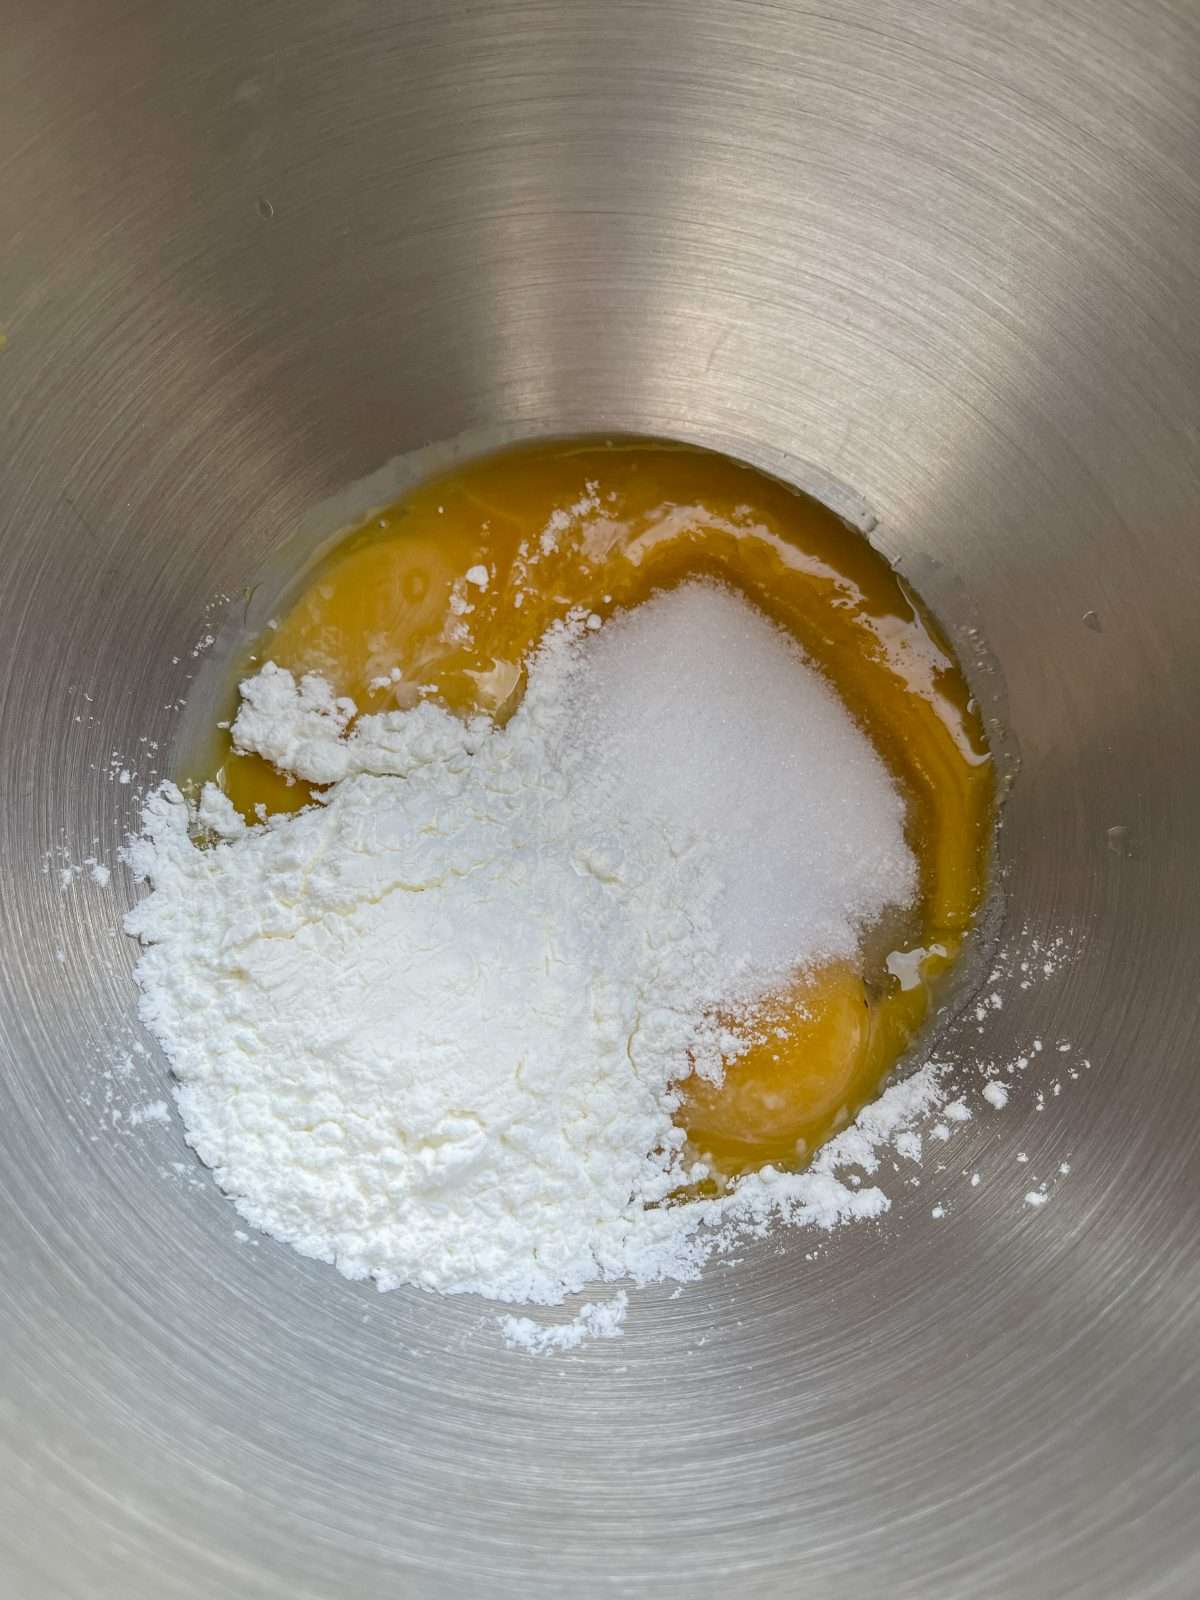
- Egg Yolks – You’ll need 70 grams of egg yolks for this custard, which equates to around 4 egg yolks.
- Cornflour – This is used to thicken our custard. Make sure to weigh the cornflour out accurately to give your custard the right consistency.
- Salt – A small pinch of sea salt enhances the flavours in our custard.
How To Make Vanilla Custard Doughnut Filling
The full, printable recipe card for this custard can be found at the bottom of this post! Here’s a quick rundown of the recipe…
- Warm Milk & Cream
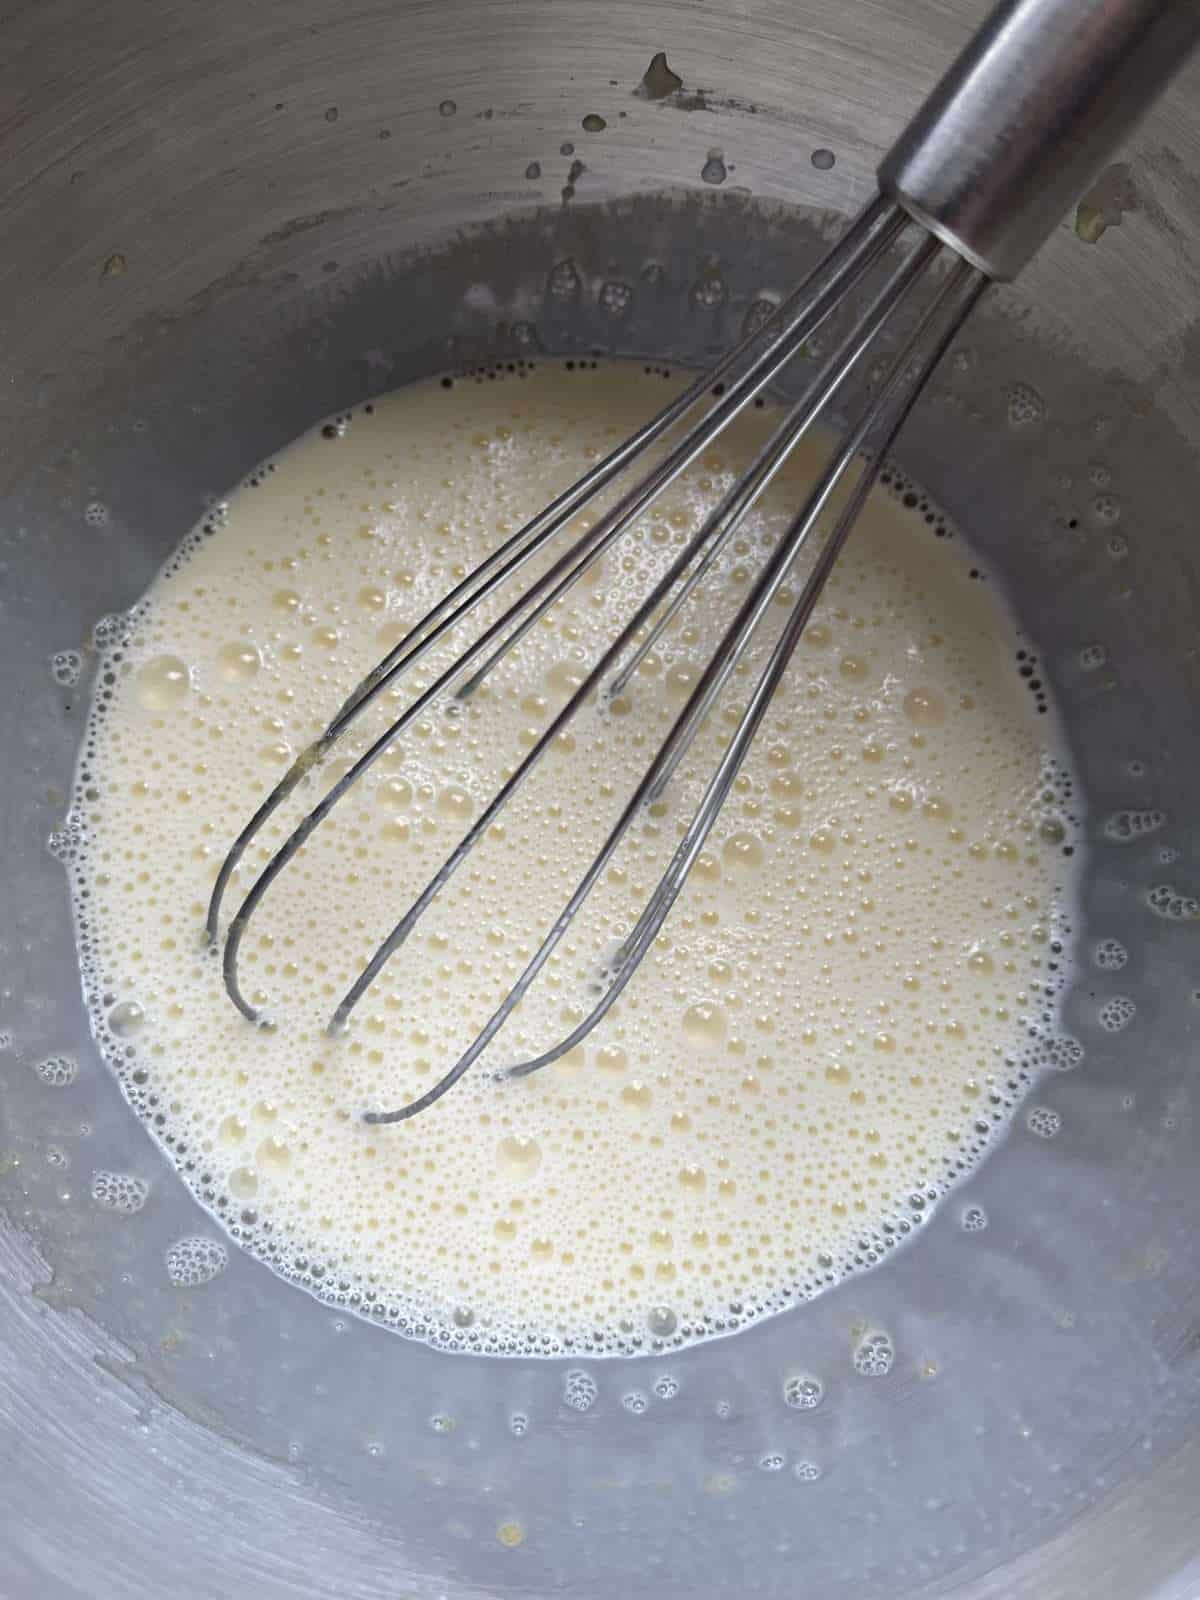
First we place milk, double cream, sugar, a pinch of salt & vanilla into a saucepan then warm over a low heat until steaming hot. If you’re using a vanilla pod, scrape the seeds out then add both the pod & seeds into the milk. - Temper Eggs
Whilst the milk is heating up, we place egg yolks, sugar & cornflour into a mixing bowl then whisk together. Then we pour half of the warm milk into the yolks, whisking constantly as we do so. This is called tempering the eggs & is done to prevent the custard scrambling. - Cook Out
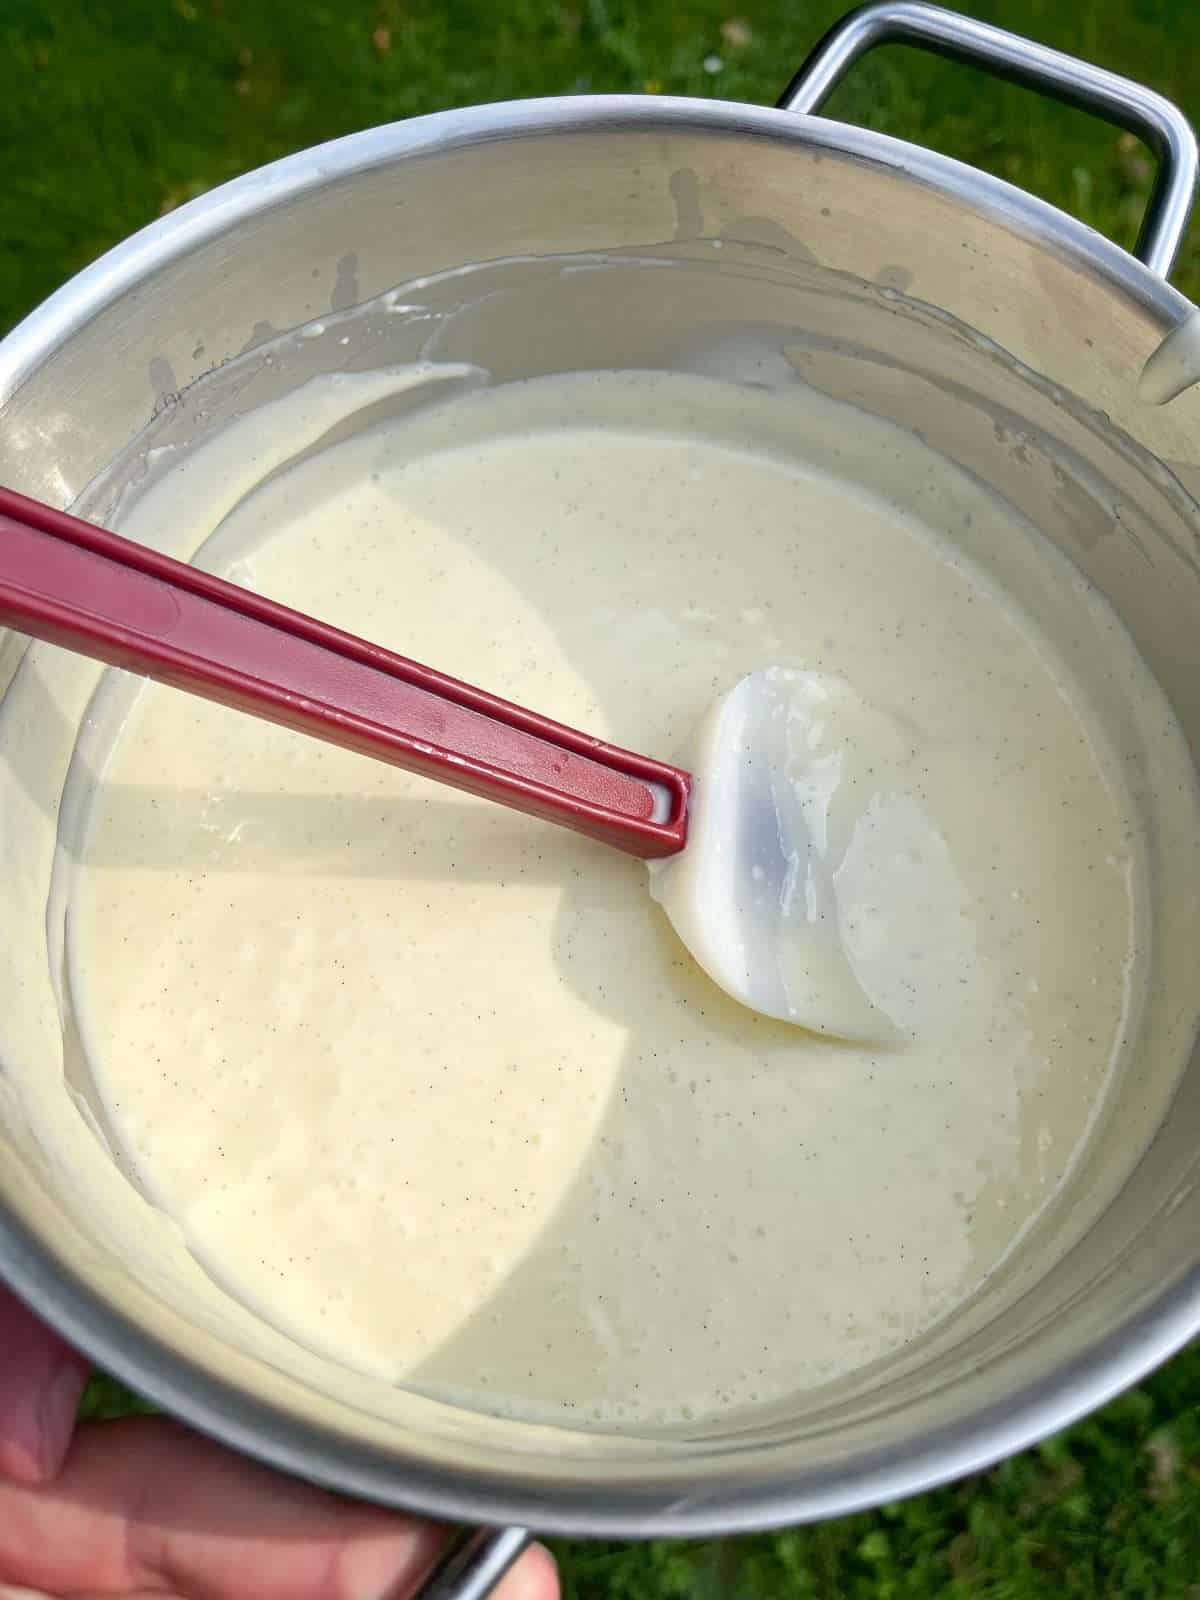
Next we add the yolks into the pan of milk then cook the custard over a low heat until it is thick & has reached a temperature of 82°c/180°f (you’ll need a digital food probe!). Make sure to whisk the custard constantly to prevent it from scrambling! - Blitz & Add Butter
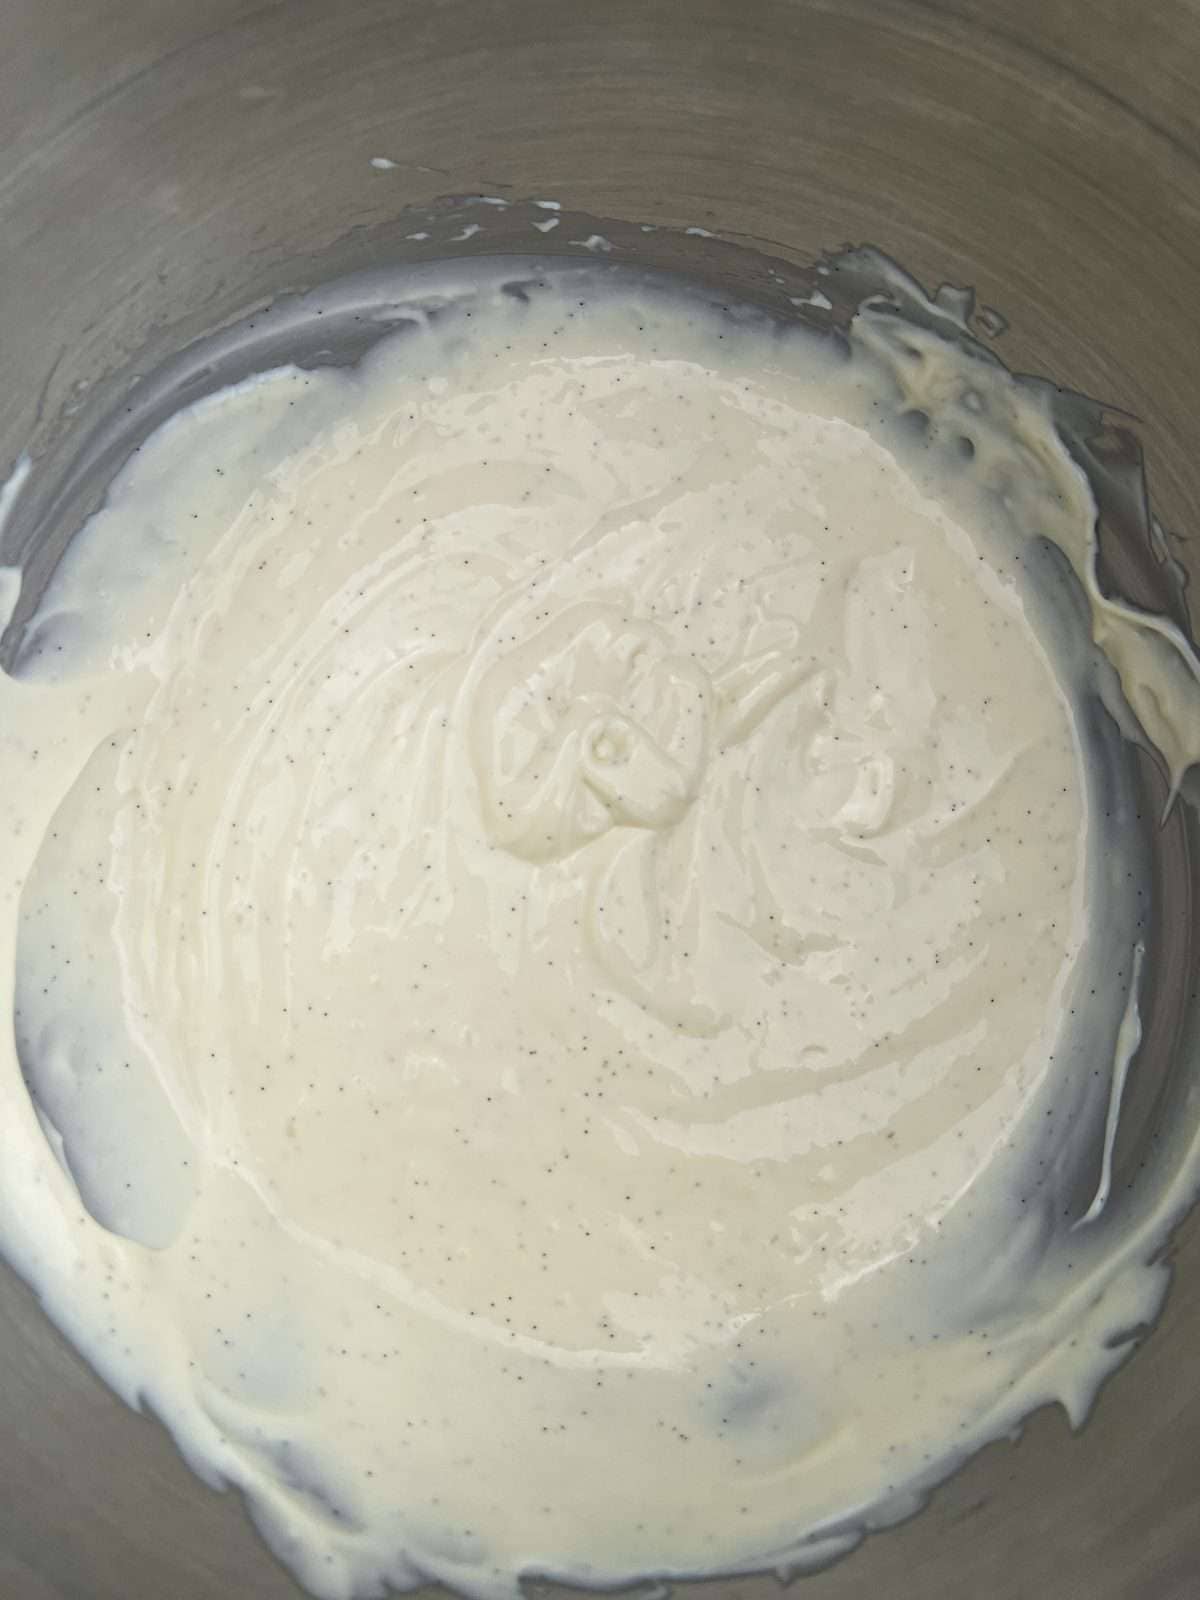
Once the custard is cooked, we take it off the heat then blitz it with a stick blender (make sure to remove the vanilla pod first!). Whilst blitzing, we add in butter a small piece at a time. This gives our custard a richer flavour & a glossier finish! - Pass Through A Sieve
The custard now gets passed through a sieve, into a bowl/container then we leave it to cool. To prevent a skin forming on top, we place a piece of clingfilm/baking parchment on the custard’s surface. - Refrigerate
Once cool, we chill the custard in the fridge, until set. This will take at least 4 hours but I like to let the custard chill overnight. - Use For Doughnuts!
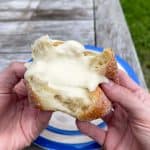
To use, we give the custard a quick whisk to loosen it off slightly, transfer into a piping bag then pipe into your doughnuts!
Custard Doughnut Filling Tips & Tricks
- Use a good quality vanilla pod, for the best flavour.
- Add cornflour to your custard to give it a thick consistency.
- Add in a pinch os sea salt, to enhance your custard’s flavour.
- Blitz the cooked custard with a stick blender, for a smoother texture.
- Add butter to your custard (at the end), for a richer flavour.
Frequently Asked Questions
Stored in the fridge, vanilla custard will keep for up to 3 days. Make sure to keep a piece of clingfilm or baking parchment on the custard’s surface to stop a skin forming.
To fill doughnuts with custard, first poke a hole in the side of each one with a chopstick/skewer to create a pocket. Next, place your custard inside a piping bag then pipe a generous amount into each doughnut.
Once your custard filling is cooked, it will have a thick consistency and will have reached a temperature of 82°c/180°f (this is when the eggs will be fully cooked). You’ll need a digital food probe to take the temperature of the custard!
Your custard will scramble if it gets too hot. The best way to avoid scrambling, is to cook your custard over a low heat, making sure to stir it constantly.
Equipment Used
Please note that these are affiliate links & I may make a small commission if you make a purchase using these links, at no extra cost to you. For more information, click here.
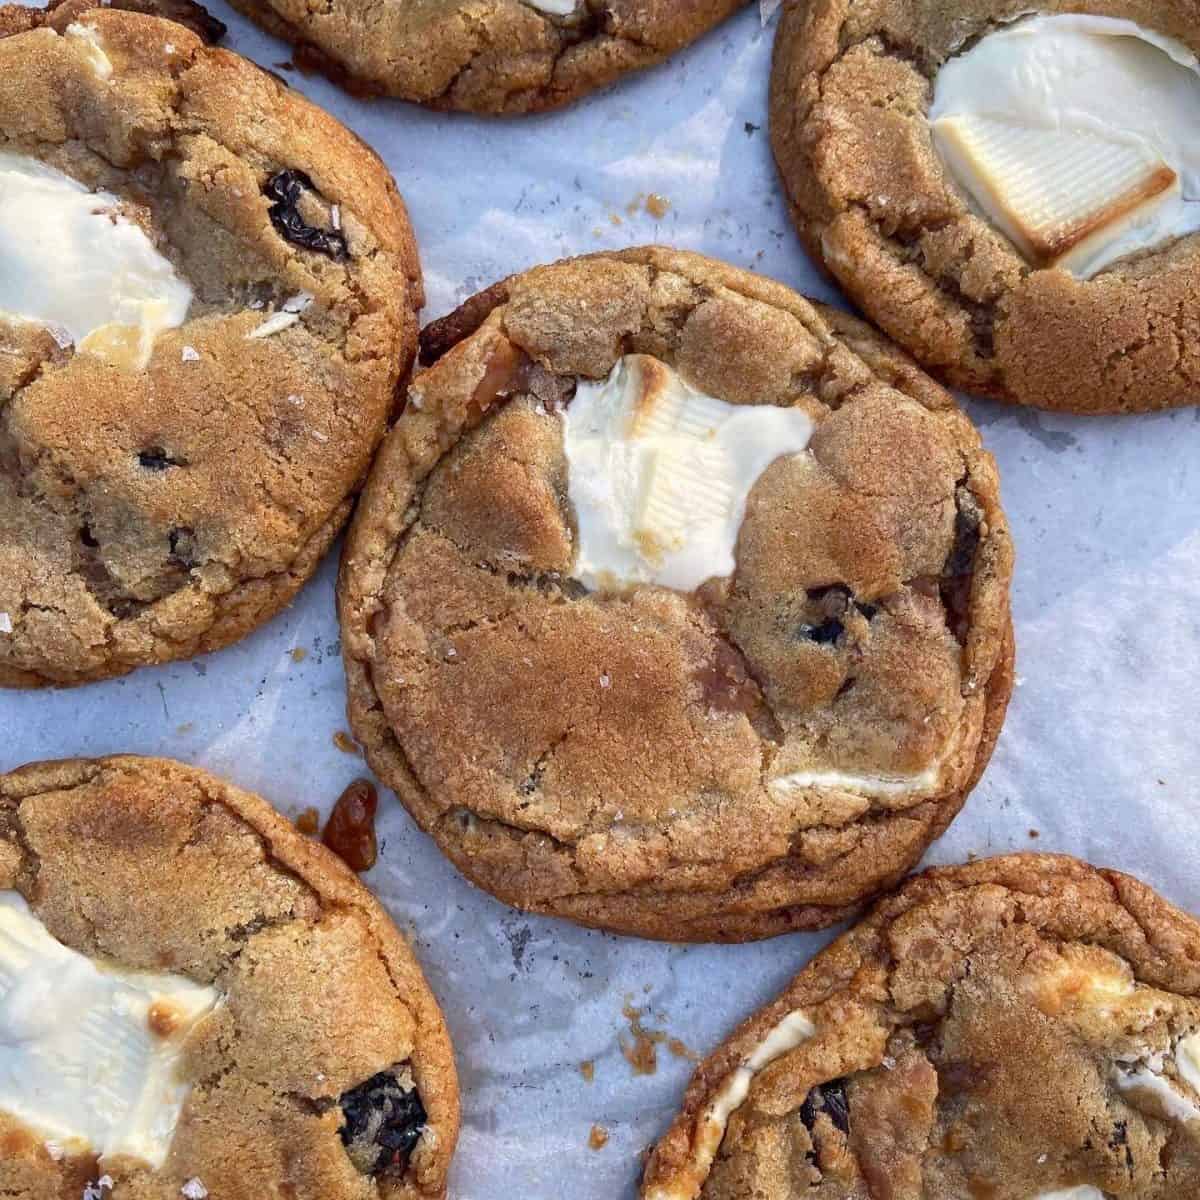
More Baking Recipes To Try!
- Apricot & Vanilla Bean Jam
- Rapeseed Oil Lemon Drizzle Loaf Cake
- Black Tahini Chocolate Sheet Cake
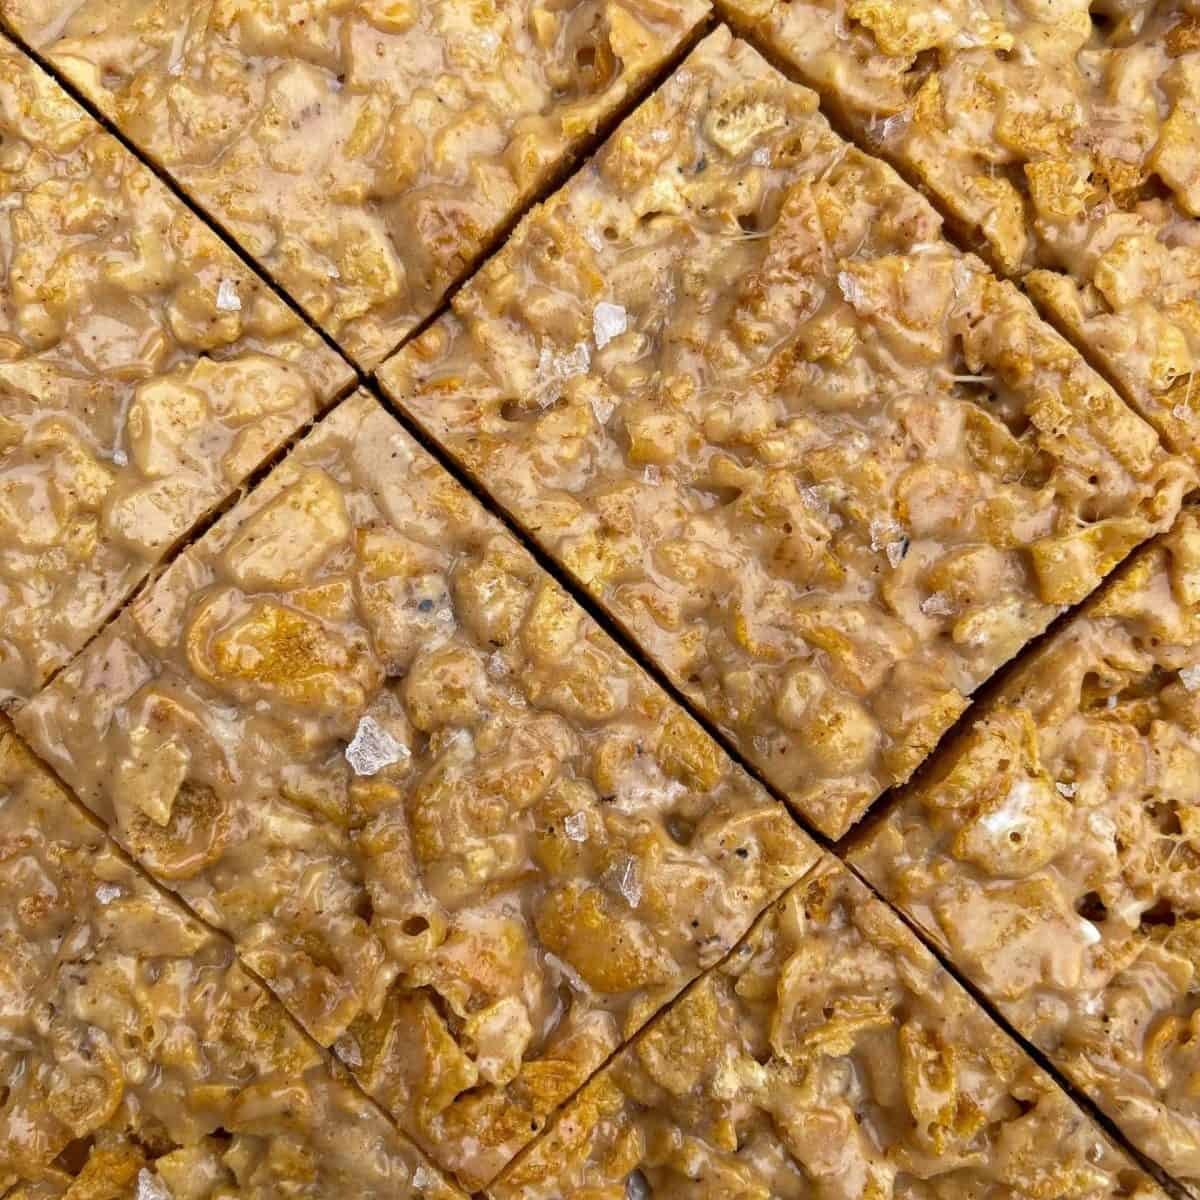
- Brown Butter Biscoff Rice Krispie Treats
- Nutty Brown Butter Flapjacks
- Lemon Fondant Fancies
If you have enjoyed this recipe for vanilla custard doughnut filling, it would mean a lot if you could leave a review & rating. And if you’d like to stay up to date with future recipes, follow us on Instagram & TikTok!
Vanilla Custard Doughnut Filling
Equipment
- Digital Food Probe
- Stick Blender
- Large Saucepan
- Mixing Bowl
- Sieve
Ingredients
- 300 g Whole Milk
- 250 g Double Cream
- 80 g Caster Sugar
- ½ Vanilla Pod (Or 2 tsp Vanilla Paste)
- A Pinch Of Sea Salt
- 70 g Egg Yolks
- 35 g Cornflour
- 40 g Unsalted Butter
Instructions
- Add the milk, cream, half the caster sugar, vanilla & salt to a large saucepan then set over a low heat. Warm gently, stirring occasionally until steaming hot.If you're using a vanilla pod, scrape the seeds out then add both the pod & seeds to the milk.
- Whilst your milk is warming up, place the yolks, cornflour & remaining sugar into a mixing bowl & whisk by hand until smooth & combined.
- Once the milk is steaming hot, pour half of it into the yolks, whisking as you do so. Pour the now tempered yolks into the pan of milk.
- Cook the custard over a low heat, whisking constantly until it is thick & has reached a temperature of 82°c/180°f. Once cooked, take the custard off the heat & remove the vanilla pod (if using).A digital food probe comes in handy here!
- Next, blitz the custard with a stick blender & at the same time, add in the butter a small amount at a time. Make sure that each piece is incorporated before adding in more!If you haven't got a stick blender, whisk the butter into the custard instead.
- Pass the custard into a bowl/container, through a sieve then cover the custard's surface with a piece of baking parchment/clingfilm (this prevents a skin forming on top!). Let the custard cool then refrigerate for at least 4 hours before using (overnight is best!).
- When you're ready to fill your doughnuts, place the custard into a mixing bowl, give it a quick whisk then transfer to a piping bag.