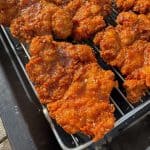
Hot Maple Fried Chicken
Super crispy buttermilk fried chicken thighs, glazed with spicy hot maple! These are packed full of flavour & the coating is extra crispy!
This post contains affiliate links.
I’m a huge fan of buttermilk fried chicken so I’m super excited to share my own recipe! Here, we’re brining chicken thighs in buttermilk (the best cut of chicken for frying in my opinion) then coating it in a flavourful flour dredge before deep frying until they’re incredibly crispy!
We’re not stopping there though! As if our fried chicken wasn’t tasty enough already, we’re also going to be glazing it in a sweet & spicy hot maple glaze. The combination of the super crispy deep fried chicken & the sticky maple glaze takes this fried chicken to another level! They go great in sandwiches or served with slaw & fries…
Want to learn the secrets to making the CRISPIEST fried chicken with an extra scraggly coating & a sticky, spicy glaze then keep reading! This stuff’s seriously tasty.
Take a look at our ever growing collection of main course recipes for more dinner inspiration! And for side dishes to serve with your fried chicken, check out our collection of sides.
What You’ll Need
- Chicken Thighs – You’ll need boneless & skinless chicken thighs for this fried chicken recipe. I like to use thighs as they are more flavourful & won’t dry out as they cook, unlike chicken breasts. If you’re chicken thighs still have the bones & skin on, remove these then they can used for stock (I like to freeze them then use once I’ve got enough).
- Buttermilk Brine – We’re going to be marinating our chicken in a buttermilk brine. For this, you’ll need buttermilk, dried herbs & spices, salt and pepper. Buttermilk is slightly acidic so helps tenderise the meat.
- Flour Dredge – For a light, crispy coating, we’re making a dredge with plain flour, cornflour & baking powder. There’s dried herbs & spices in there as well.
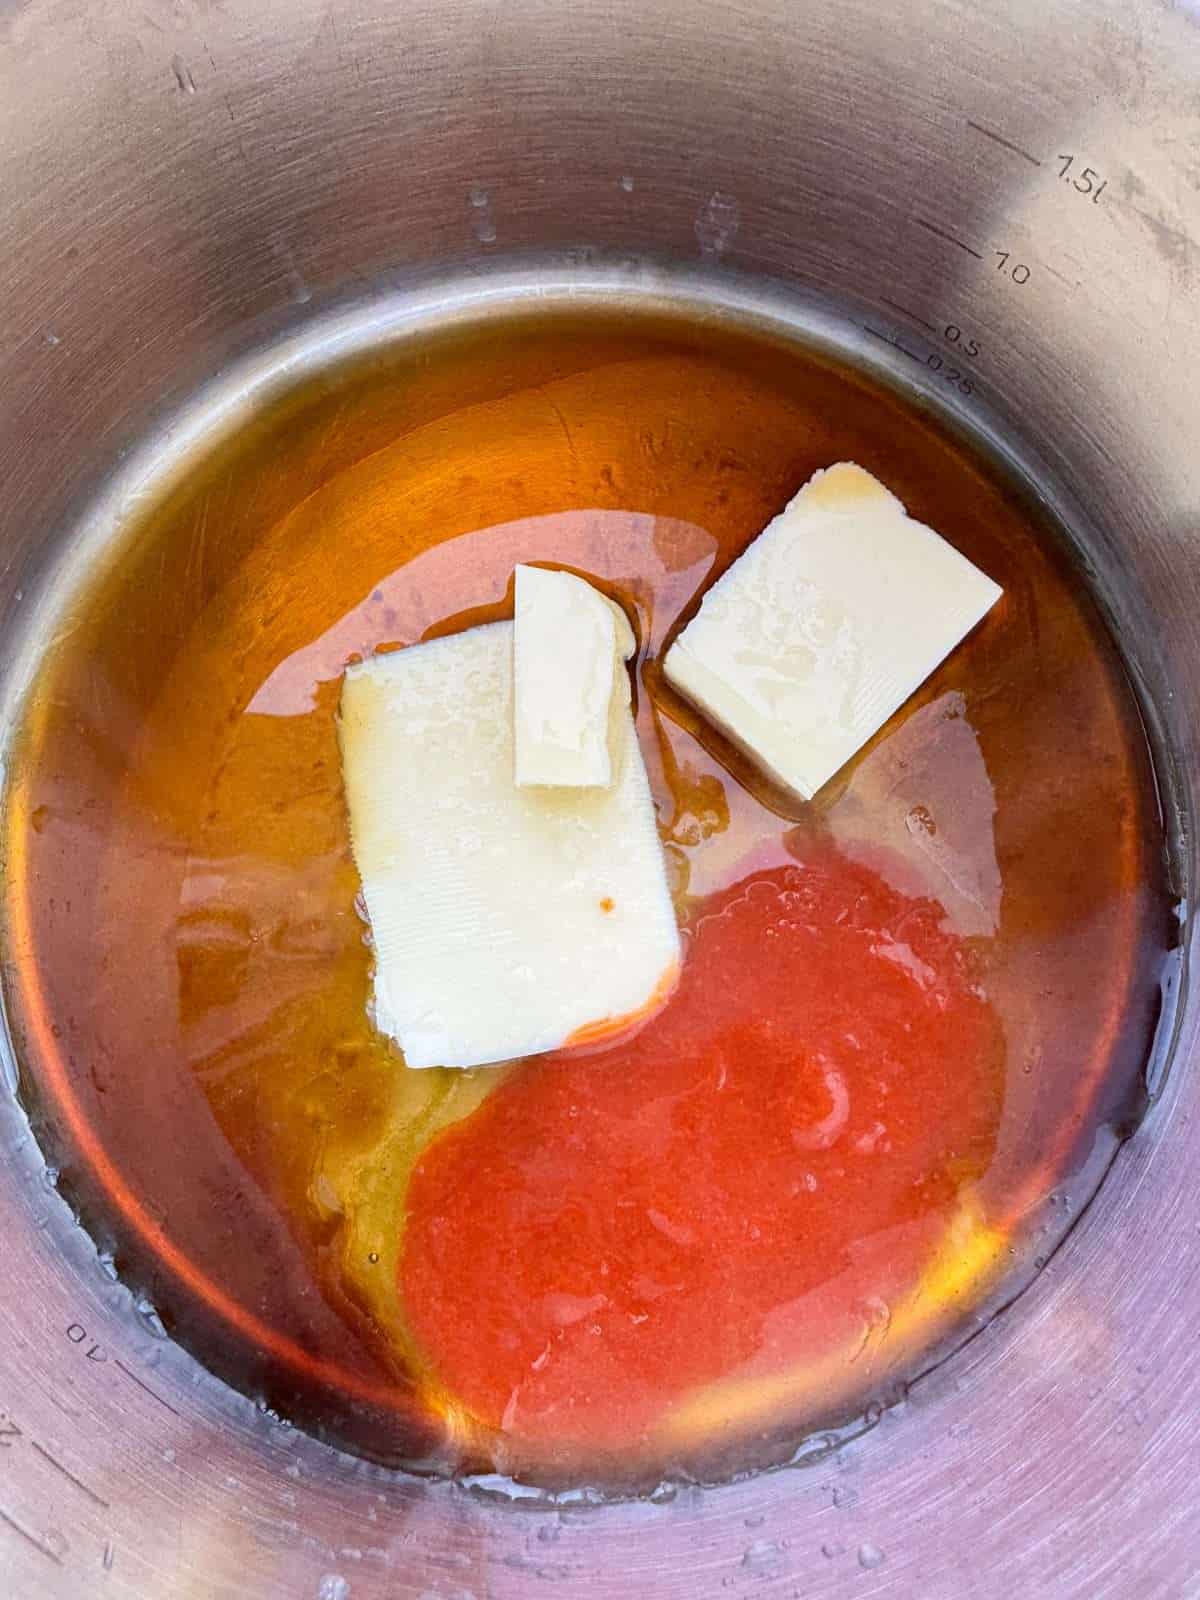
- Hot Maple Glaze – This is similar to my hot honey glaze. We make this with maple syrup, sriracha hot sauce, butter, lime juice & a pinch of sea salt.

How To Make Buttermilk Fried Chicken
Here’s how we make the crispiest buttermilk fried chicken, with loads of flavour & an extra scraggly coating! I finished my fried chicken with a hot maple glaze but feel free to leave it unglazed if you’d prefer.
This style of fried chicken starts with an overnight buttermilk brine then it gets a double flour dredge before being fried until crispy. I find that you’ll get the best buttermilk fried chicken when you make it over 2 days as this gives the meat plenty of time to marinade.
I’ve flavoured my brine & dredge with smoked paprika, cayenne pepper, garlic powder, onion powder, dried oregano (in the dredge), salt & pepper but feel fry to change these to suit your tastes.
Buttermilk Brine
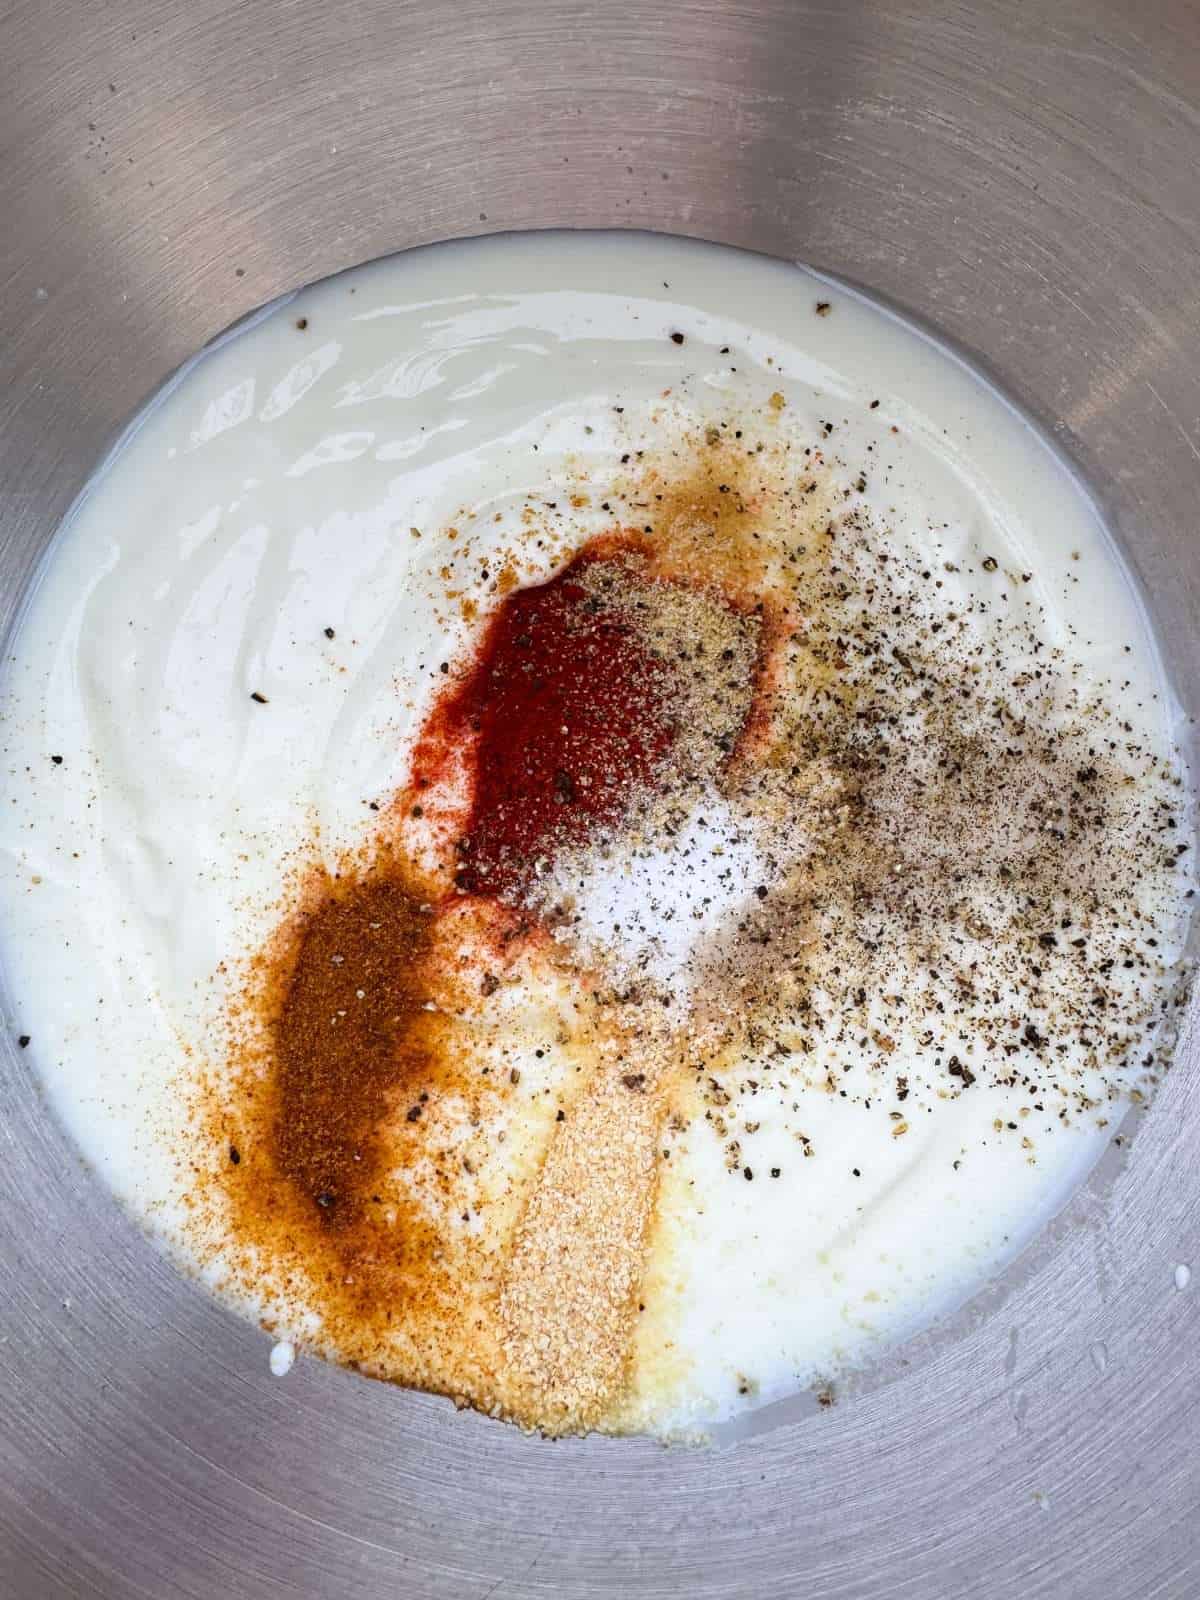
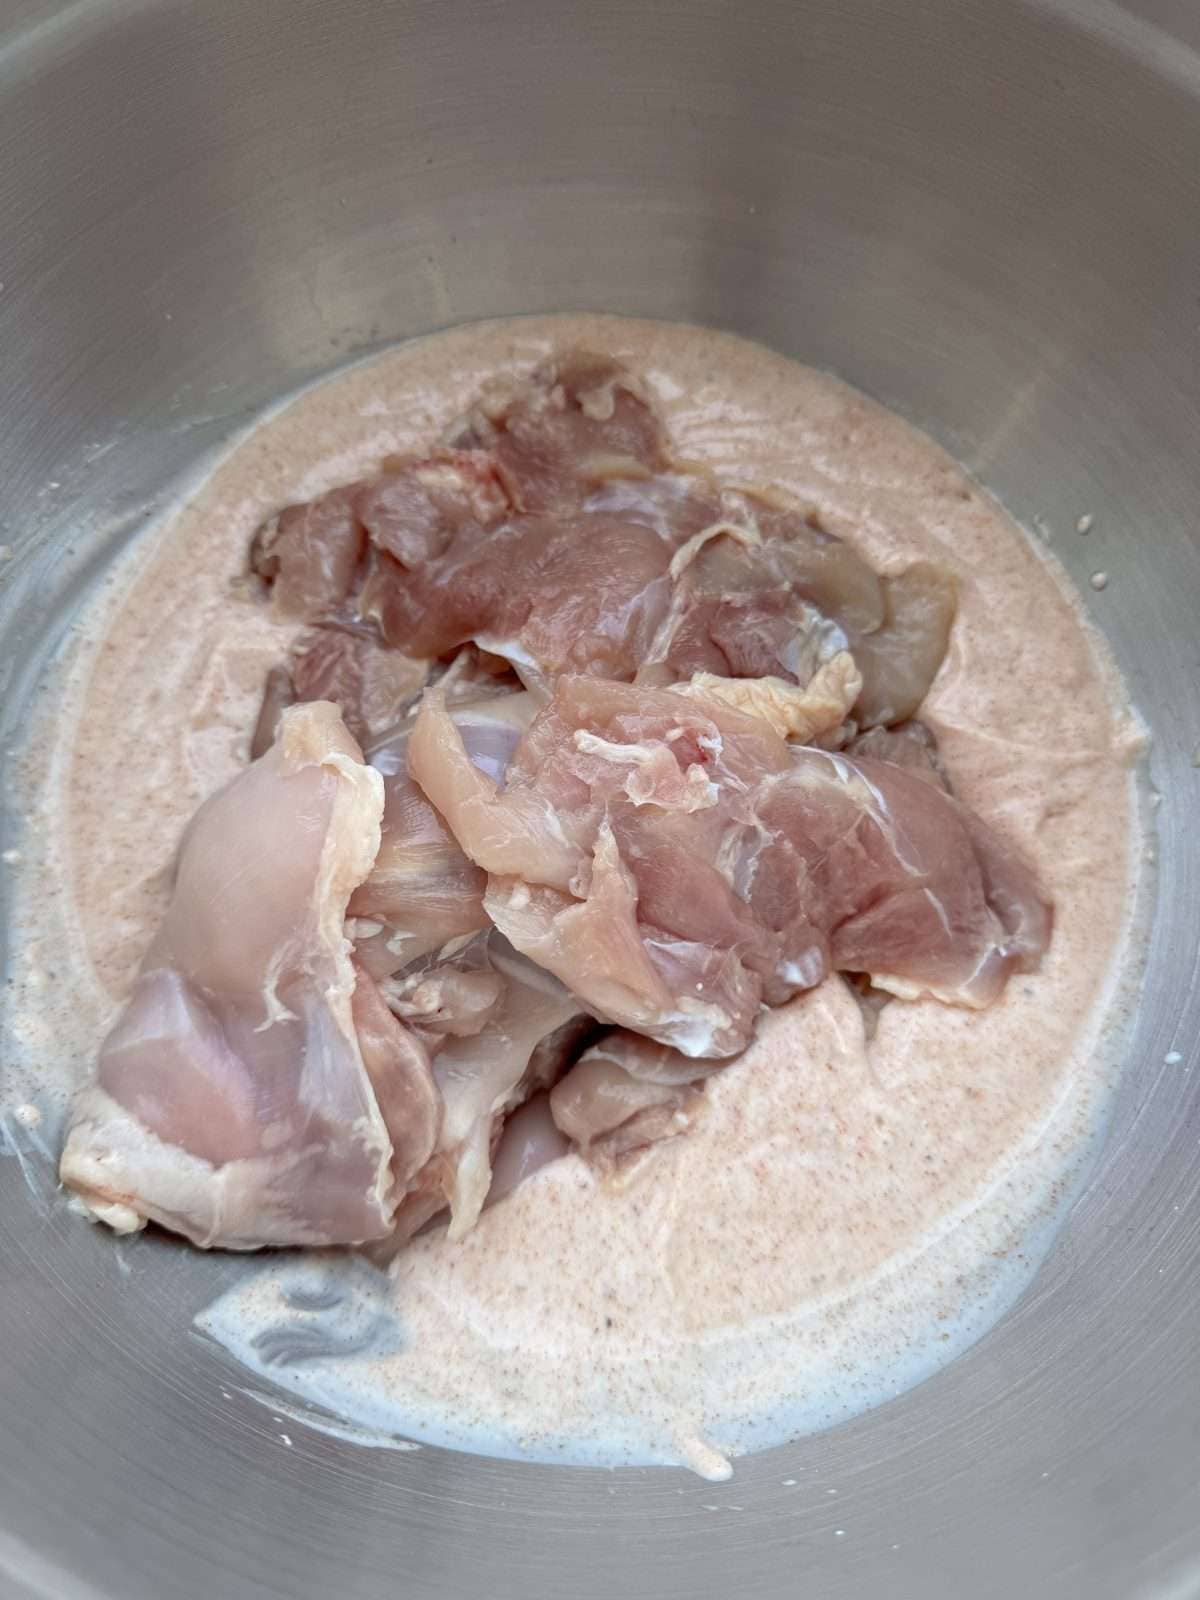
To make our buttermilk brine, we add buttermilk into a large mixing bowl then add in salt and our herbs & spices. You can flavour your marinade with pretty much however you like but I tend to use classic fried chicken herbs & spices like paprika, garlic & onion powder and cayenne pepper. Salt & pepper are needed as well, to season the marinade & meat.
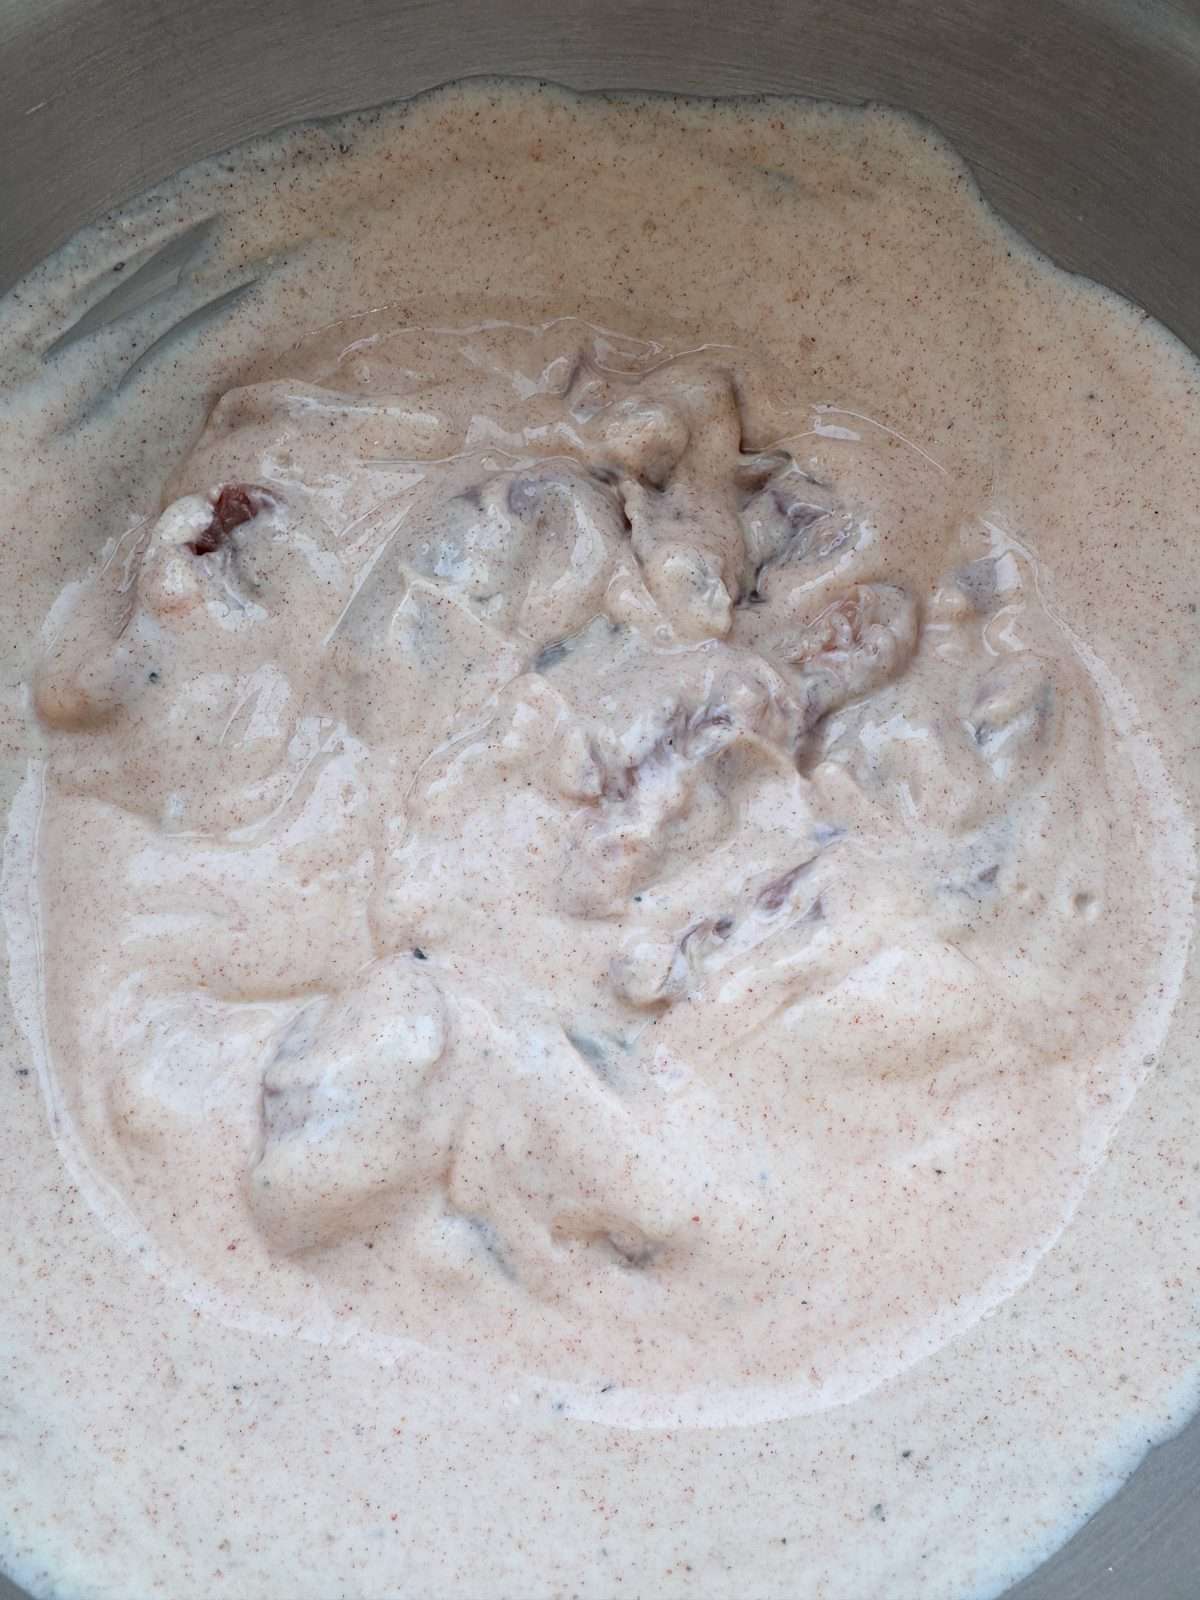
Once our brine is mixed, we add in the chicken thighs then mix well, to ensure that each piece of chicken is fully coated. We transfer the chicken & brine into an airtight container then leave to marinade in the fridge overnight (12-24 hours).
Dredging
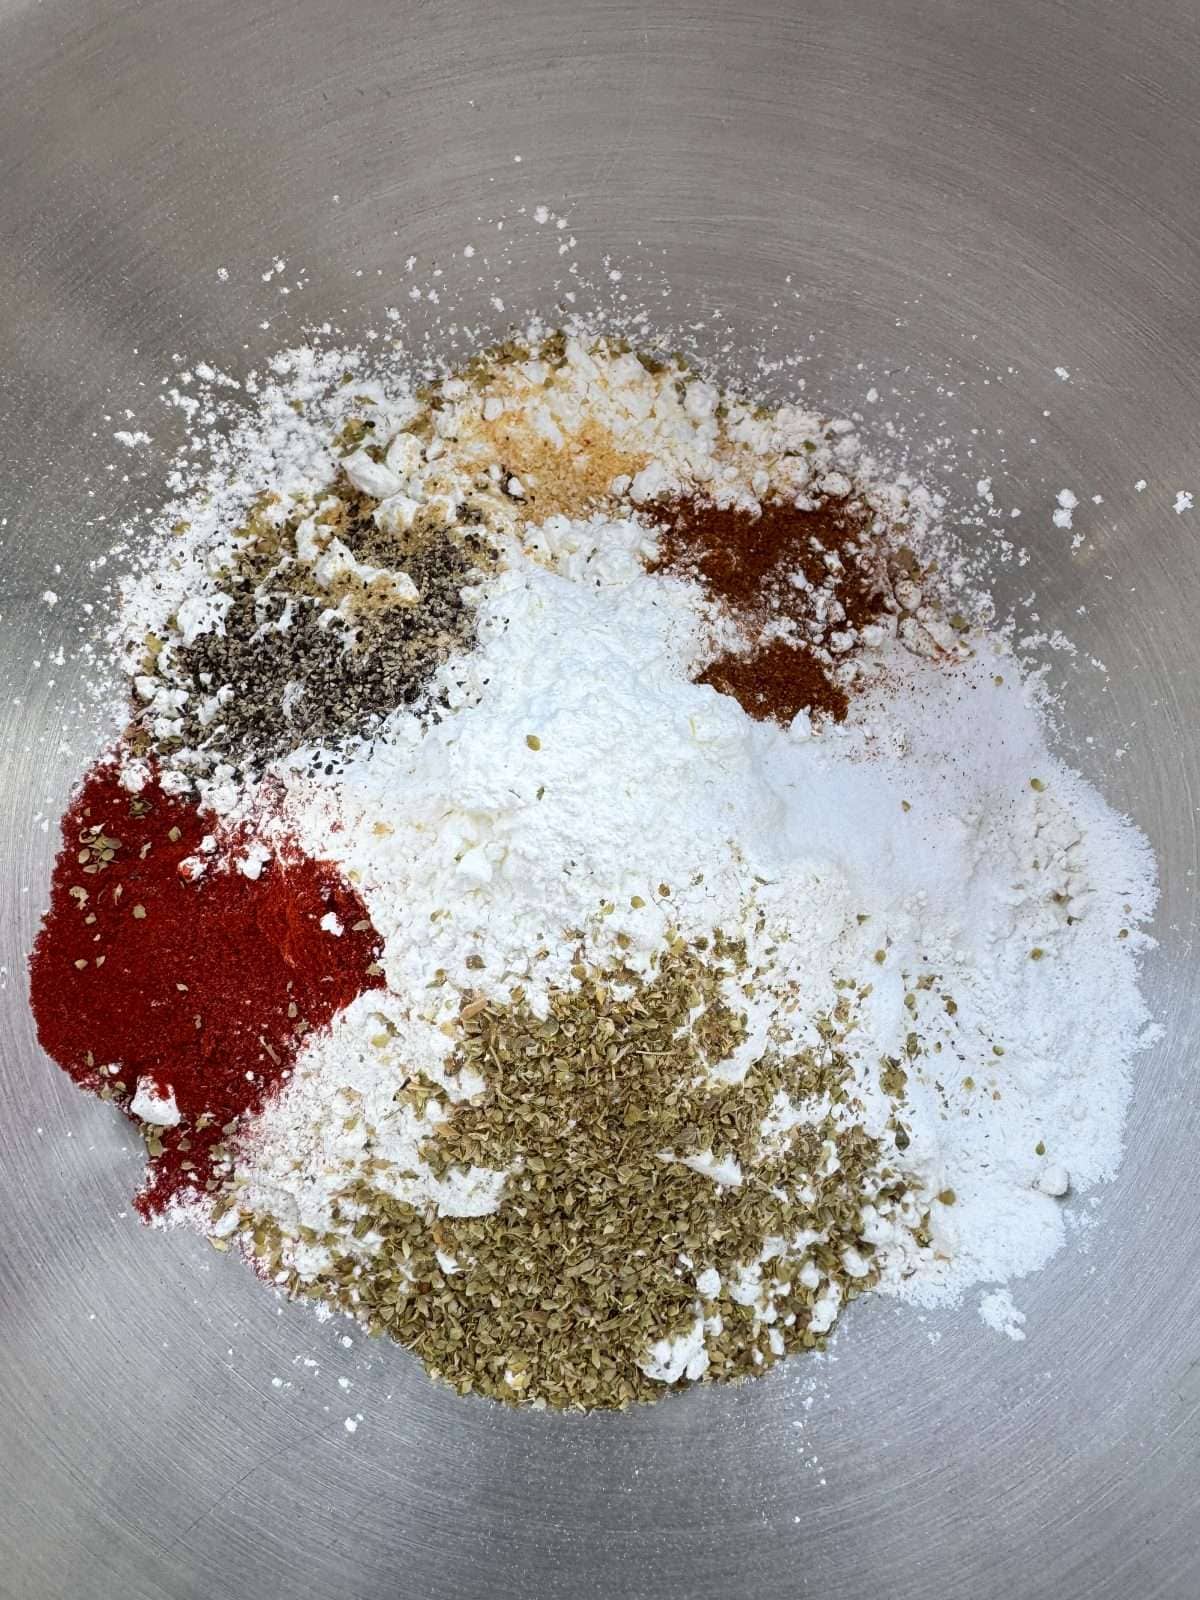
Now onto the flour dredge. We’re making this with a mix of plain/all purpose flour & cornflour. There’s the same flavourings in the dredge as the brine as well as the addition of dried oregano for extra flavour & baking powder, which makes the coating extra light & crisp. To make the dredge, we simply whisk all the ingredients together in a large bowl.
To make sure that the meat is properly coated in flour, I like to give the chicken a double coating of dredge. The first coating we do once the chicken has marinated then we let it sit on a wire rack for 30 minutes (whilst the oil heats up) then dredge again just before frying. Letting the chicken sit for 30 minutes after the first dredge takes the chill off the meat (meaning that it will cook quicker) & draws some of the moisture out of the buttermilk, which means that the coating will be crispier.
How To Dredge Buttermilk Chicken
- Add all of the dredge ingredients into a large mixing bowl then whisk together.
- Drizzle 3 tablespoons of the buttermilk marinade into the dredge then mix in by hand (this creates those scraggly bits of coating that get extra crispy!).
- Take a piece of chicken out of the buttermilk brine then drop into the dredge.
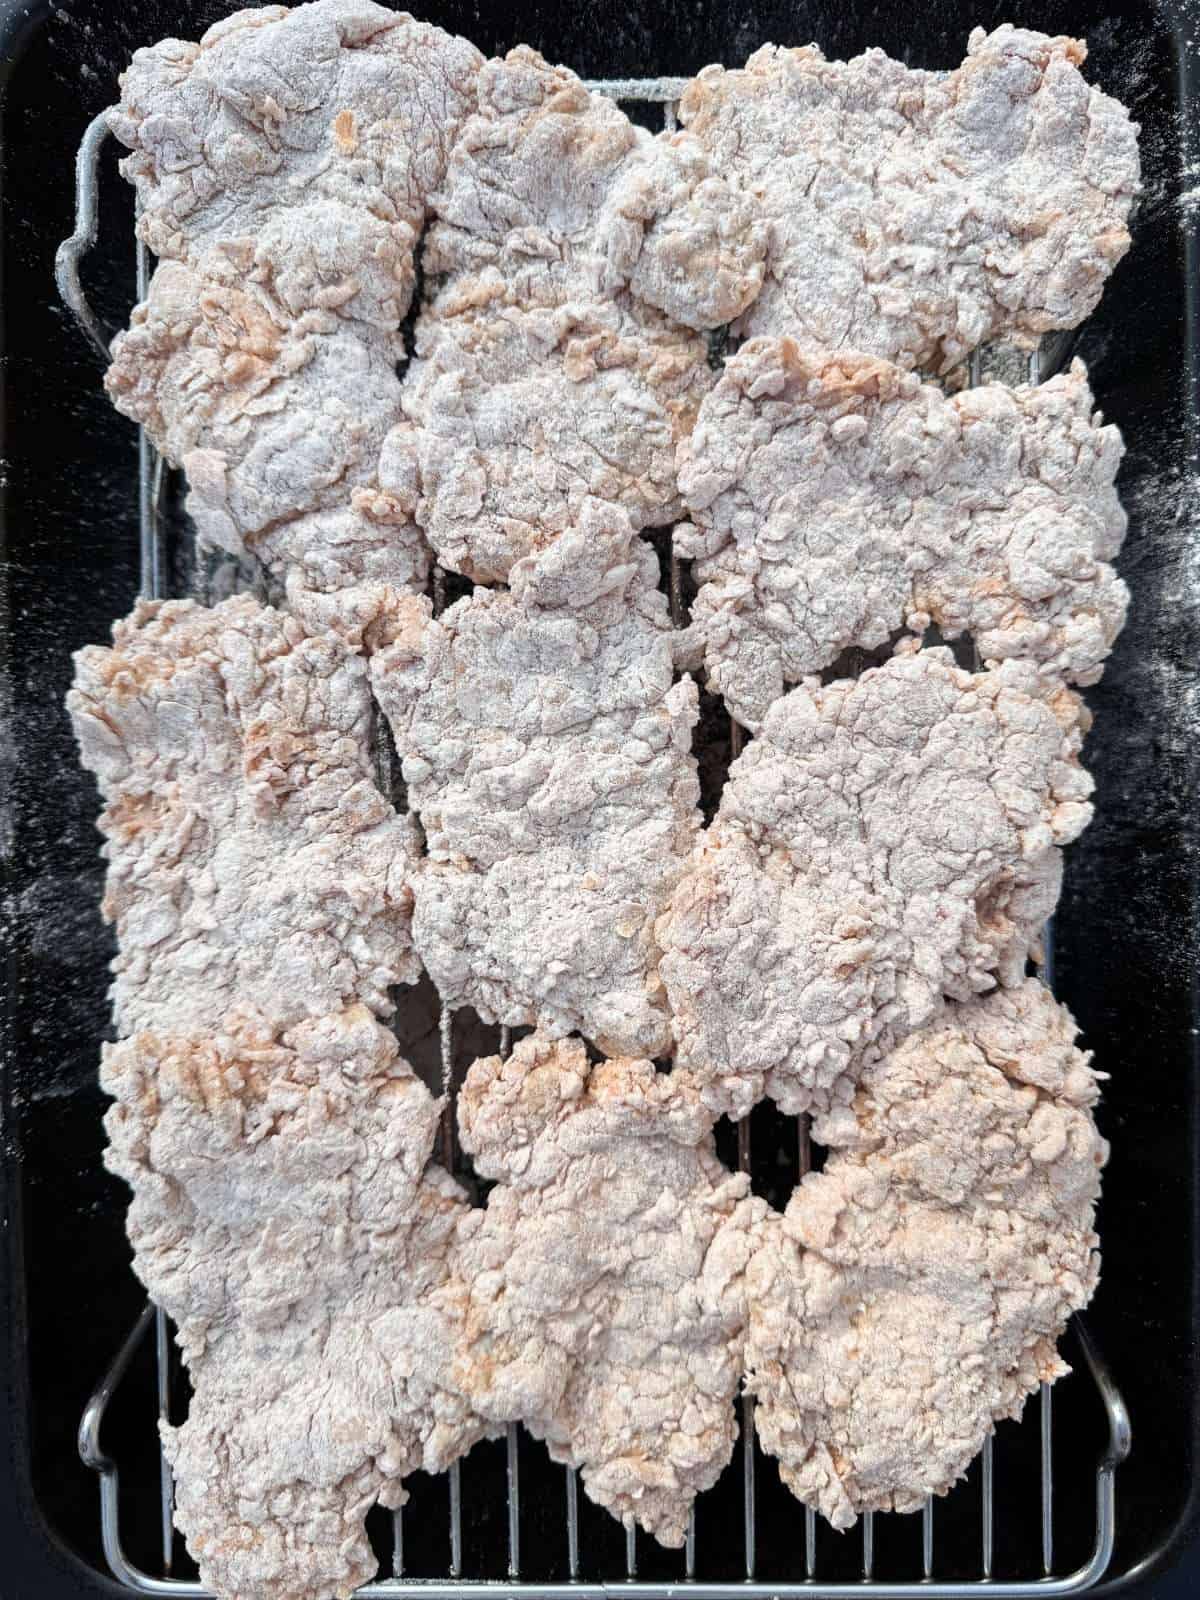
- Toss the chicken in the flour, making sure to press the dredge into every nook & cranny then shake off any excess flour.
- Set the dredged chicken onto a wire rack then leave to sit at room temperature for 30 minutes (heat the oil up in the meantime).
- Give the chicken another toss in the flour, shake off any excess then fry.


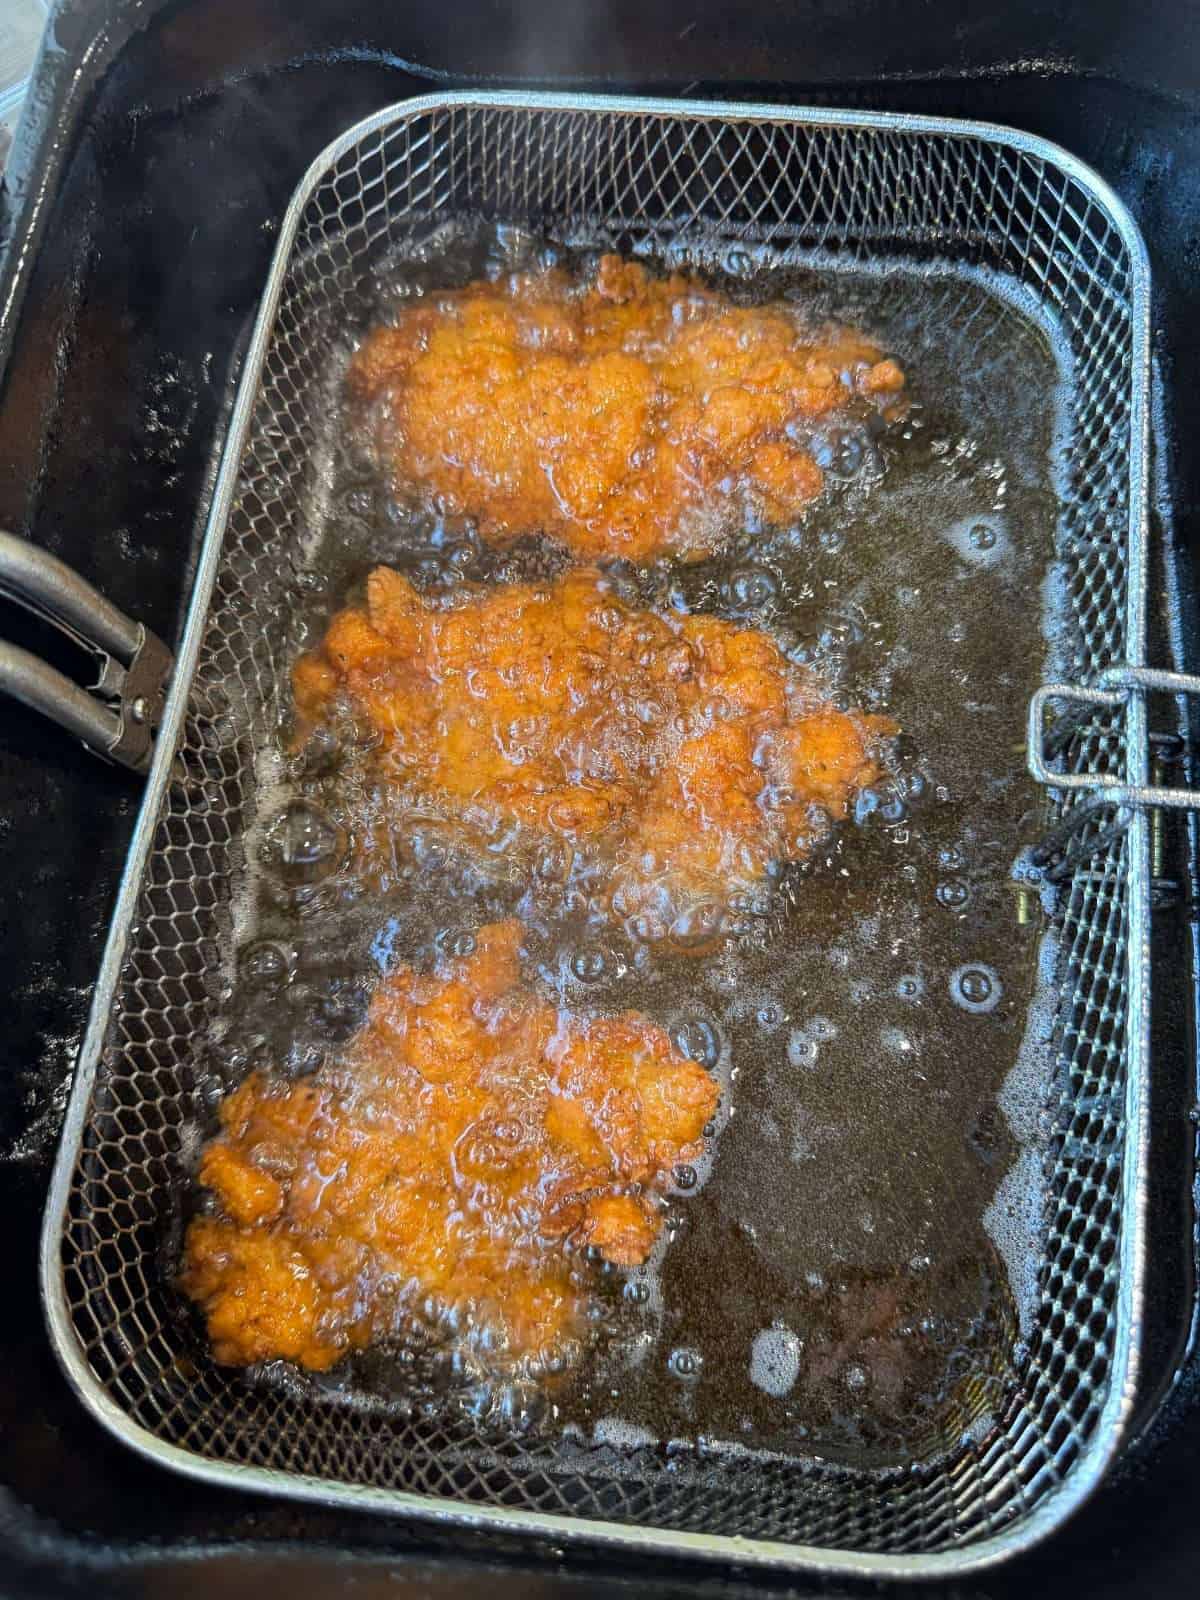
Frying
Before cooking our fried chicken, we need to preheat a deep fat fryer (or a pan of oil on the stove) to 175°c/350°f. I’d recommend using a digital food probe to double check the temperature of the oil before cooking as domestic fryers can sometimes be a bit inaccurate. It’s also important to bring the oil back up to temperature between batches.
How To Fry Chicken
- Preheat a deep fat fryer to 175°c/350°f.
- Take a piece of chicken, dredge in flour (for the second time), shake off any excess then carefully place into the hot oil.
- Dredge a couple more pieces of chicken & add into the oil but make sure not to overcrowd the fryer.
- Let the chicken cook for at least 2 minutes without moving as this makes sure that the coating sticks to the meat properly.
- Continue cooking the chicken, flipping after around 3 minutes until the coating is golden brown & crispy and the internal temperature of the meat is at least 75°c/167f. The total cooking time will be around 5 minutes.
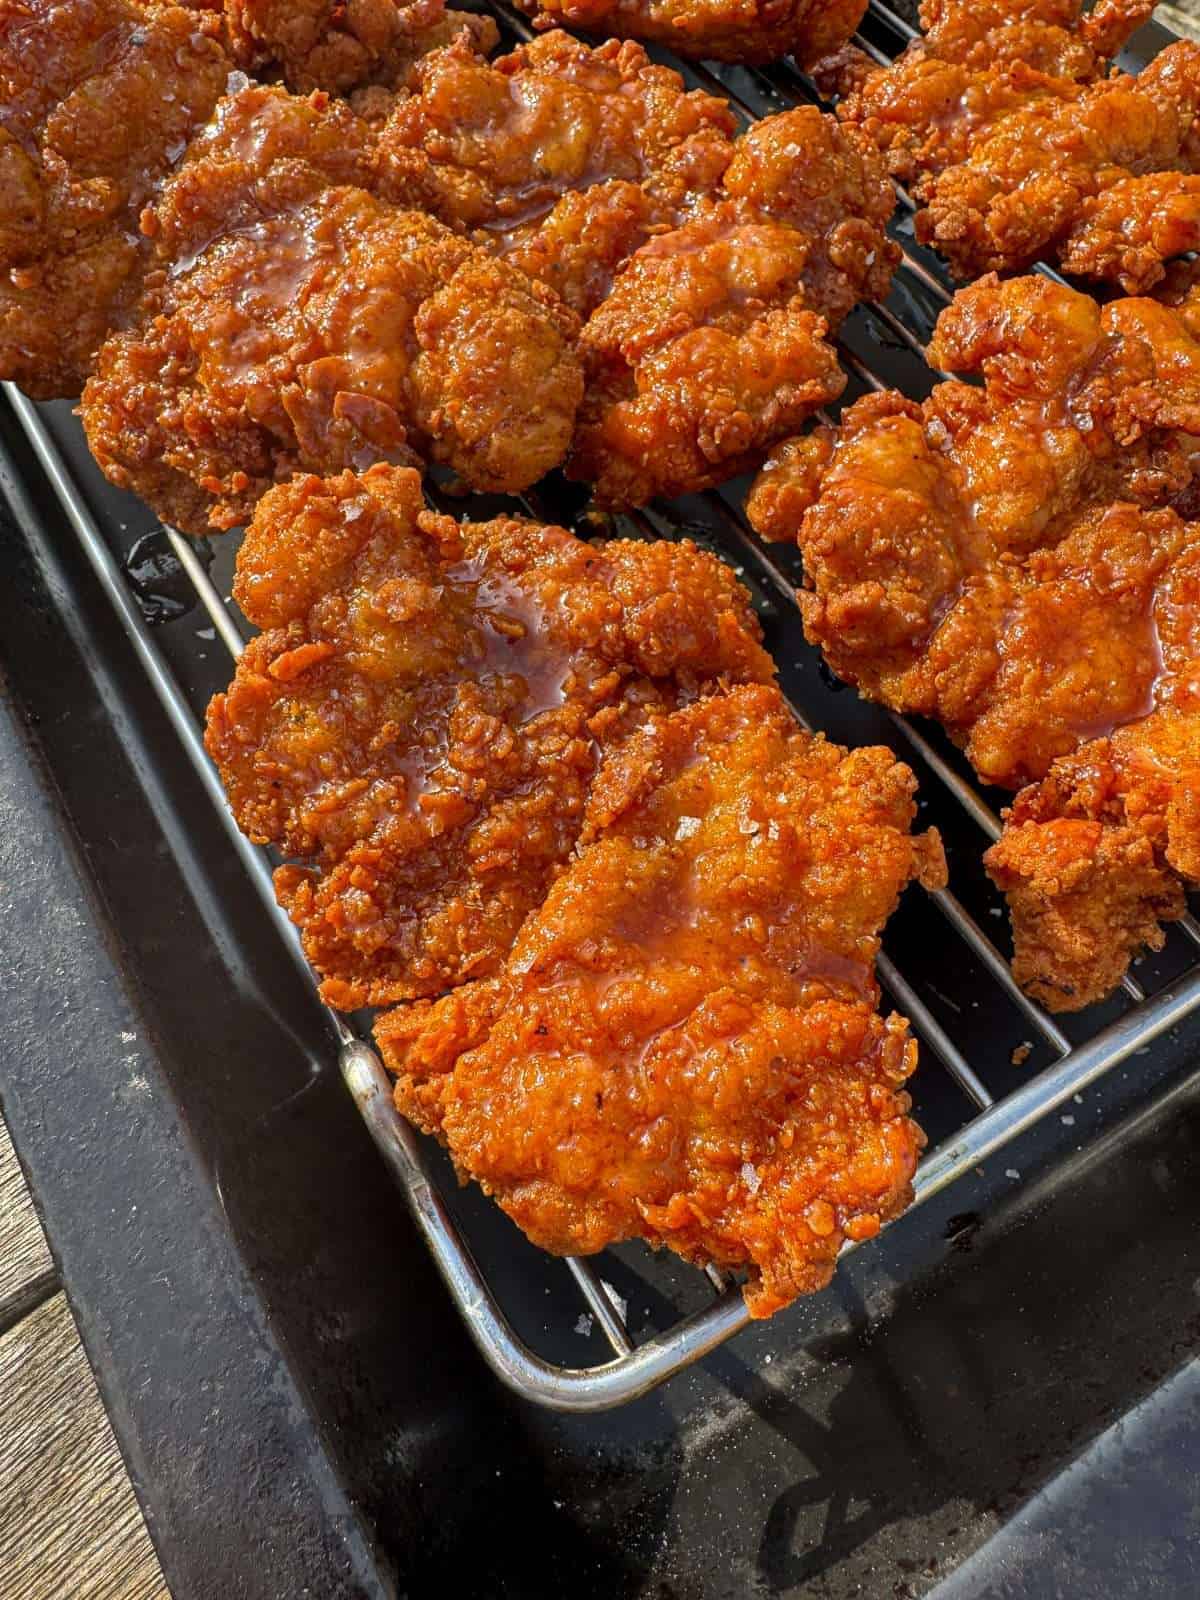
- Once cooked, transfer the chicken to a wire rack set over a baking tray, leave to drain for a minute then season with sea salt & serve.
The fried chicken can be served straight away once cooked or can be kept warm in an oven whilst you cook the remaining meat.

Hot Maple Glaze
If you’re a fan of hot honey, you’re going to love this hot maple glaze! This glaze is sweet, has a caramel like flavour & can be made as spicy as you like. This recipe makes plenty of glaze so they’ll be extra for dipping as well. You can also make this glaze several days in advance then store in in the fridge & reheat just before using.
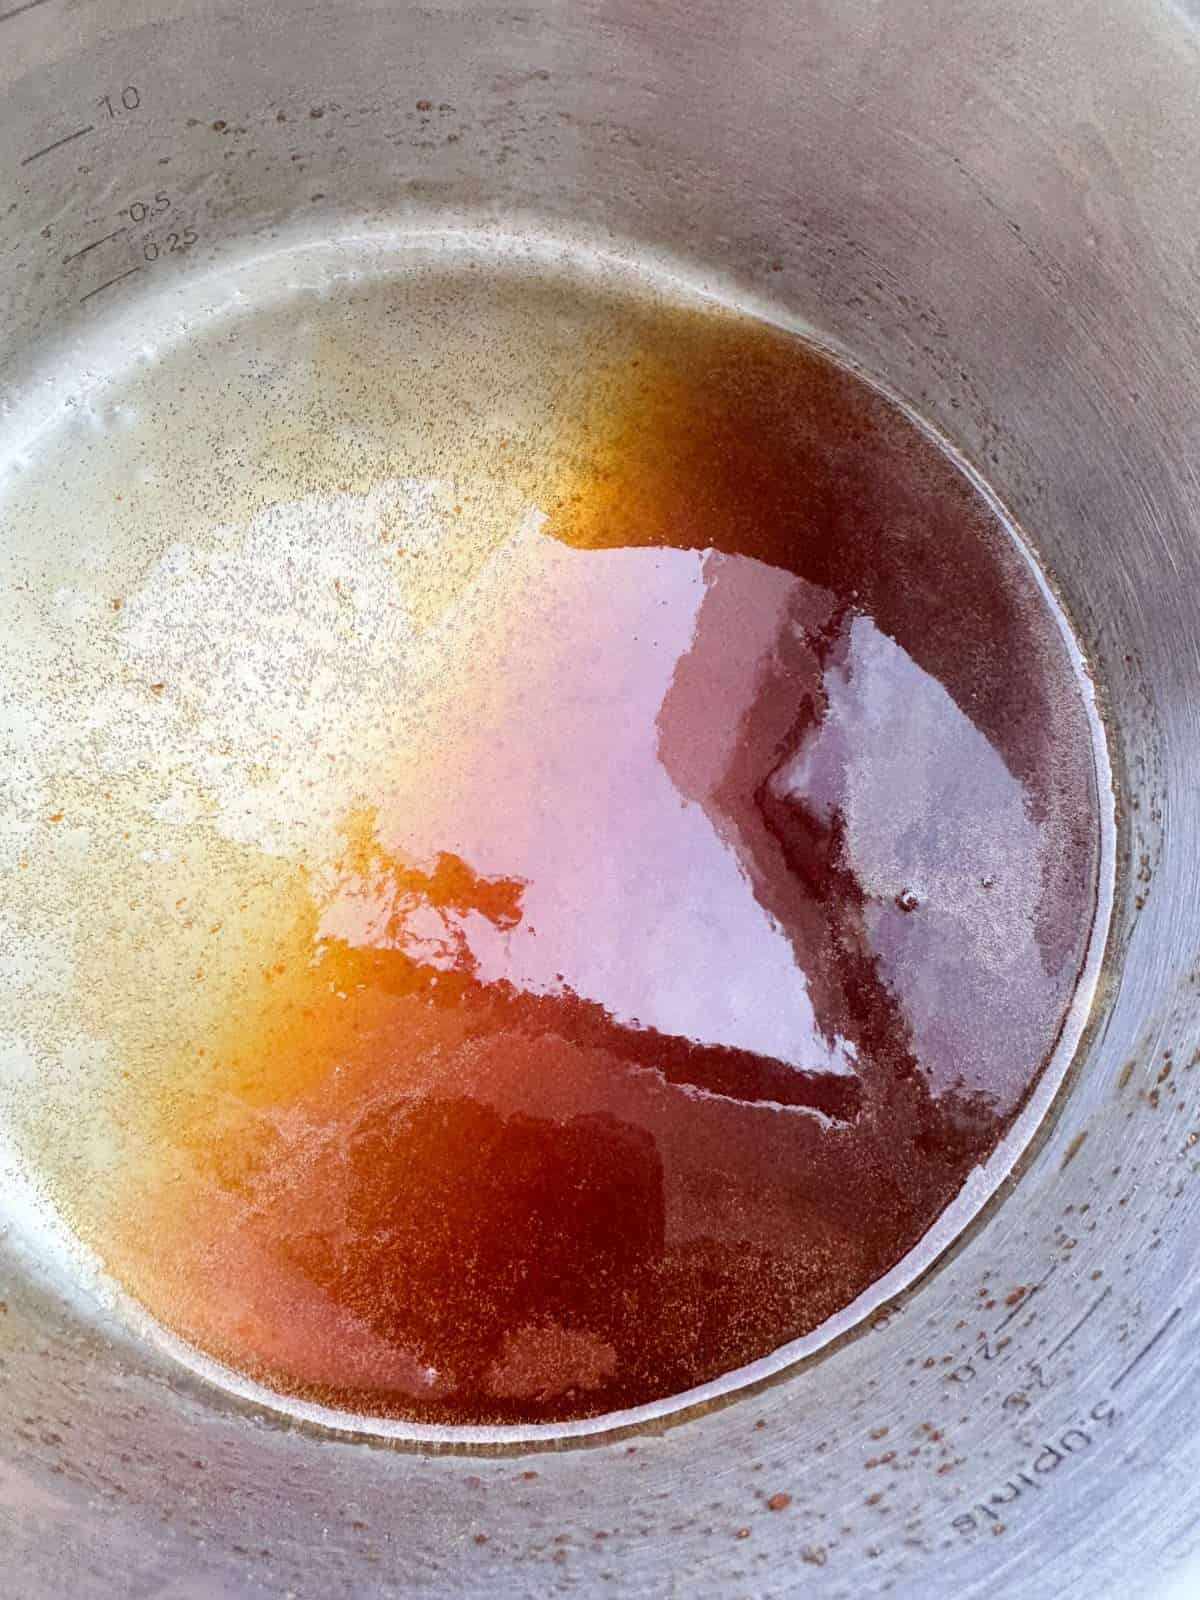
To make our hot maple glaze, we simply warm maple syrup with butter, sriracha, lime juice & a pinch of salt over a medium heat until everything melts into a sticky glaze. This will only take a few minutes, so can be made just before we fry the chicken. It’s best used whilst it’s warm as it will coat the chicken better.
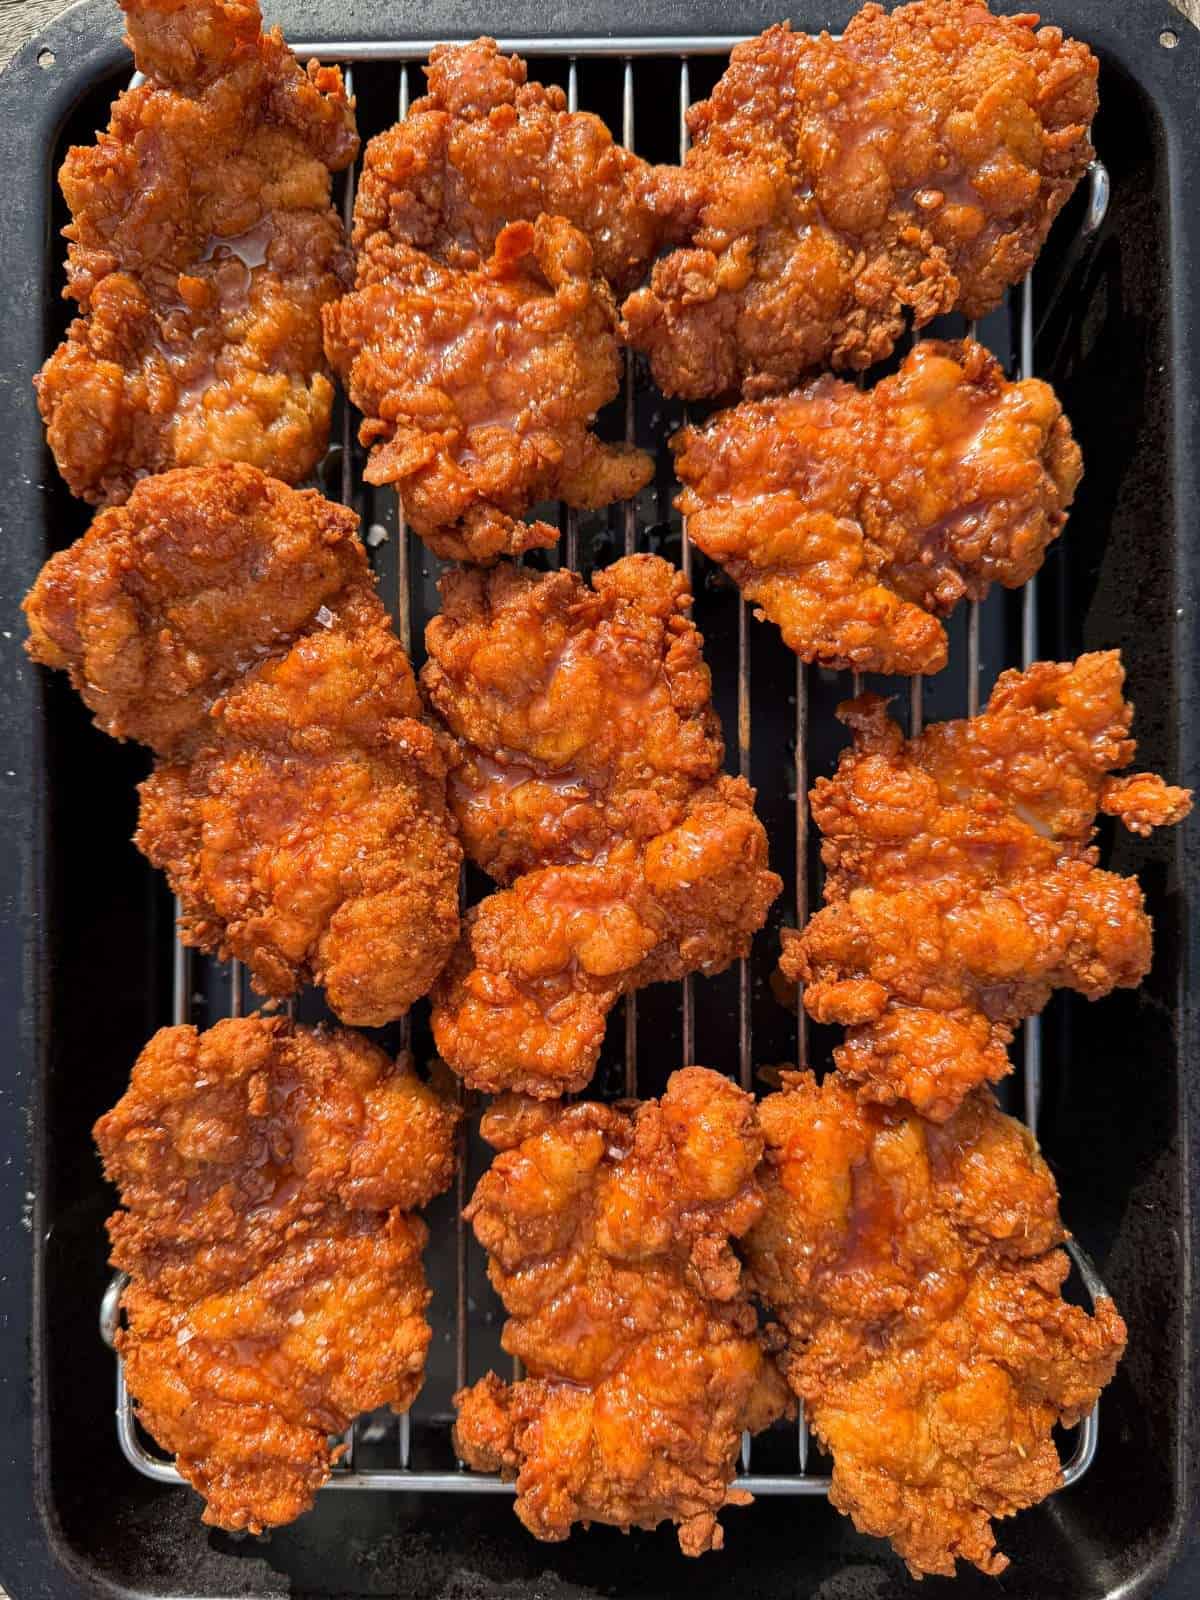
To glaze the fried chicken, we brush a generous amount of warm glaze over each piece then season with sea salt & serve!
Fried Chicken Tips & Tricks
- Use chicken thighs as these have plenty of flavour & won’t dry out as they cook.
- Marinade your chicken in buttermilk for at least 12 hours, to make it as tender & flavourful as possible.
- For the best flavour, season both the buttermilk brine & the dredge.
- Coat your chicken in 2 layers of dredge to ensure proper coverage. Let the chicken sit on a wire rack for 30 minutes after the first dredge to allow some of the moisture from the buttermilk to be soaked up.
- For an extra scraggly coating, mix a couple spoonfuls of the buttermilk brine into the flour dredge just before using.
- Use a digital food probe to check the chicken’s internal temperature to avoid under or overcooking. A food probe can also be used to double check the temperature of the oil.
- Let the chicken fry for at least 2 minutes without moving, to ensure that the coating is properly stuck to the meat.
- Drain your fried chicken on a wire rack for a minute or so once cooked. The extra air circulation ensures that the coating stays crisp!
Frequently Asked Questions
To stop the coating falling off your fried chicken, make sure not to move or touch the chicken for at least 2 minutes after placing it into the hot oil. We’re also going to be coating our chicken in 2 layers of dredge, to ensure proper coverage.
To make the most tender & flavourful fried chicken, it’s best to marinade it in buttermilk for at least 12 hours or up to 24. Make sure not to leave the chicken in the buttermilk for more than a day as this can start to affect it’s texture.
Boneless chicken thighs are quite thin so will only take around 5 minutes to cook. To check that the meat is cooked, use a digital food probe to check the internal temperature. Chicken is fully cooked once it reaches 75°c/167°f.
The best way to reheat leftover fried chicken is to bake it in an oven set to 175°c/350°f, until it is piping hot. The internal temperature of reheated chicken needs to be at least 75°c/167°f.
Using a deep fat fryer makes it easier to cook fried chicken but if you haven’t got one, you can use a pan of oil heated up on the stove. Make sure to do this really carefully though!
Equipment Used
Please note that these are affiliate links & I may make a small commission if you make a purchase using these links, at no extra cost to you. For more information, click here.
More Dinner Recipes To Try!
- Leftover Roast Chicken Ramen
- Goose Fat Jacket Potatoes
- Butter Chicken
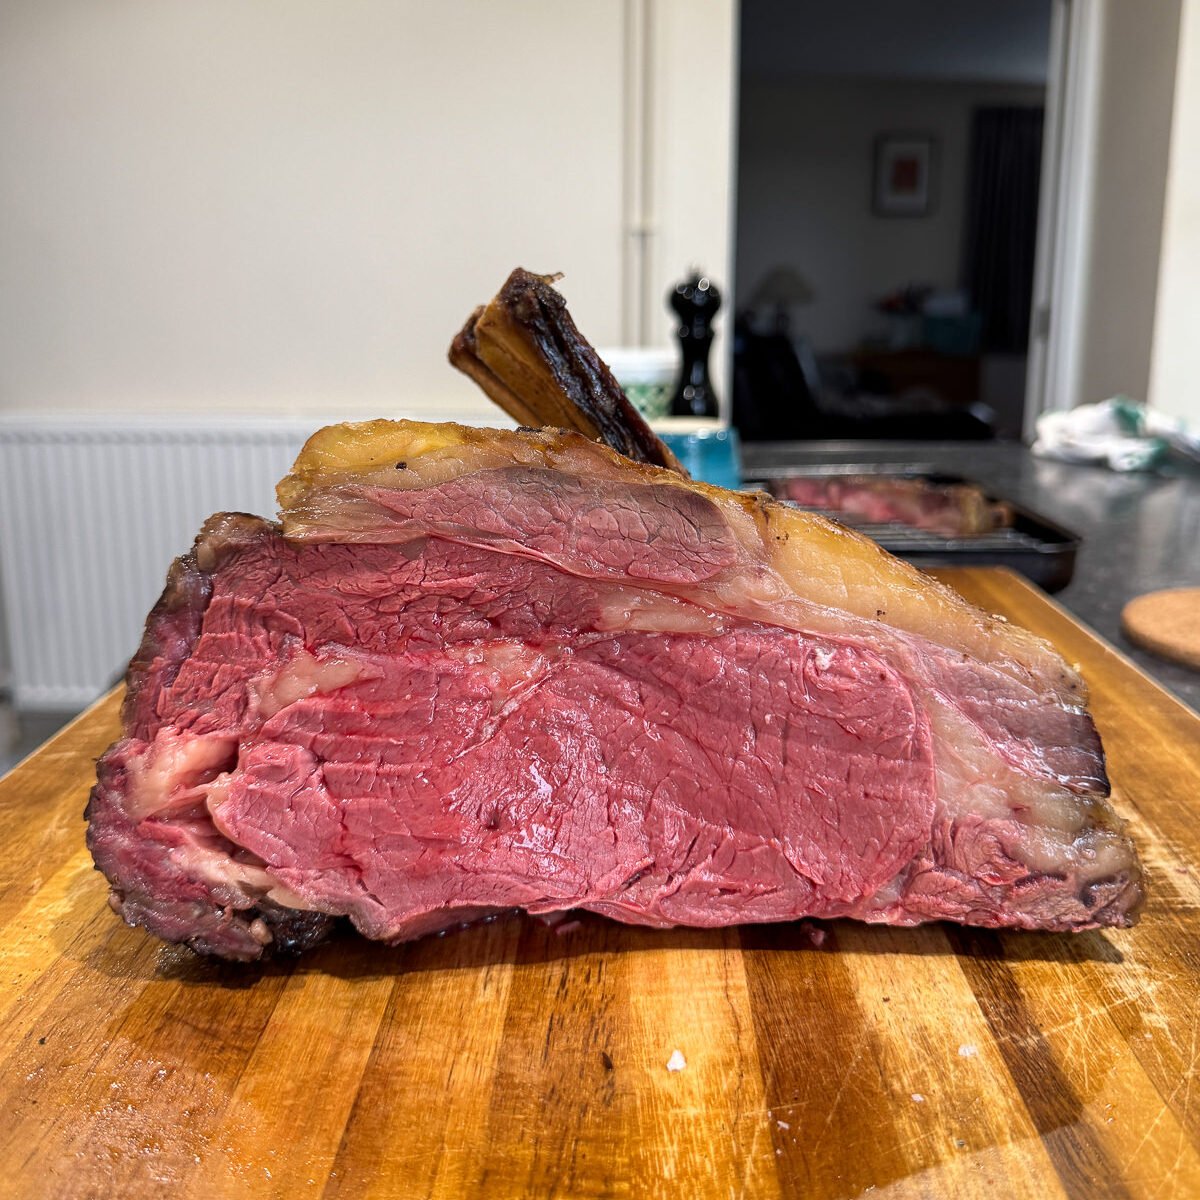
- Black Garlic Hanger Steaks
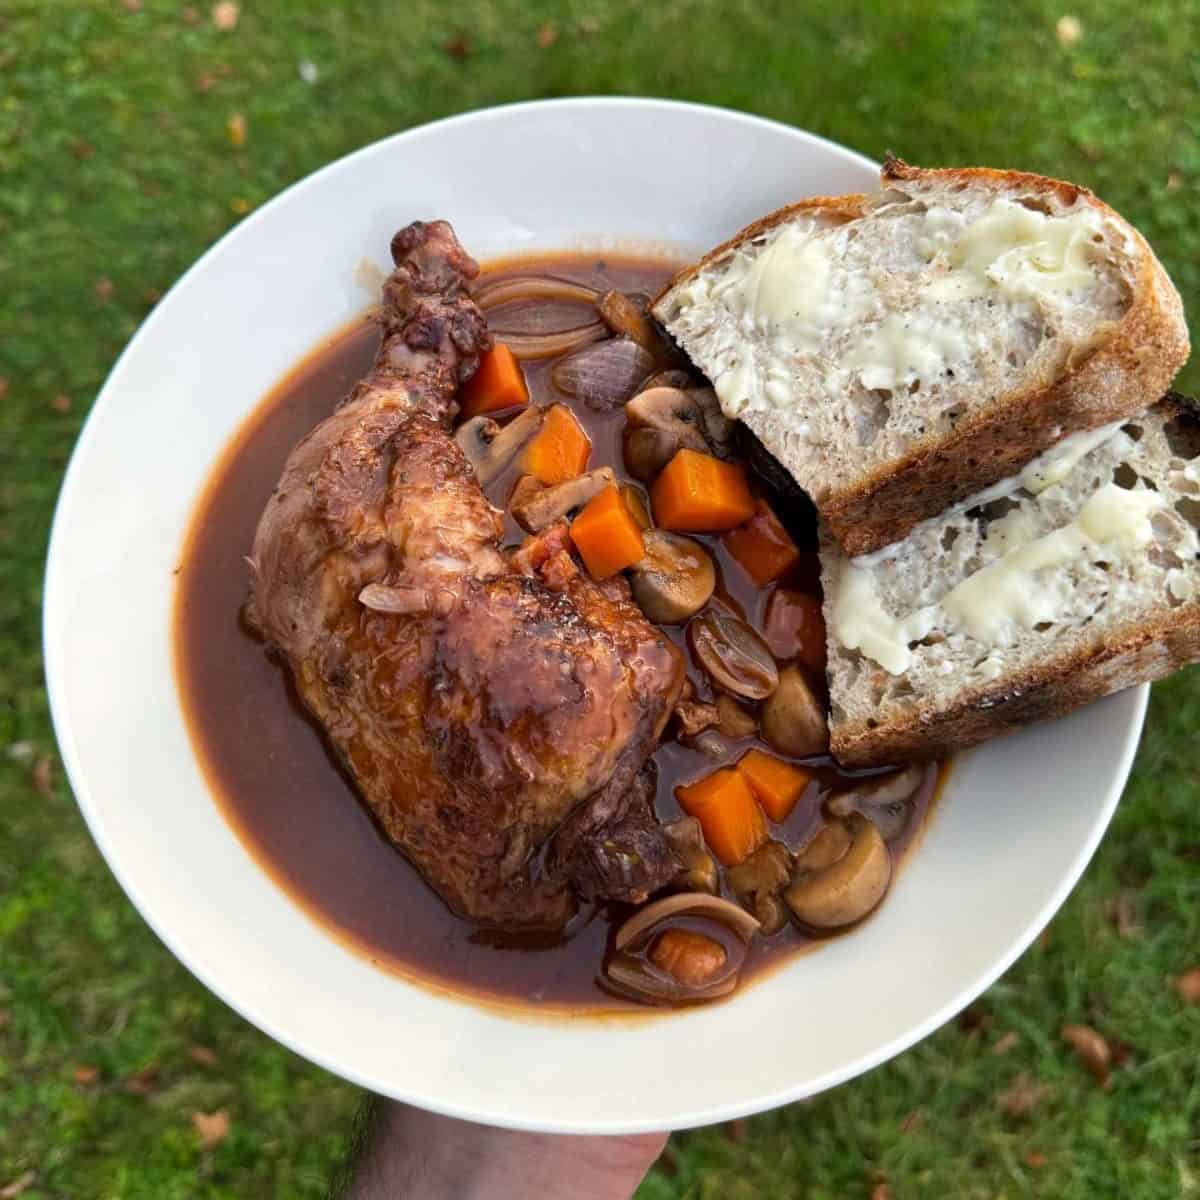
- Coq au Vin
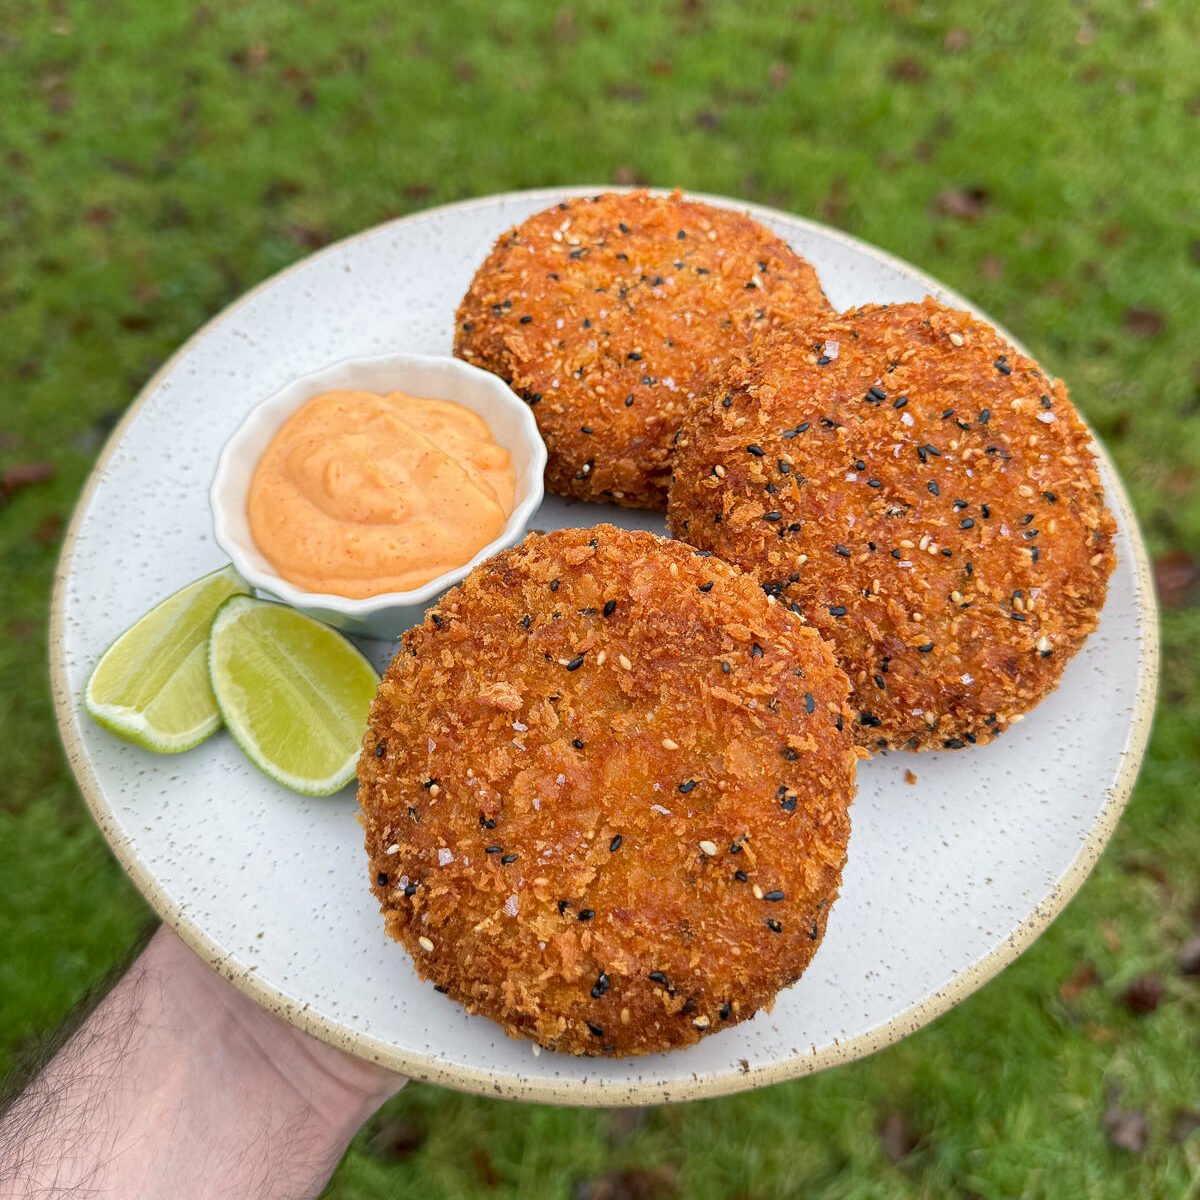
- Rice Krispie Fried Chicken Tenders With Hot Honey
- Nduja Stuffed Porchetta
If you have enjoyed this recipe for buttermilk fried chicken thighs, it would mean a lot if you could leave a review & rating. And if you’d like to stay up to date with future recipes, follow us on Instagram & TikTok!
Hot Maple Fried Chicken
Equipment
- Deep Fat Fryer (See Notes)
- Digital Food Probe
- Mixing Bowls
- Large Baking Tray
- Wire Rack
- Small Saucepan
Ingredients
- 10 Chicken Thighs (Skinless & Boneless)
Buttermilk Brine
- 500 g Buttermilk
- 1 tsp Table Salt
- 1 tsp Smoked Paprika
- 1 tsp Onion Powder
- 1 tsp Garlic Powder
- ½ tsp Cayenne Pepper
- ¼ tsp Black Pepper
Flour Dredge
- 375 g Plain Flour
- 100 g Cornflour
- 2 tsp Table Salt
- 2 tsp Baking Powder
- 2 tsp Smoked Paprika
- 2 tsp Dried Oregano
- 1 tsp Onion Powder
- 1 tsp Garlic Powder
- 1 tsp Cayenne Pepper
- ½ tsp Black Pepper
Hot Maple Glaze
- 120 g Maple Syrup
- 30 g Unsalted Butter
- 30 g Sriracha
- 1 Lime (Juiced)
- A Pinch Of Sea Salt (Or Use Salted Butter)
Instructions
Buttermilk Brine
- Add all of the ingredients for the buttermilk brine into a large mixing bowl then mix to combine.
- Next, add the chicken thighs into the brine then mix well, ensuring that each piece is fully coated.
- Transfer the chicken & brine to an airtight container then leave to marinade in the fridge for 12-24 hours.The chicken needs at least 4 hours in the marinade but I've found that at least 12 hours is best!
Flour Dredge
- Add the flour, cornflour, salt, baking powder and the herbs & spices into a large mixing bowl then whisk to combine. Set this aside until needed.
First Dredge
- Once your chicken is marinated, take it out of the fridge then drizzle 3 tablespoons of the marinade into the dredge. Mix the buttermilk into the dredge with your hands – this creates those scraggly bits on the outside of the chicken!
- Next, take a piece of chicken out of the buttermilk then drop into the dredge. Toss the chicken in the flour to fully coat it, making sure to press the dredge into every nook & cranny on the chicken.Make sure to flip the chicken over several times in the dredge for proper coverage!
- Once dredged, take the chicken out of the flour, shake off any excess then place onto a wire rack set over a baking tray. Repeat this process with the remaining chicken. Don't get rid of the remaining dredge, we'll need this later on!
- When all of your chicken is dredged, let it sit at room temperature 30 minutes. Then in the meantime, preheat a deep fat fryer to 175°c/350°f.I'd recommend using a digital food probe to double check the temperature of the oil.
Hot Maple Glaze
- Whilst your oil is heating up, make the glaze! To do this, add the maple syrup into a small saucepan with the butter, sriracha, lime juice & salt.
- Set the pan over a medium heat, cook until melted, whisking to combine then bring to a simmer & cook for another minute. Set aside until needed. The glaze is best used whilst it's still warm.
Second Dredge & Frying
- Take a piece of chicken, toss in the dredge for a second time then shake off any excess flour and carefully place into the hot oil. Repeat this process with a couple more pieces of chicken but don't overcrowd the fryer!
- Cook the chicken for 4-5 minutes, flipping it over halfway through, until the meat reaches an internal temperature of at least 75°c/167°f. Make sure not to move the chicken for at least the first 2 minutes, as this lets the dredge stick to the chicken properly (it could fall off otherwise!).
- Once cooked, place the fried chicken onto a wire rack set on a baking tray then leave to drain for a minute before serving. Repeat the cooking process with the remaining chicken, making sure that the oil is back up to temperature in between batches.Once cooked, the chicken can be glazed & served straight away or kept warm in an oven set to 120°c/250°f whilst you cook the rest.
Glazing
- To serve, brush the fried chicken with a generous amount of glaze then season with sea salt. Serve any leftover glaze on the side, for dipping!