Savoury Double Pie Crust
A crisp & flaky savoury double pie crust! This recipe makes enough pastry for a 9″ pie & works great for all savoury fillings.
This post contains affiliate links. I may earn a small commission if you make a purchase using these links, at no extra cost you. For more information, click here.
Here’s a complete, step by step guide to making a savoury double pie crust, completely from scratch! We’ve also included a whole load of tips & tricks to making a pastry crust that’s incredibly crisp, flaky & buttery, along with some handy preparation, storage & baking tips that will take your pies to the next level.
It’s super easy to make & is the perfect crust for all types of savoury pies!
What Is A Double Pie Crust?
A double pie crust is when a pie has a pastry crust on both the bottom & the top.
To do this, we roll out half of our pastry then use to line the base of a pie tin. After our chosen filling is added in, we roll out the remaining pastry then use to top the pie. We can the get creative with some crimping, to seal the pastry together!
This recipe makes enough pastry to make a 9″ double crusted pie.
What You’ll Need
- Flour – Plain/all purpose flour makes tender pie crusts that won’t shrink as it bakes.
- Salt – I’d recommend using a fine sea salt but table salt will work as well.
- Butter – Make sure to use unsalted butter as it allows us control over the salt content.
- Lard – I like to use a combination of lard & butter for extra flavour but feel free to just use butter if you’d prefer. Both fats should be cold/used straight from the fridge.
- Egg Yolk – Used for extra richness, flavour & colour. We’re using one egg yolk for this double pie crust recipe.
- Ice Cold Water – Used to bring the pastry together. Make sure that the water is as cold as possible! I like to chill a jug of cold water in the fridge for at least an hour before using. If you’ve got some ice, throw some in the water as well to make it even colder!
How To Make A Savoury Double Pie Crust
The full, printable recipe card for this pie crust can be found at the bottom of this post!
Step 1 – Pie Dough
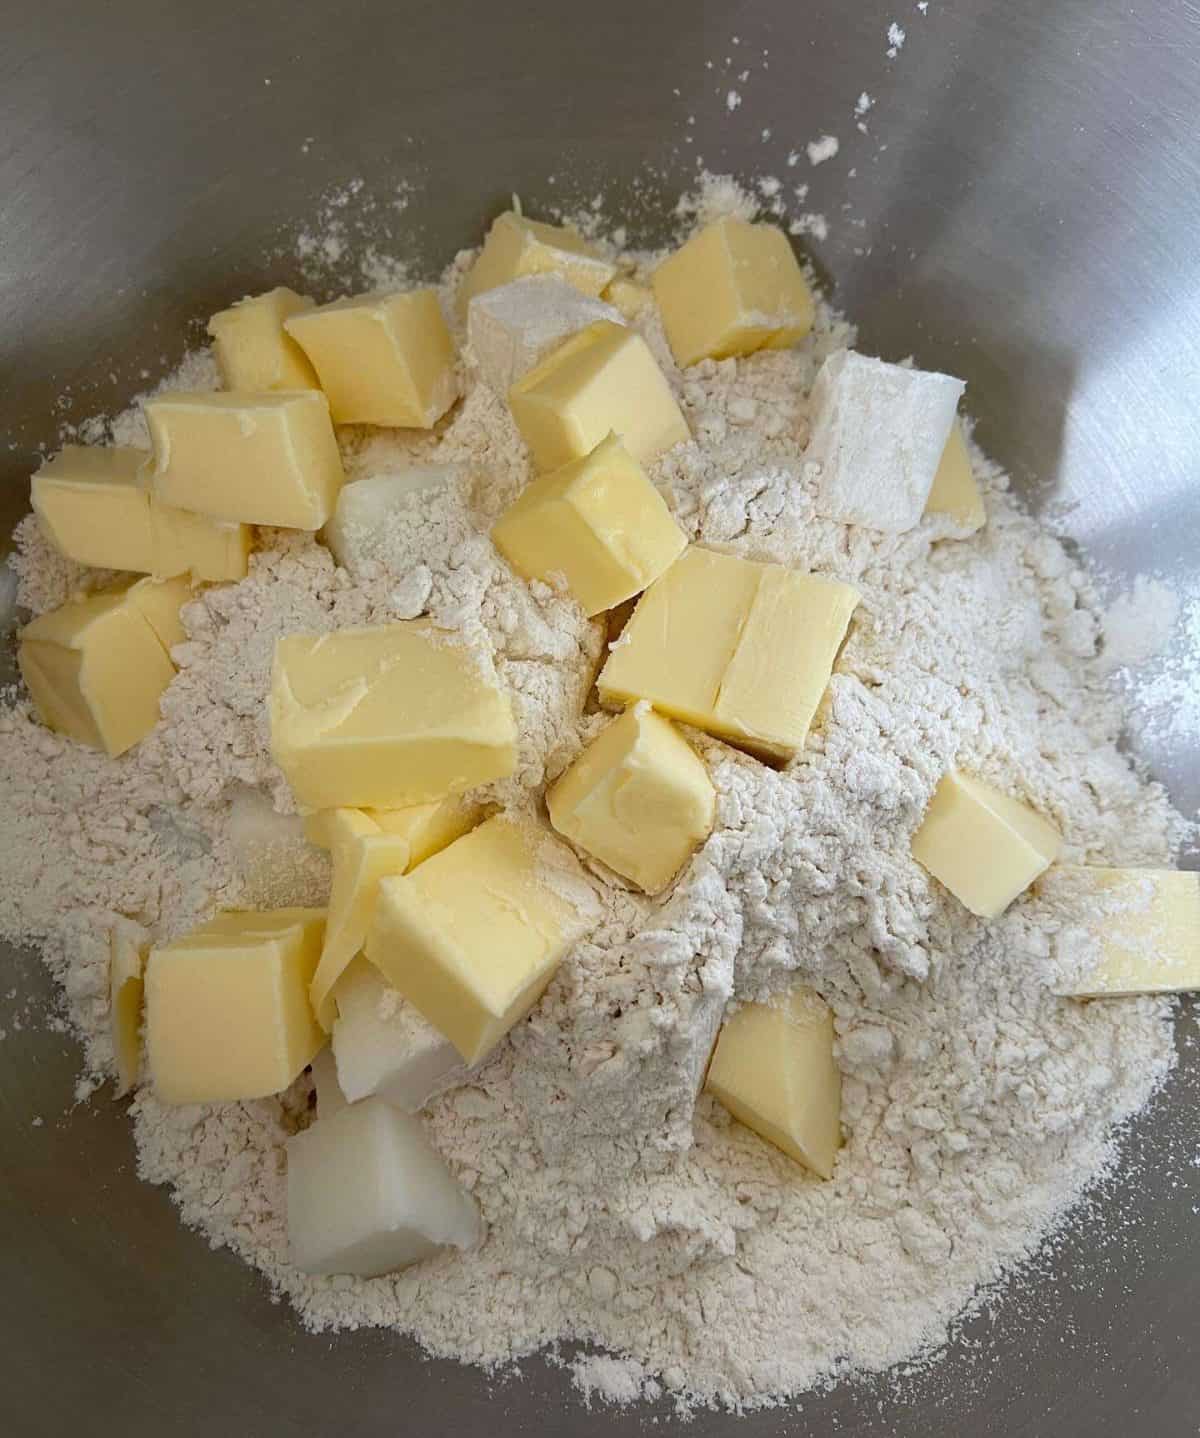
First, we need to make our pastry/pie dough. To do this, we place plain flour, fine sea salt, (cold) diced butter & lard into a large mixing bowl then rub the fat into the flour by hand until the mix resembles breadcrumbs (but with some larger bits of fat still visible).
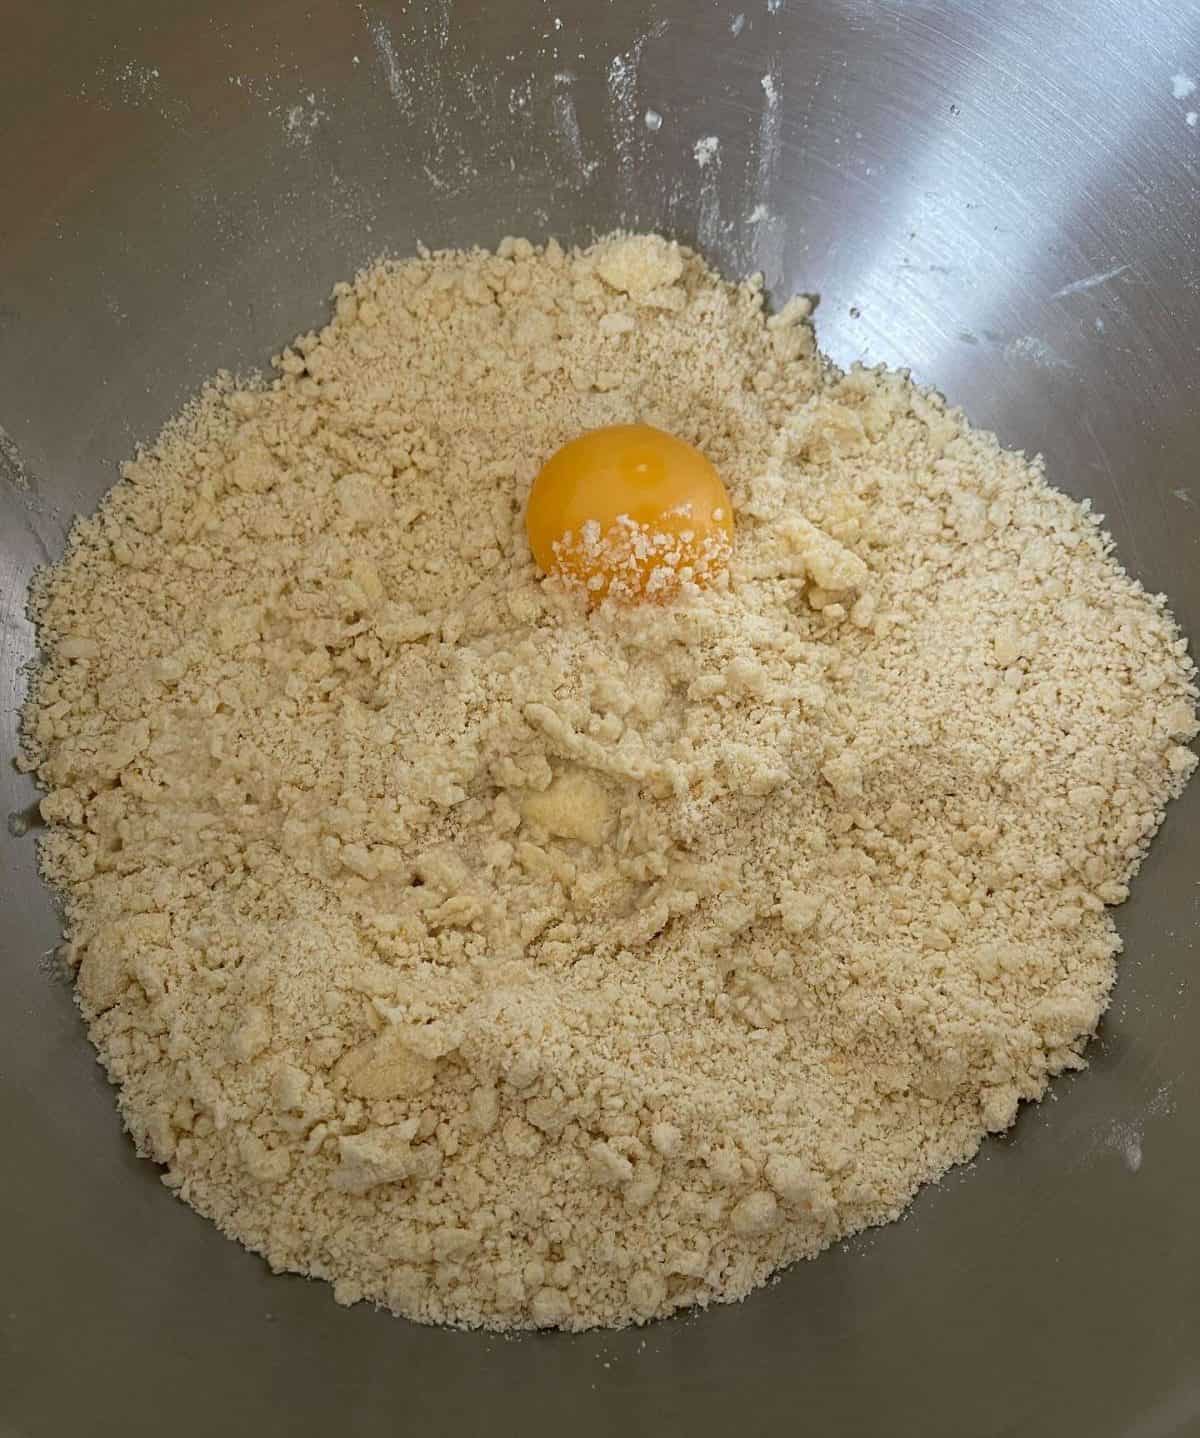
Next, we add in an egg yolk & enough ice-cold water to bring the dough together, to form a rough dough. The flour in the pastry will hydrate as it chills, so it’s important not to add too much water as the pastry will be sticky & hard to work with. On the other hand, too little water & the pastry will crack & break apart.
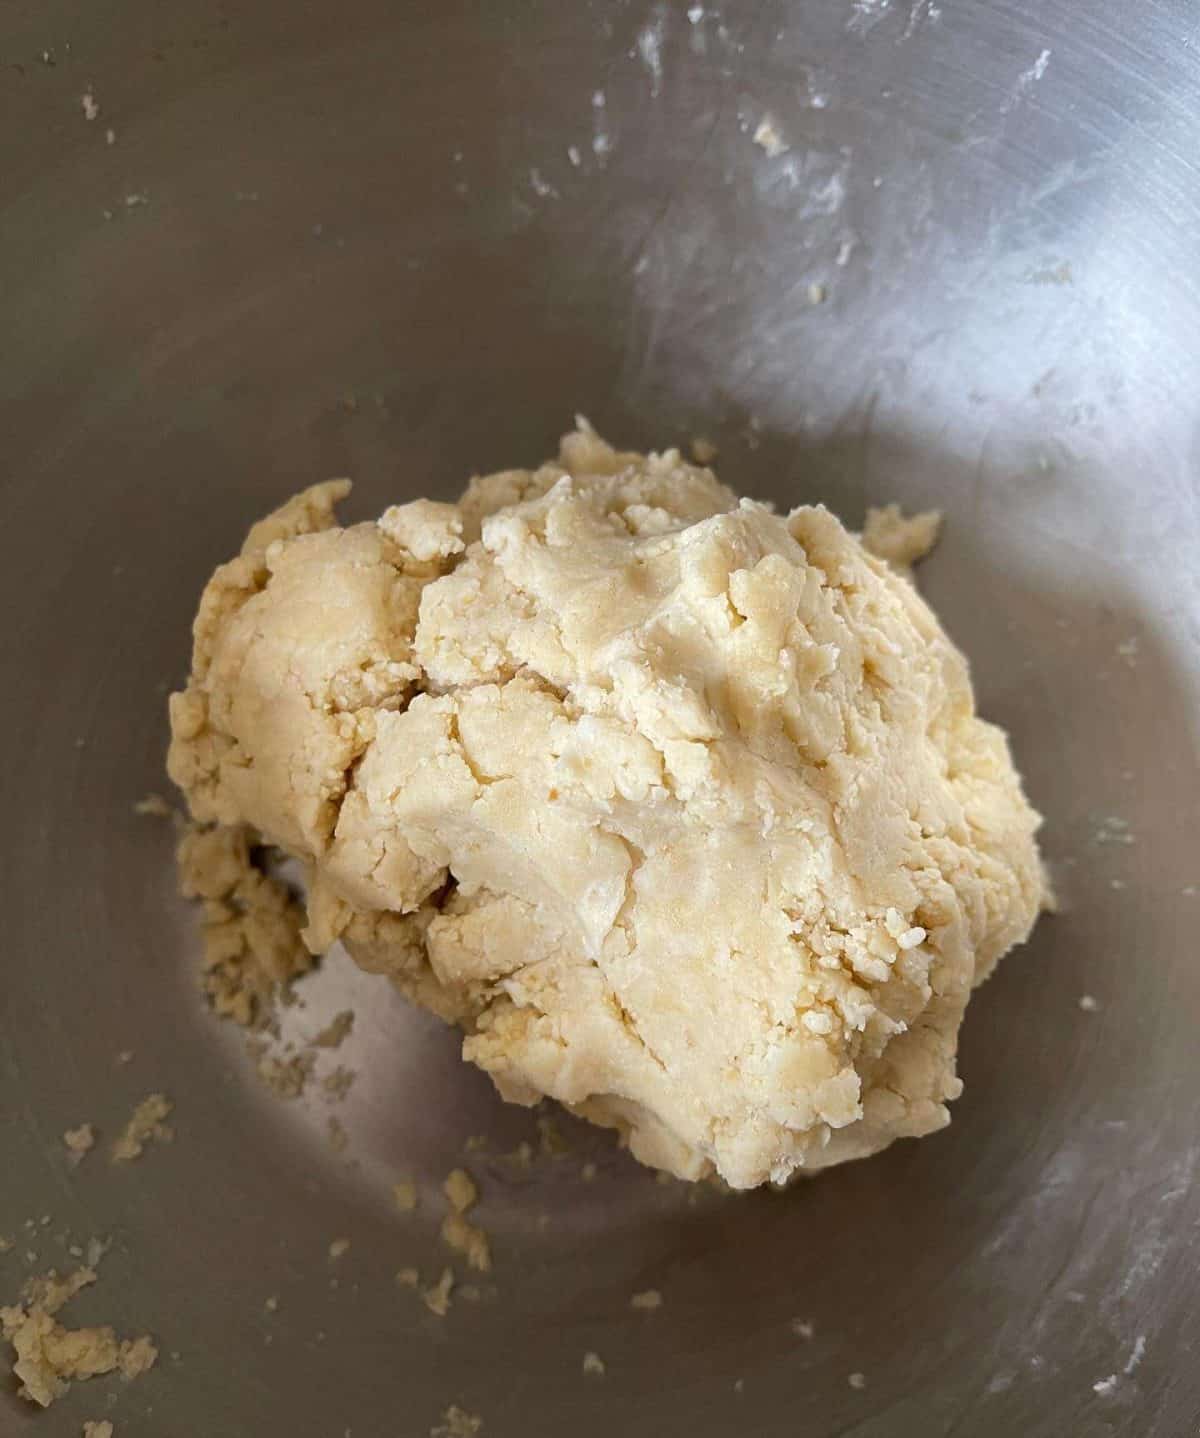
Once our pastry has come together, we tip it out onto a clean work surface then gently knead it until smooth.
Step 2 – Chilling
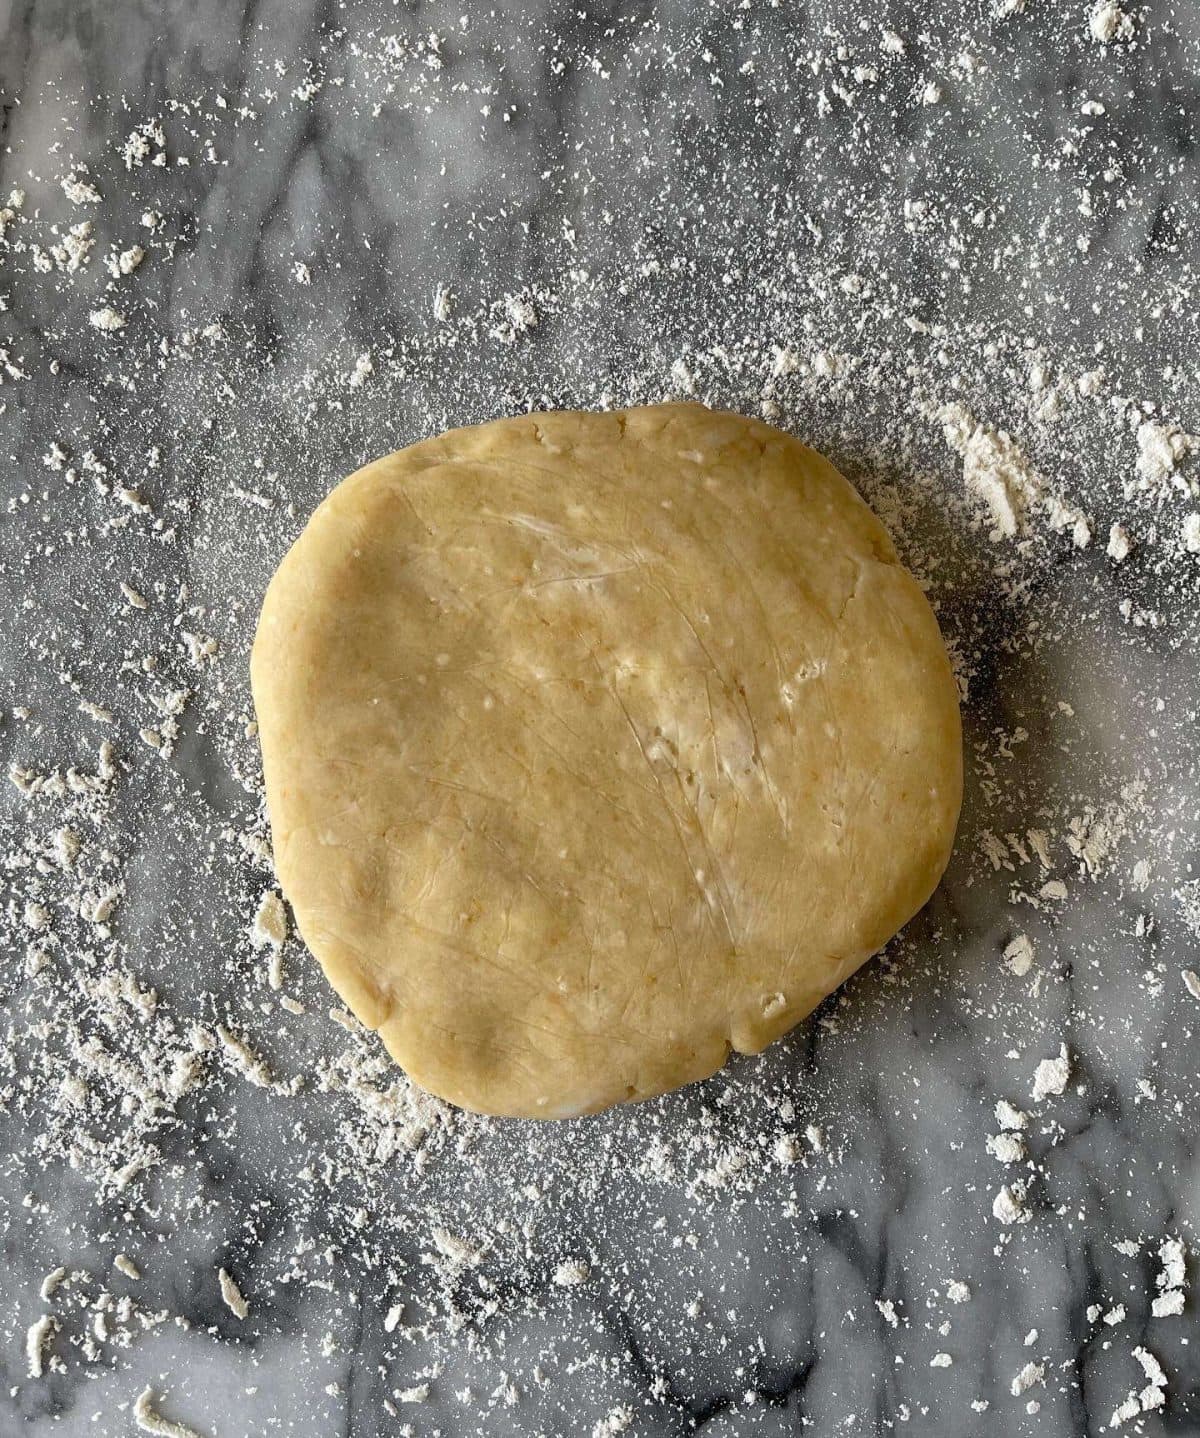
At this point, we cut the dough in half then wrap in clingfilm & chill for at least 2 hours our for up to 2 days.
Chilling the pastry relaxes the gluten & gives the flour a chance to hydrate. This will make things easier when it comes to rolling out the pastry!
Step 3 – Rolling Out
Before rolling out, the pastry (both pieces) needs to be left out at room temperature for 20-30 minutes, so that it can warm up slightly & become more pliable.
Next, we place one of the pieces of pastry onto a lightly floured worksurface then use a rolling pin to beat the top of the pastry, all over. This softens the pastry slightly, making it even more pliable & easier to roll!
The pastry now gets dusted lightly with flour then can be rolled out into a 3mm thick circle, that is slightly bigger than your 9″ pie dish. The best way to roll out a circle is to turn the dough 45° after every roll.
The second piece of pastry gets rolled out the same way but after we’ve added the filling to our pie.
Step 4 – Assembly
To assemble, roll the pastry circle around a rolling pin then carefully drape over your pie dish (I’d recommend lightly greasing the tin with butter as this helps crisp the bottom of the pie up). Gently press the pastry into the tin by hand, leaving a couple of centimetres of pastry overhanging the sides.
Fill your pie with your chosen filling then roll the second piece of pastry out the same way as before. Brush a light layer of cold water round the edge of the pie then lay the pastry on top. Lightly press the pastry together, to seal, then thin the overhanging stuff between your fingers. Trim the edges with a pair of scissors so that you’re left with around a cm of overhanging pastry.
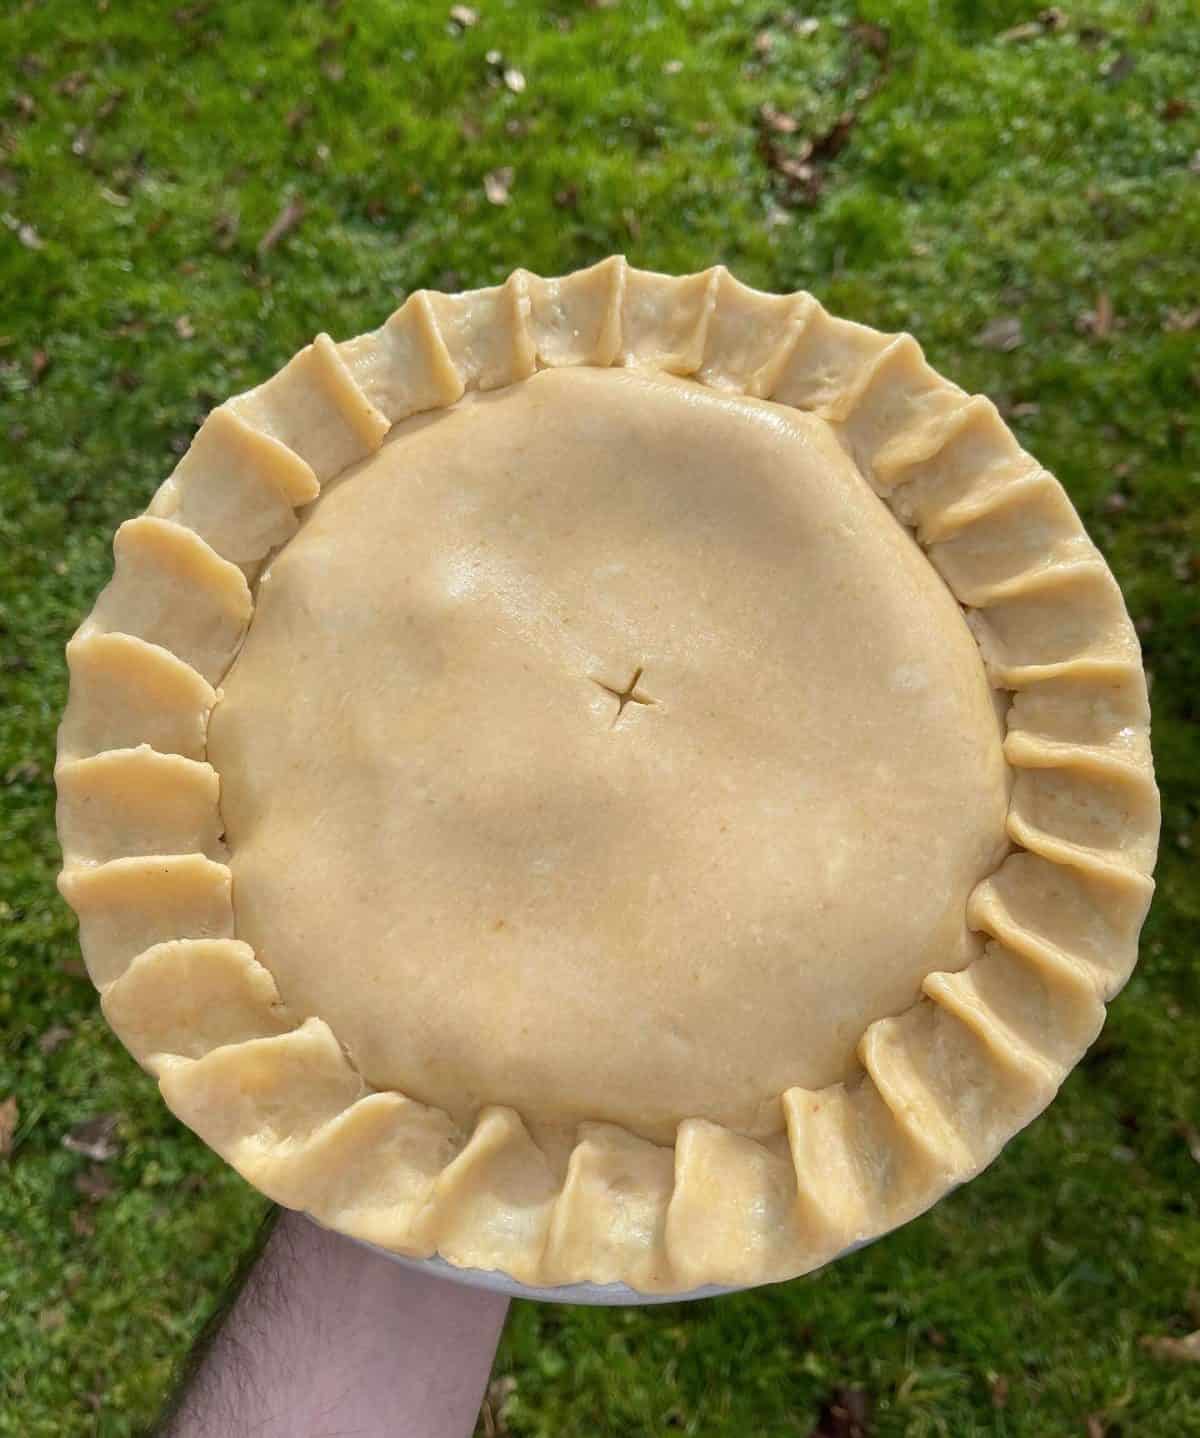
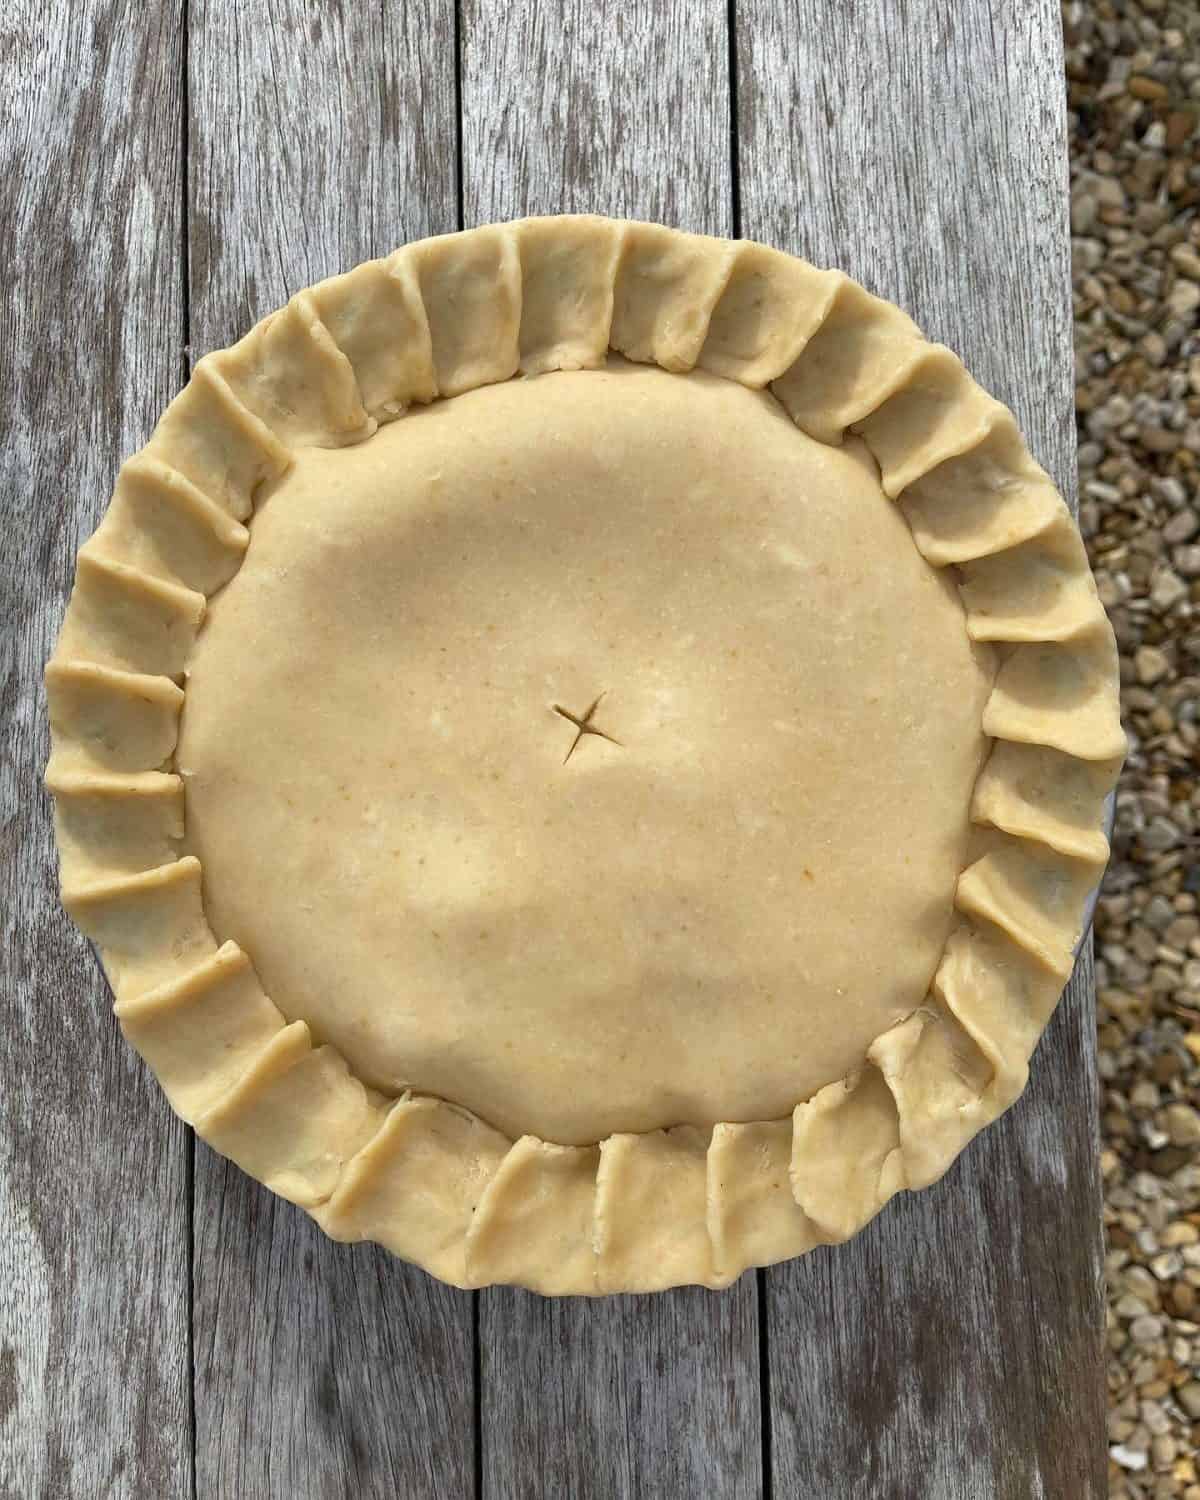
Fold the thinned edges back onto the rim of the pie dish & crimp as desired/specified in your recipe. Cut a small cross in the top of the pie, to allow steam to escape as it cooks.


Step 5 – Chilling (Again!)
Once our pie is assembled, it needs to chill in the fridge for at least an hour (or for up to two days, depending on the filling). Chilling the pie before baking is crucial to getting a crisp, flaky pie crust!
Step 6 – Baking
Pie crusts should be egg washed & baked according to the pie recipe that you are using. As a general rule, I apply a light layer of egg wash (made up of 1 yolk, a tsp of cold water & a pinch of fine table salt), chill for 20 minutes then brush on another layer.
Unless specified differently, I tend to bake my double pie crusts at 200°c/180°c fan (392°f/356°f) for 40-45 minutes. If the pie is starting to colour too much, it can be loosely covered in foil.
Tips & Tricks For The Best Pie Crusts
- Keep everything cold! Make sure to keep the fats & water as cold as possible. This prevents the fat from melting into the flour & is key to making the flakiest pie crusts!
- Chill before baking. Pie crusts that are baked straight from the fridge are crisper & more flakier. I’d recommend chilling your assembled pie for at least an hour before baking.
- Don’t overwork! When pastry is overworked, too much gluten is developed which would make our pie crust tough. For crisp, tender pastry, it’s best to keep mixing & kneading to a minimum.
- Thin the edges. Thinning the overhanging edges of pastry before crimping ensures that crust/crimped edge isn’t too thick & will bake fully, along with the rest of the pie.
- Egg wash. For the best, even finish, I like to brush two light layers of egg wash onto my pies. After the first layer has been applied, the pie should be chilled for 20 minutes, to let the egg set before applying another layer.
- Heat a tray up. When you preheat your oven, pop a baking tray inside then bake your pie on top. This helps cook the pie’s base properly, ensuring a crisp, golden finish & no soggy bottoms!
Frequently Asked Questions
When you make pastry/pie crusts in a food processor, you risk making the fat too small (this means the pastry won’t be as flaky!), as well as over working & over hydrating the dough.
I’d recommend making pie crusts by hand but if you’d prefer to make your pie crust in a food processor, use the pulse function to carefully work the fat into the flour (it should resemble breadcrumbs) then gradually mix in the water, until a rough dough forms. Tip the pastry out onto a worksurface & gently knead together.
This is down to personal preference!
An all butter pie crust will be rich, flaky & crisp which is why it’s such a popular option. Pastry made with a mix of butter & lard will be just as flaky, slightly less rich but with a more savoury flavour. This recipe uses a mix of fats but feel free to use just butter if you like!
Once the pie crust dough has been made, it needs to be chilled in the fridge for at least 2 hours before rolling out. Chilling lets the gluten relax & the flour hydrate, which makes it easier to roll out.
Once your pie is assembled, it’s best to chill it for an hour before baking. This will make it even crisper & flakier once cooked.
Depending on the filling & how thick the pastry is, pie crusts tend to take between 40-50 minutes to cook in a 200°c/180°c (392°f/356°f) oven.
Pie crust dough can be made (then shaped into a disc) then stored in the fridge for up to 2 days before rolling out. Alternatively, it can be frozen for several months. I wouldn’t recommend freezing a rolled out pie crust though!
Equipment Used
Please note that these are affiliate links & I may make a small commission if you make a purchase using these links, at no extra cost to you. For more information, click here.
More Recipes To Try!
- Seriously Flaky Rough Puff Pastry
- Traditional Eccles Cakes
- Lemon Drizzle Bakewell Tart
- Brown Butter & Miso Treacle Tart
- Apple & Walnut Strudel
- Barbecue Banana Custard
- Small Batch Sticky Toffee Pudding
- Caramelised Onion Sausage Rolls With Apricot Wensleydale
If you have enjoyed this recipe for a savoury double pie crust, it would mean a lot if you could leave a review & rating!

Savoury Double Pie Crust
Equipment
- Mixing Bowl
- Rolling Pin
- Measuring Jug
- 9" Pie Tin
Ingredients
- 350 g Plain Flour
- ½ tsp Fine Sea Salt
- 150 g Unsalted Butter Cold & Diced
- 65 g Lard Cold & Diced
- 1 Egg Yolk
- 50 g Ice Cold Water See Notes
Instructions
Pastry
- Place the flour, sea salt, butter & lard into a mixing bowl then rub together by hand until the mix resembles breadcrumbs but with some slightly larger chunks of fat still visible.
- Add in the egg yolk then mix, gradually adding in the cold water until you have a rough dough. You might not need all the water so make sure to stop adding it as soon as the pastry comes together!
- Tip the dough out onto a clean worksurface & knead gently until smooth (be careful not to overwork the pastry) then cut in half, flatten into discs & wrap in clingfilm. Refrigerate for at least 2 hours.
Rolling Out
- Take both pieces of pastry out of the fridge & leave to sit at room temperature for 20-30 minutes, depending on how hot your kitchen is.
- Next, place one piece of pastry onto a lightly floured worksurface then using a rolling pin, beat the top of the pastry all over (this makes it more pliable).
- Dust the pastry lightly with flour then roll out into a circle that is slightly larger than your pie tin. Make sure to turn the pastry 45° after every roll & to lightly dust the pastry with flour as is needed. The pastry should be around 3mm thick.
- Carefully roll pastry around your rolling pin then unroll into a 9" pie tin that has been lightly greased with butter. Gently press the pastry into the tin. The pastry should be overhanging the edge by a couple of centimetres.
- Fill the pie crust with your chosen pie filling.
- Roll out the remaining piece of pastry into a 3mm thick circle, the same way as before.
- Brush the edge of the pie lightly with cold water then lay the pastry circle on top of the pie, pressing the edges lightly, to seal. Thin the pastry out slightly between your fingers then trim the edges with a pair of scissors, leaving around 1cm overhanging.
- Fold the overhanging edge back onto the rim of the pie dish & crimp as desired.
- Cut a cross in the middle of the pie (to let the steam out as it bakes) then chill in the fridge for at least an hour.
- Bake & egg wash according to your chosen recipe's instructions.With my pie recipes, I tend to bake at 200°c/180°c fan (392°f/356°f) for 40-45 minutes, until a deep golden brown.